Although they may be in good condition today, in a few weeks or months, they will need to be replaced. And if you are a moderately skilled DIYer, you can do this job yourself.
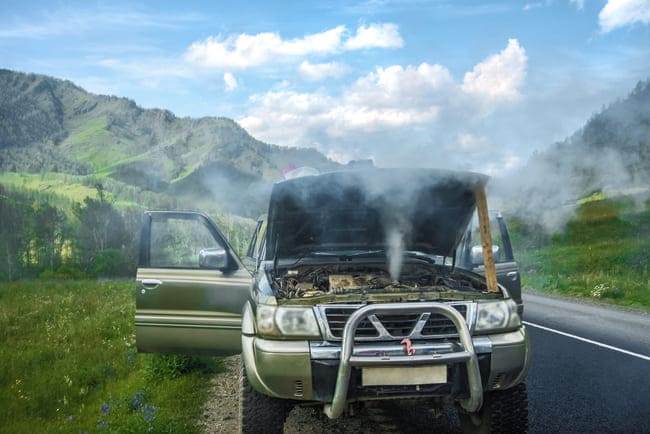
Waiting too long for a brake job can cause serious damage to the brake discs, which can significantly increase the overall expense for this job.
Editor’s Note:
While many descriptions on “how to change brake pads” can be found online, the step-by-step procedure below goes into much more detail and offers various tips not found elsewhere.
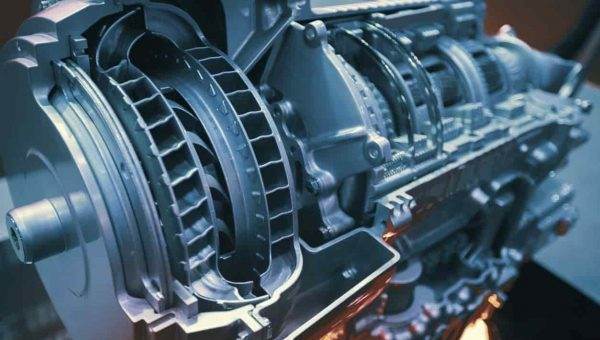
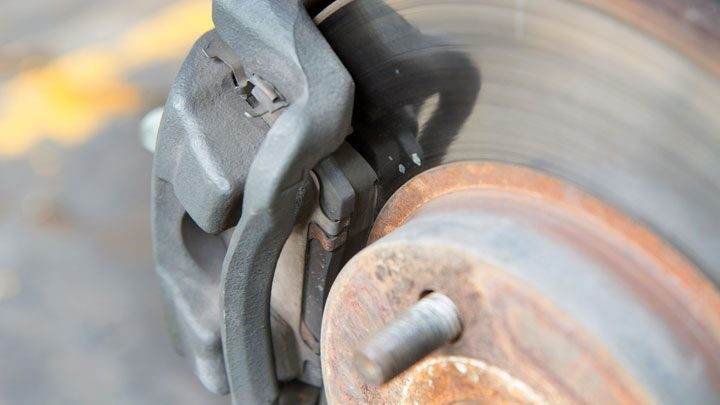
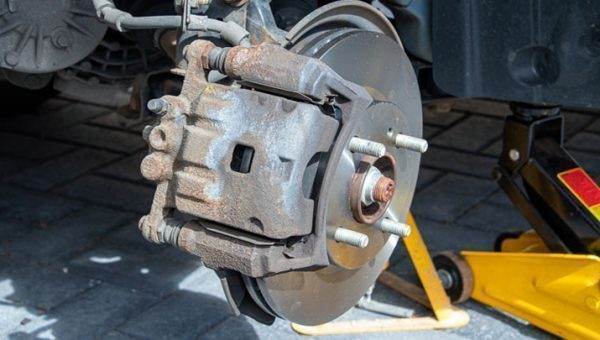
The procedure below will apply to braking systems that use disc brakes with floating brake calipers. This arrangement is most common for passenger cars, SUVs, and light trucks. The alternative to floating calipers is the fixed caliper design typically found on high-performance and racing automobiles.
A floating caliper will only have one or two pistons on one side of the disc while a fixed caliper may have one to three symmetrically opposed pistons on each side of the rotor (disc). The floating caliper is attached to a fixed mount by lubricated pins and is free to move in a direction perpendicular to the brake rotor.
Benefits of Changing Your Own Brake Pads
Now, why do the job yourself? Mainly for this reason: you can save money (especially if you already own a few tools), but not a lot. An average brake job (for front or rear brakes) will have a labor charge of about $150 to $300. That’s what you might save, but you will still pay for the parts.
A second, less tangible but important benefit will be the learning experience. That and a new understanding of how your brakes work. Knowing this, you might save repair dollars in the future by allowing you to know what nearly worn-out brakes look like.
How Difficult is it to Replace Brake Pads?
It is a moderately difficult job, but most people can do it if they own a shop manual and follow the process below. If you have already changed your own oil, you will probably not have too much difficulty changing the brake pads on a vehicle equipped with disc (rotor) brakes (compared to drum brakes).
It can be a dirty job so the use of mechanic’s gloves is advised. In some cases, a dust-filtering face mask may be beneficial. Additionally, you will need a shop manual, a reasonably good set of tools, and a number of consumables. See the Required Tools and Required Materials sections below.
Some hand and arm strength will be needed to loosen and tighten fasteners as well as to remove and reinstall the wheels.
How Long Does it Take to Change Brake Pads?
Unless you do it for a living, you will need about one Saturday morning (say, 3-4 hours) to replace the front or rear brake pads. After performing the procedure once, it should take you less time to replace them in the future.
Do I Need to Change All Four Pads?
In the life of your car, the front pads will usually need to be replaced first. They do most of the work to stop the car and will wear out faster than the rears.
That being said, you should periodically check the pad thickness and signs of uneven wear at all four wheel locations.
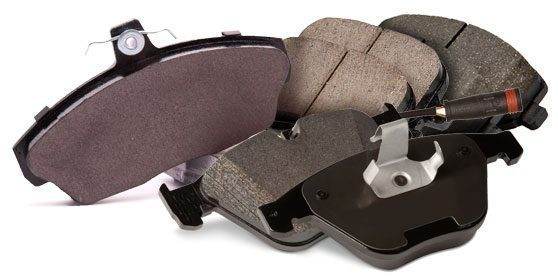
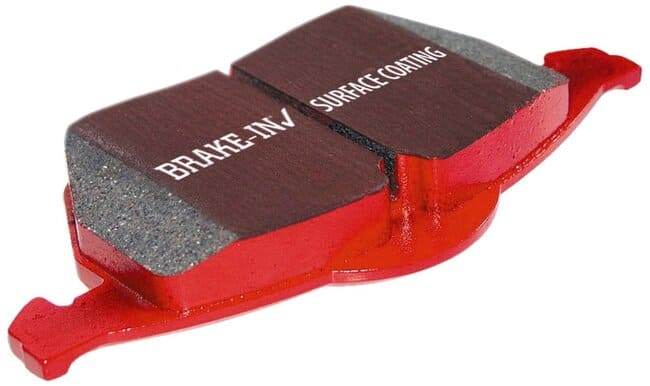
Note that pad replacement should be done by axle sets. That is why, when you buy pads, you get either a front axle set, a rear axle set, or both, depending on your specific needs.
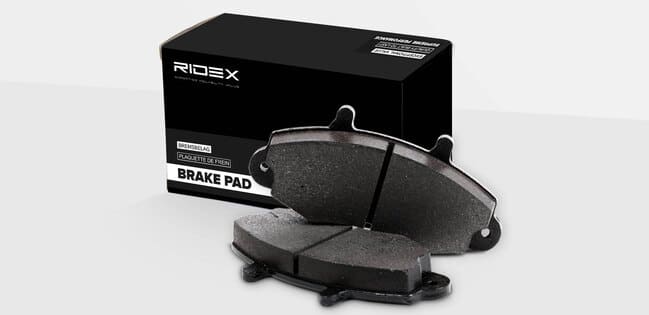
Where to Buy Brake Pads
You can get a set of brake pads from your local auto parts store or car dealer or buy them online. The advantage of buying locally is that you will get them faster and the seller will make sure you find ones that fit you. Buy them online if you want a certain brand and the convenience of having them delivered to your door.
For more information on the type of brake pad that would be best for you, a little research here will prove beneficial. Although OEM (Original Equipment Manufacturer) pads work well for your car, they can be expensive. This article covers five of the best brake pad manufacturers.
What About the Brake Rotors?
In some cases, when replacing the pads, the old brake rotors can be reused. But the truth is that most auto repair shops will recommend either resurfacing the rotors (i.e., turning or refinishing them) or replacing them with new parts. Here’s why:
Like the pads, rotors will wear out over time. They can be warped and have thickness variations that will impact braking performance. Resurfaced rotors will have ground surfaces (flat and parallel) that will provide good braking performance and good pad life. New rotors will, of course, be new.
The only downside of refinished rotors is that they will come off the brake lathe thinner than when new. Thinner rotors are neither as strong nor as heat resistant as new parts would be.
Keeping this in mind, here are your options:
- Buy a new set of rotors. This is the safest bet for long pad life and the best braking performance (see note below). Or…
- Remove the rotors and have them resurfaced. Most auto parts store specialists can refinish rotors for a minimal fee. Ask them to confirm for you that a sufficient amount of material can be removed without going below the minimum thickness limit. It will take them about a day to do this job. And it will provide you with the basic equivalent of new rotors at about one-fifth the cost.
- Ignore the rotors. This is generally not recommended, but if you are replacing the pads simply due to wear and the rest of your brake system is working as it should and there is no visible damage to the rotor (cracks, grooves, heat spots), you can probably get away without rotor resurfacing (this time).
Tip:
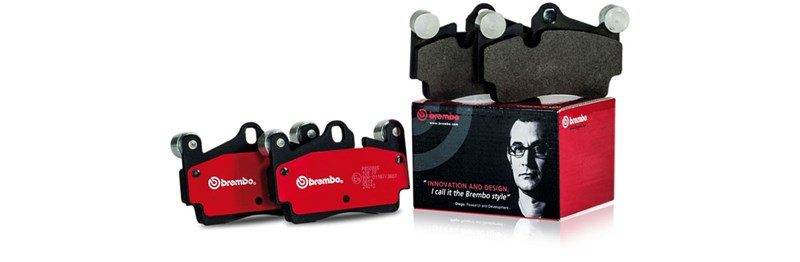
If you decide to buy new rotors, you will want to get quality parts. I strongly recommend avoiding the cheapest rotors your parts store sells. Get your money’s worth.
Buy a set of OEM rotors if the store has them or rotors from one of the quality brands such as Wagner, ACDelco, Brembo, Centric, EBC, Raybestos, or Bosch.
Tools Required
- Shop Repair Manual (for your specific vehicle make and model)
- The manual will provide specific instructions for pad and rotor replacement. Essential bolt torques are also provided with this resource.
- Haynes or Chilton manuals for most cars, SUVs, and light trucks are available online or at your auto parts store. Instead of a paper manual, a CD-ROM manual may be available for your specific vehicle. Online manuals are also gaining popularity.
- Floor Jack such as:
- Arcan XL2T 2-Ton Floor Jack (for most vehicles)
- JEGS 3-Ton Floor Jack (for full-size vans and SUVs)
- (2) Jack Stands (3-ton capacity per pair)
- Big Red T43002A 3-Ton Jack Stands
- With jacks and jack stands, cheaper is not better. Look for quality in these devices. Your life may depend on it.
- Socket Set (3/8″ and 1/2″ drive) such as:
- DeWalt 192-Piece Mechanic’s Tool Set
- Breaker Bar (or 1/2″ drive breaker bar) such as:
- Tekton 20-Inch 4-Way Breaker Bar
- 1/2″ Drive Click-Type Torque Wrench such as:
- Tekton 1/2″ Drive (25-250 ft-lb)
- Husky 1/2″ Drive (50-250 ft-lb)
- 3/8″ Drive Hex Socket2
- Lexivon Master Hex Socket Set
- Consult the repair manual to see if SAE or metric fasteners were used 1
- Hex sockets are often called “Allen” keys, but you won’t get enough leverage with a normal L-shaped Allen key.
- Flat Head Screwdrivers such as:
- Klein Tools 7-Piece Screwdriver Set (the best)
- Craftsman 8-Piece Screwdriver Set (good)
- C-clamp (capable of opening to at least 6″) such as:
- Wheel Chocks such as:
- MaxxHaul 2-Pack Solid Rubber Wheel Chocks
- Piece of flat wood (for caliper retraction; 5″ long x 2″ wide by 3/8″ thick)
- 4″ length of 2 x 4 wood (for rotor removal)
- Wire Brush such as:
- Lisle 13410 Disc Brake Caliper Brush
- Work Light such as:
- Olafus 60 W LED Work Light
- Old toothbrush or paintbrush
- Q-Tips
- Shop Vacuum such as:
- Vacmaster 12-Gallon Shop Vacuum
- Ridgid 12-Gallon Shop Vacuum
1 “Made in USA” no longer means that your car’s fasteners will be in standard American SAE sizes. Socket sets that include both SAE and metric sizes are common and not too expensive. Having such a set can be useful well beyond simple car repair jobs.
2 Many brake calipers require the use of a hex socket to allow the piston assembly to be detached from the piston housing. Your shop manual may provide relevant information in this regard.
Materials Required
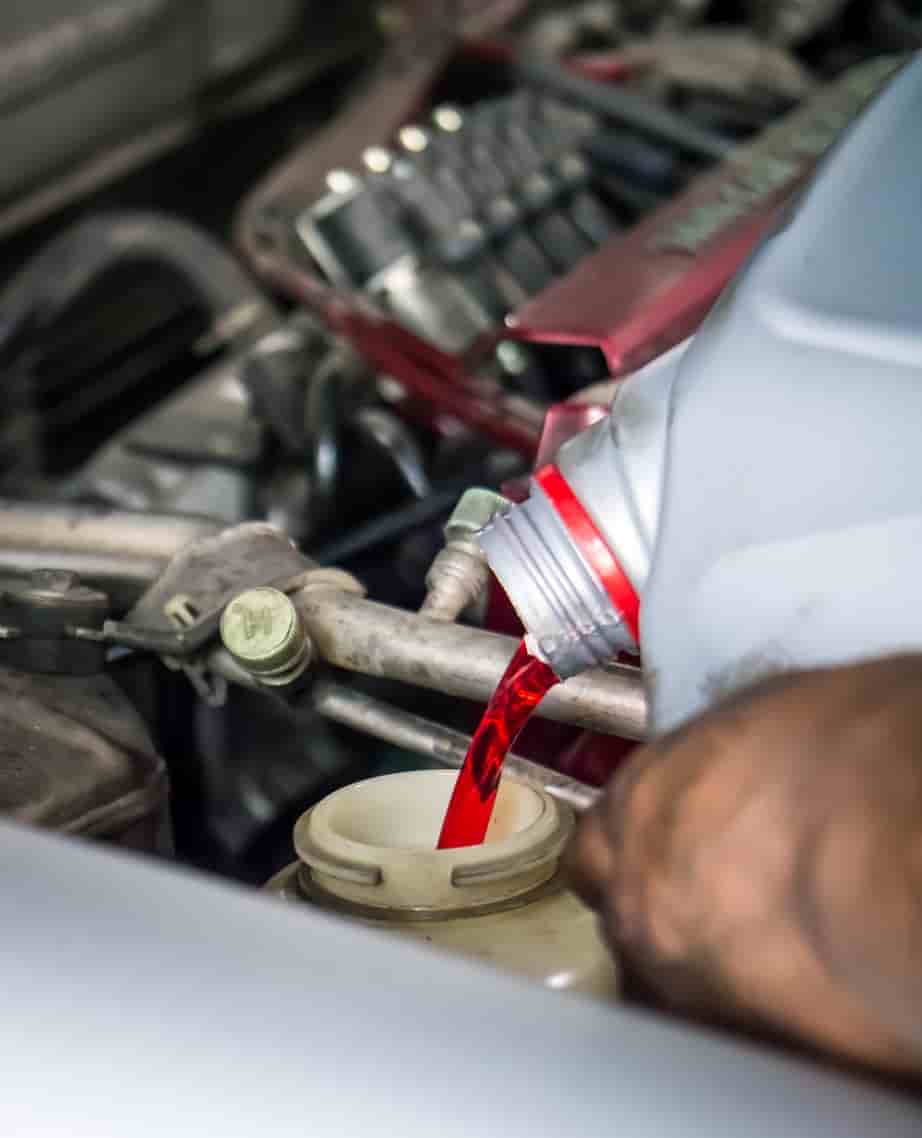
- High-Quality DOT 3 or DOT 4 Brake Fluid
- Consult your shop or owner’s manual to determine the type of fluid to use
- High-Temperature Brake Lubricant such as:
- Ate 700015 PlastiLube; or
- Permatex 24125 Ceramic Extreme Brake Parts Lubricant
- Anti-Seize Lubricant such as:
- Permatex 80078 Anti-Seize Lubricant
- Non-Chlorinated Brake Cleaner such as:
- CRC Brakleen Brake Parts Cleaner
- Metal Coat Hanger
- 2 ft. of small diameter hose or tubing (or turkey baster)
- Shop Towels (or paper towels)
- Mechanic’s Gloves such as:
- Mechanix Wear Original Work Gloves
- Dust Mask
- Thermos Cup of Hot Coffee
Brake Pad Replacement (Step by Step)
Before getting into the details, let me mention that your personal safety when working on your car or whatever else you do in life is important. Taking unnecessary risks can get your adrenaline pumping, but mostly has no place in your garage when performing car repairs.
For a comprehensive overview of safe repair procedures, please refer to this article.
#1 – Before Starting
Get the necessary parts. Yes, you may need to take the rotors back to the parts store for machining, but not if you are going to buy new ones. So get the necessary parts and materials.
First and foremost, update your shop with the essential tools listed above. My rule for tools is: if some are good, others are better. Keep this concept in balance with marital harmony.
To protect your hands and/or keep them clean, you can wear mechanic’s gloves. Before any process that raises dust into the air, you should always put on a protective dust mask.
Let’s go now…
#2 – Jack Up the Vehicle and Remove Wheels
Before lifting your car, place wheel chocks behind the tires of the opposite axle. Think about the direction the car would roll if you lifted the front or rear. This is especially important when working on the rear brakes because there is no parking brake on the front wheels.
Loosen the wheel nuts using a breaker bar or a pry bar (NOT a torque wrench). If you wait until the car is no longer touching the ground, the wheels will want to spin when you try to loosen these nuts.
If you are replacing the front brake pads, firmly engage the car’s parking brake. Do not tighten the parking brake when replacing the rear pads; the engaged brake will prevent the calipers from being disassembled.
While observing safe lifting practices, use your hydraulic jack to lift the front or rear of your car to a comfortable working height. Your shop manual will indicate the optimal jacking points for lifting the car.
Now place two jack stands at symmetrical locations on the right and left and lower the jack slightly so that most of the car’s weight is supported by the jack stands.
Warning:
DO NOT lift your car using the scissor jack supplied with your car. This jack is reserved for flat tires and is not safe for any repair work.
Suitable