There are simple electronic tools for automobiles that provide faster results than more advanced tools. Automotive test lights are one such simple yet useful tool. Also called a circuit tester or test lamp, it allows checking for the presence or absence of electricity in a circuit. Easy to use, this tool gives faster results than a digital multimeter. So, how to use a test light?
You can use a test light to check both positive and ground circuits. If a component has issues, but the fuse appears to be in good condition, this tester can trace the wiring path to identify the source of the problem.
How to use a test light to check positive voltage
If you want to know how to use a circuit tester on a car safely, follow these guidelines. It is a simple and straightforward process that does not require any advanced mechanical skills.
–This procedure is for a 12V vehicle, meaning the vehicle’s portable electronic devices are powered via a 12V outlet.

Testing the test light
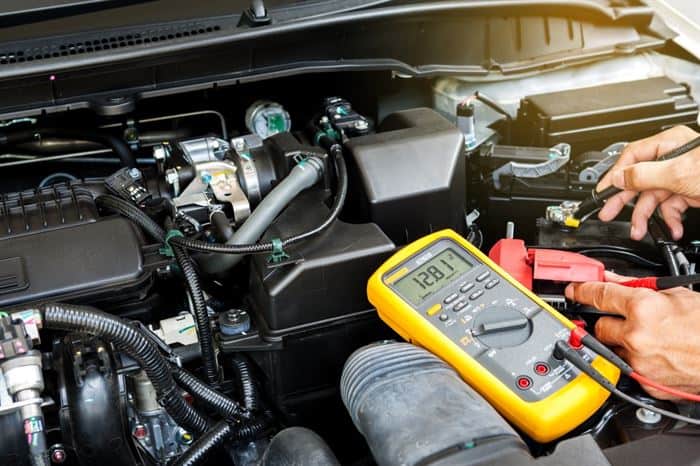
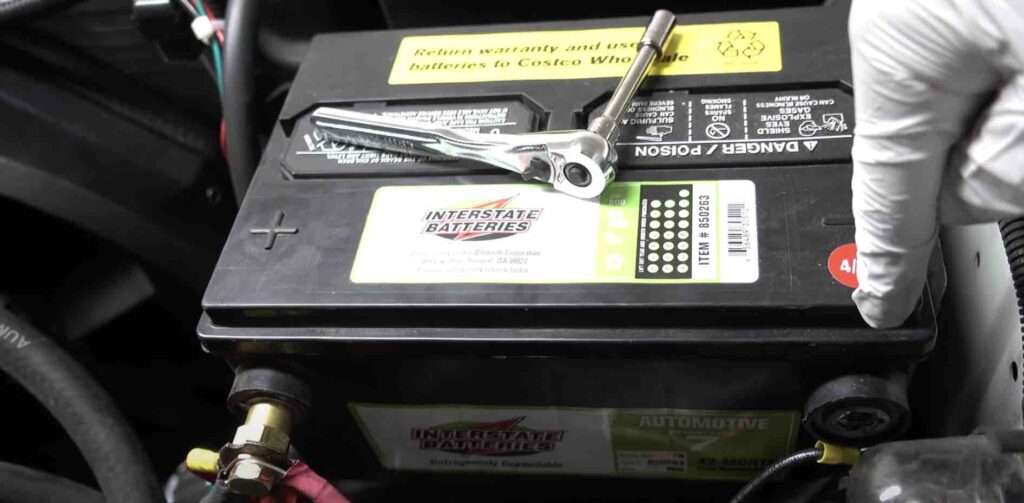
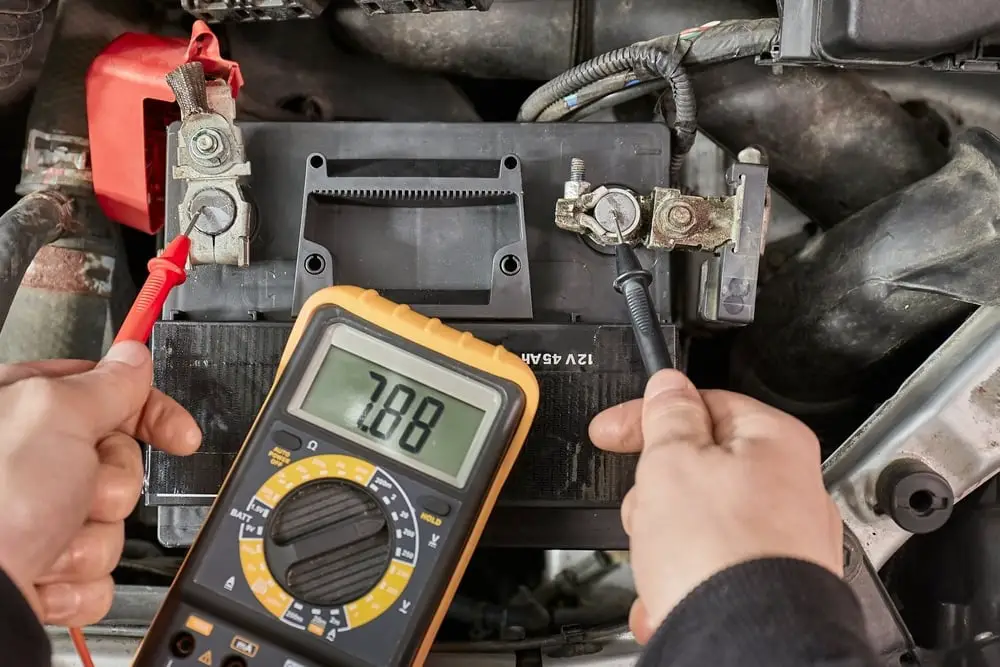
Well, you need to confirm if your tool is working correctly, right? To find out, attach it to a ground source such as a metal surface of the car or the negative terminal of the battery.
Press the lamp’s probe onto a power source such as the positive battery cable, a fuse, or the positive battery terminal. The tester works if the light illuminates.
Using the test light
You can use the test light to test many circuits such as a fuse, an alternator, a fuel injector, and many other things. You can check a blown fuse without disconnecting it from the fuse box.
The task is more than simple. Find the fuse box, connect the clip part of the test light to a metal part, and probe the fuse with the probe tip. The light will illuminate if the fuse is still working.
When a component, like a cooling fan, is not working, the first thing we do is change the fuse. But the problem could come from other parts.
This test light can ensure whether the fuse is powered or not. Instead of wasting time replacing a good fuse, you can move on and check if the switches or control units are causing the issue. Thus, the tool actually speeds up diagnosing a circuit.
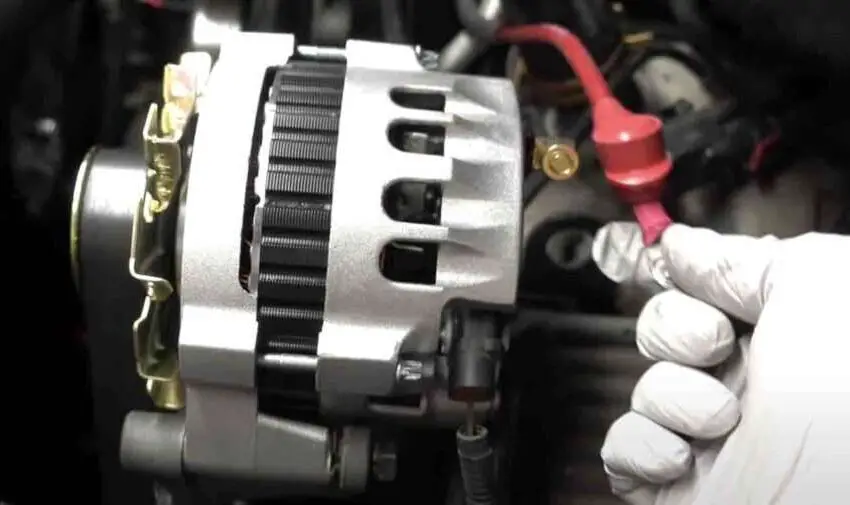
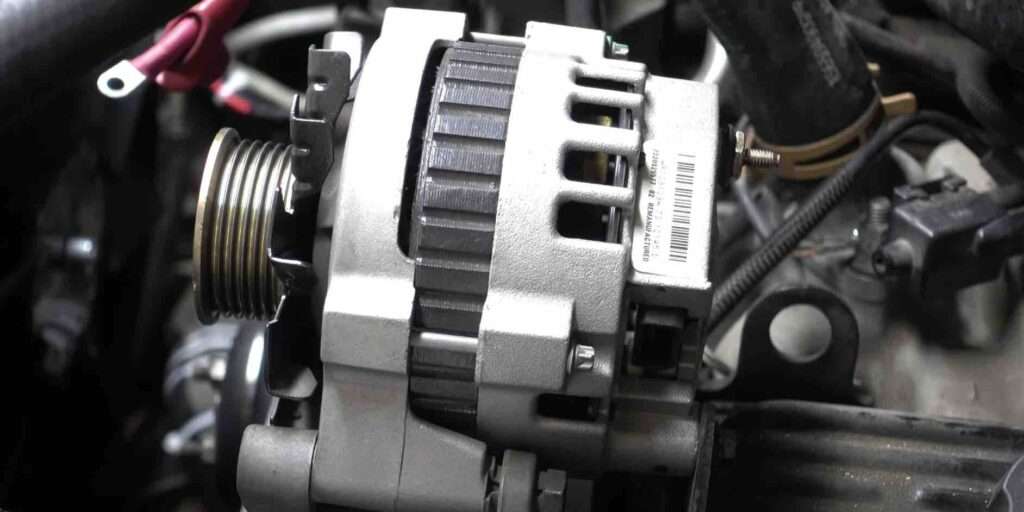
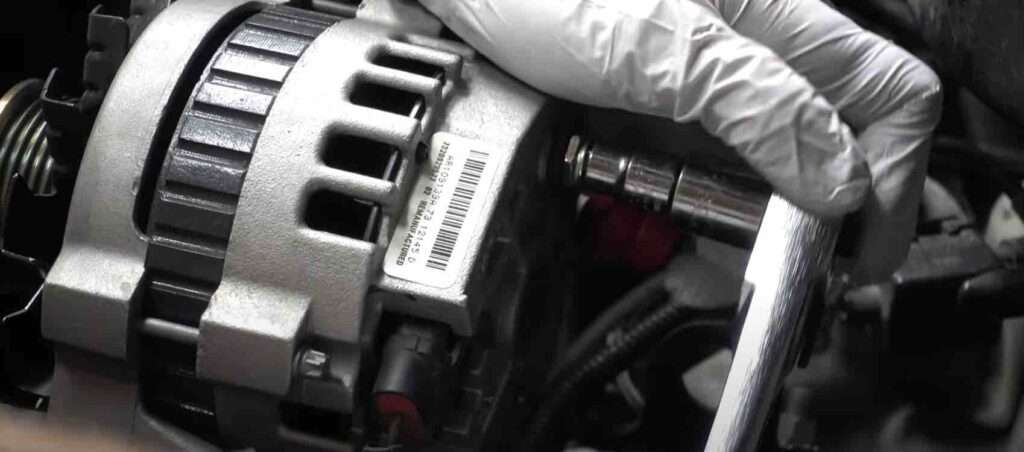
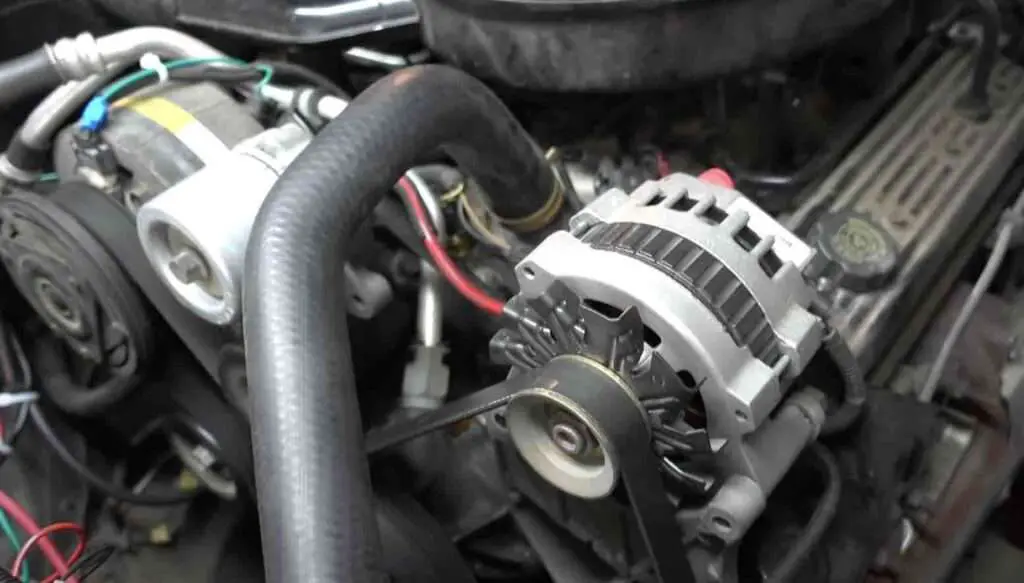
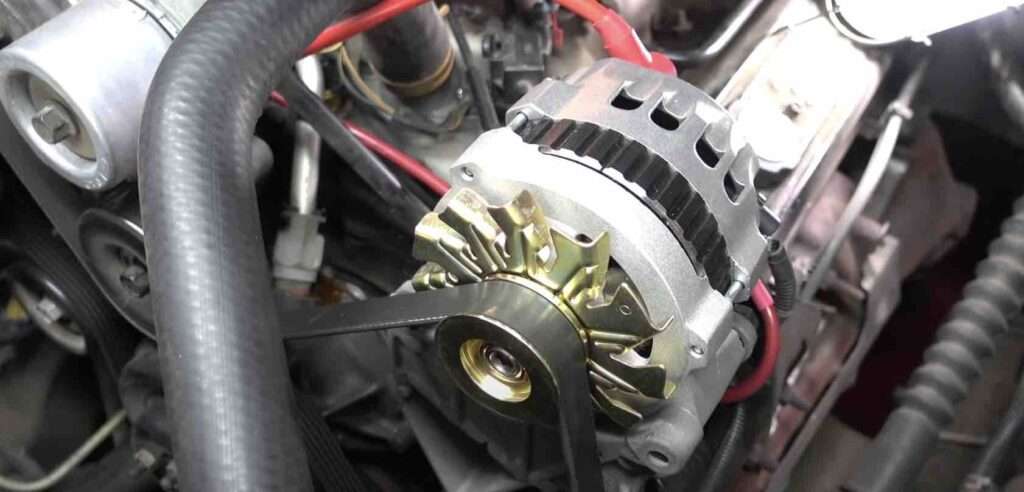
The alternator to battery must produce electricity to recharge the battery and power a car’s electronics. How to know if the alternator is doing its job?
A test light makes this job a breeze. If it indicates that the large terminal of the alternator is powered, you can be sure the alternator is working correctly.
Checking the condition of a fuel injector could be another application of this handy tool.
Attach the clip to the negative terminal of the battery, then bring out the probe end to the trigger side of the injector circuit. The light will illuminate if the fuel injector is working.
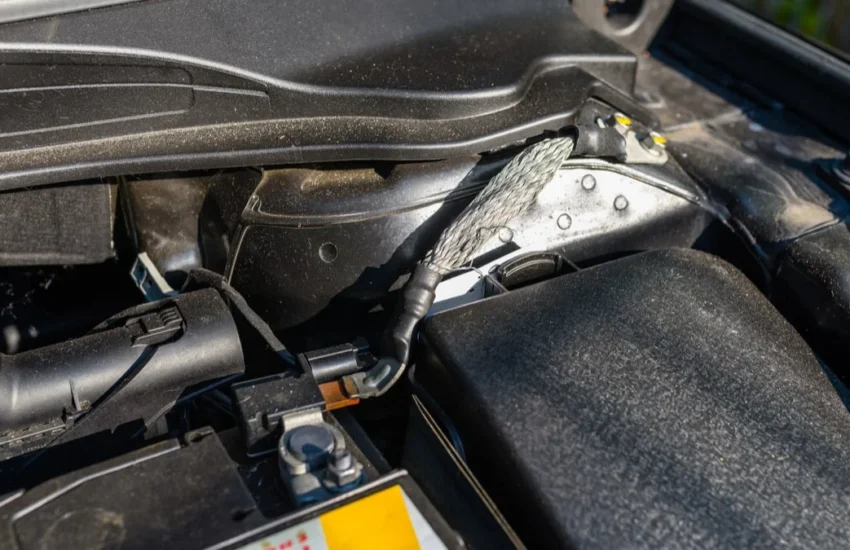
How to use a test light for a ground circuit
You have learned how to test positive voltage with a test light. Sometimes, you might also need to test a ground circuit. Do you know how to do that?
Don’t worry. There is nothing complicated about it.
To check the ground, you must first see if the circuit has electricity on the positive side. If yes, move on to examining the grounding point.
Connect the clip end of the test light to the positive end and use the probe point to probe the ground wire of that circuit. A lit light indicates everything is working fine.
In this case, you need to test other parts of this circuit to find the problem.

If the light does not illuminate, you need to carefully examine the ground path. Fixing ground issues is comparatively easier than fixing a positive side.
Carefully check the ground wire connection point to see if there is rust, paint, or anything else. Such a thing can act as an insulator and obstruct the energy flow. Cleaning this connection point is likely to solve the problem.
Useful tips
By now, you probably have a clear idea about how to use a test light. If so, these tips will be helpful to you, as they will make the job even easier.
- This tool has two reversible leads. This means there is no fixed wire for the positive wire or the ground wire.
- Most test lights are likely to have a probing tip. This feature allows you to examine a circuit without detaching any wires, as you can simply pierce the plastic insulation of a wire with this pointed tip.
FAQ on using a test light on positive and ground wires
- Is it safe to use a test light on live (positive) wires?
Using a test light on live wires can be safe when done correctly. However, it is essential to exercise caution and follow safety precautions.
Ensure you have a good ground connection, wear appropriate safety equipment, and avoid touching the metal parts of the probe when testing live wires.
- How can a test light help diagnose ground wire problems?
When using a test light on ground wires, it helps identify if a ground wire is properly connected or if there is a break in the ground circuit. If the test light does not illuminate when connected to a ground wire, it suggests a grounding problem that needs to be addressed.
- Can using a test light damage electrical components or wires?
When used correctly, a test light should not damage electrical components or wires.
However, if the test light is used improperly, such as connecting it to a high-voltage source or accidentally shorting wires, it can potentially cause damage. Always exercise caution and follow proper procedures.
- Can a test light be used to check the continuity of a wire?
A test light is generally not used to check continuity (whether a wire is uninterrupted). Instead, a multimeter or continuity tester is more suitable for this purpose. These tools can determine if a wire has a continuous path or if it is broken or disconnected at some point.
- Can a test light help detect parasitic battery drain issues in a vehicle?
A test light can be used to identify parasitic battery drain issues in a vehicle.
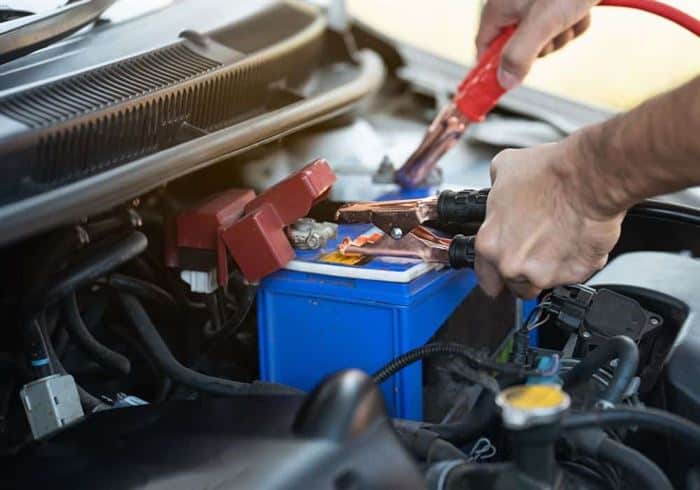
By disconnecting the negative battery terminal and placing the test light in series between the disconnected cable and the battery terminal, you can check if there is abnormal current draw.
If the test light illuminates brightly, it indicates excessive current consumption, which can help identify the source of the drain.
- Are there any precautions to take when using a test light in a car’s electrical system?
When using a test light in a car’s electrical system, it is crucial to disconnect the negative battery terminal before testing.
This prevents accidental short circuits and ensures safety. Additionally, be careful when probing wires to avoid damaging delicate electrical components or causing unintended short circuits.
Watch this video by JoeCanDoIt to learn how to use an automotive test light, a simple and quick process!
Final words
In conclusion, knowing how to use a test light on positive and ground wires is a valuable skill for diagnosing vehicle electrical problems. This tool allows you to efficiently locate voltage and grounding issues.
However, always prioritize safety, use insulated tools, and disconnect the battery if necessary.
With these skills, you can save time and money by effectively identifying and resolving electrical issues, ensuring your vehicle’s electrical system operates optimally.