Modern vehicles come with a plethora of sensors connected to the vehicle’s central computer or PCM.
Modern vehicles come with a plethora of sensors connected to the vehicle’s central computer or PCM.

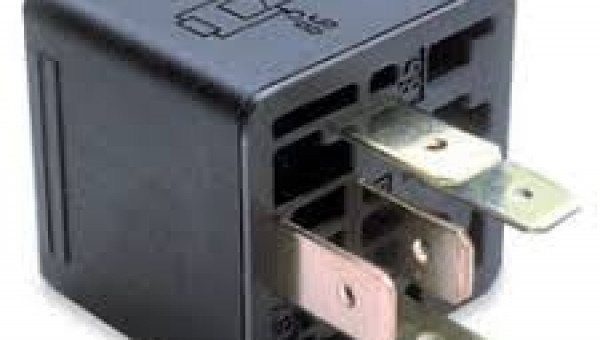
The main relay of an automobile is undoubtedly one of the most important and crucial components of a car.


If you have owned a BMW for some time, you have probably already experienced the DSC light.
The DSC system is a truly great feature to have on your car in terms of safety.


You’re driving your car on the way to work and suddenly a light called “SRS” appears on your instrument cluster.
What does it mean and is it dangerous to drive with? Will my car stop or be damaged if I continue driving? How much will the repair cost?
You’re driving and suddenly, the EPC light illuminates on your dashboard, often accompanied by the check engine light. You wonder:
❓ Can this damage my engine?
❓ Is it dangerous to keep driving?
❓ How much will the repair cost?
Many drivers ask these questions. Here’s everything you need to know about the EPC light and how to fix it.
The EPC (Electronic Power Control) light indicates a problem with the electronic power management system. This malfunction is usually related to:
🔹 The throttle control system
🔹 Traction control (ABS, ESP)
🔹 The cruise control
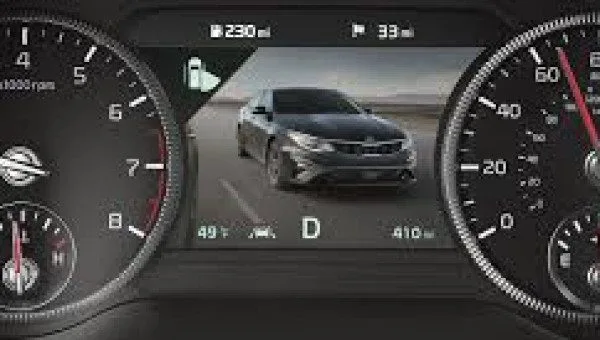
On vehicles from the Volkswagen Group (VW, Audi, Skoda, Seat), this light may appear with other warning lights (engine, ABS, ESP).
The EPC light comes on when an anomaly is detected in one of the related systems. It may also activate “Limp Mode” (limp home mode), reducing engine performance and certain functions.
🔎 Common causes:
✅ Throttle body failure
✅ Faulty ABS sensor or ABS ring (common on VW Passat)
✅ Faulty brake pedal switch (common on Golf 4 and Fabia)
✅ Damaged ABS sensor wiring
✅ Faulty brake pressure sensor (ABS module)
✅ Internal engine problem or faulty engine sensor
✅ Power steering failure or faulty steering angle sensor
The best way to diagnose the fault is to use an OBD2 scanner to read the error codes stored in the various vehicle control modules (engine, ABS, transmission, steering).
🛠 Two options:
1️⃣ Personal OBD2 scanner: some models only read the engine, it’s better to invest in a more advanced device.
2️⃣ Visit a professional: a garage can read all the codes and precisely identify the cause.
💡 Better to avoid it!
Since the EPC light is related to steering, braking, and engine management, continuing to drive could be dangerous. You risk:
❌ Loss of power
❌ Less effective braking
❌ A power steering problem
If the EPC light comes on, drive carefully to a garage, especially if other warning lights are also on.
✔ The EPC light indicates a problem in the electronic power management system.
✔ It is often related to the ABS, ESP, or throttle control.
✔ An OBD2 diagnosis is essential to identify the fault.
✔ It is not recommended to drive for a long time with this light on, as it can limit essential functions (brakes, steering, acceleration).
✔ This problem mainly concerns vehicles from the Volkswagen Group (VAG).
If your EPC light is on, don’t delay in consulting a professional! 🔧🚘

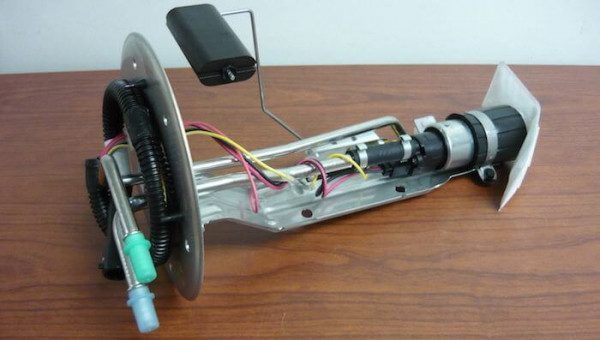
The fuel rail is responsible for supplying fuel to the combustion chamber.

How to Reset the TPMS Warning Light at Home
TPMS stands for “Tire Pressure Monitoring System” and it lights up whenever your car’s tires are irregularly inflated.


The radiator fan is located between the radiator and the engine, and although its function may seem unimportant,
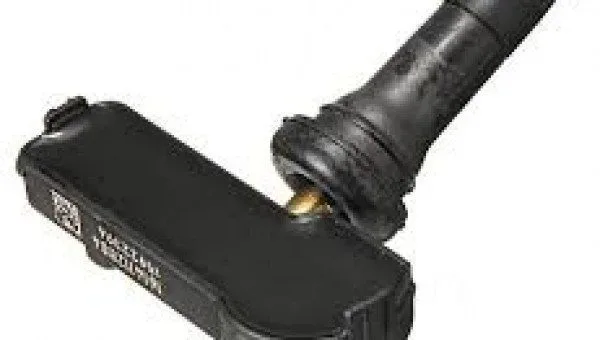
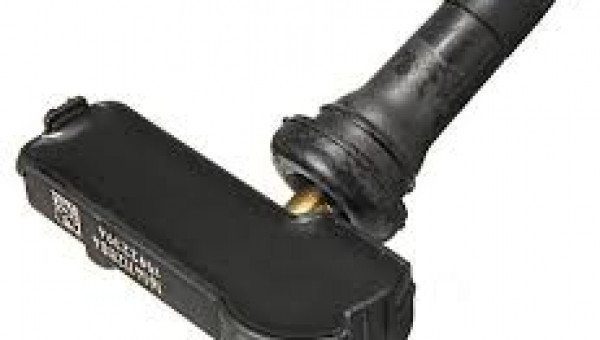
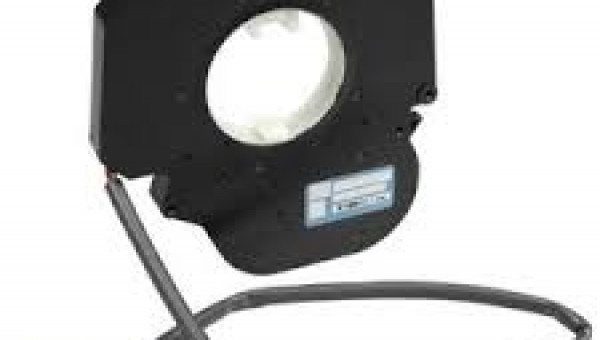
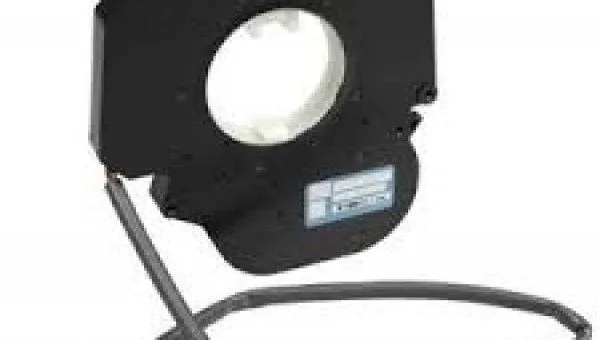
The tire pressure sensor measures the pressure in your car’s tires. It sends the information to the car’s onboard computer, which analyzes the information and makes the necessary adjustments.