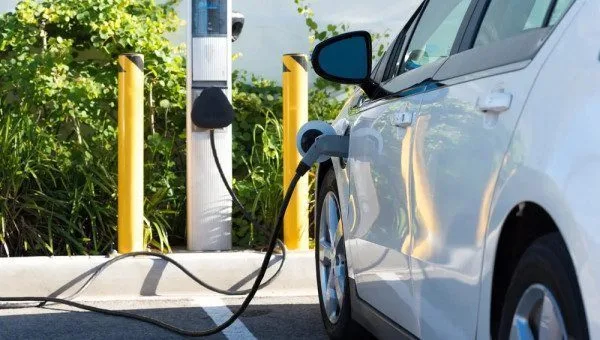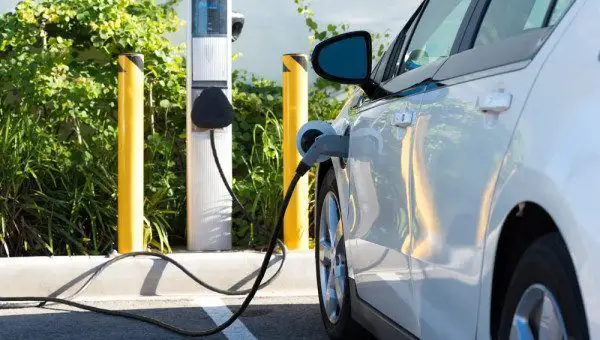
Dispelling Electric Vehicle Obsolescence Concerns
As electric vehicles continue gaining market share, persistent myths about their durability require factual examination. Many potential buyers hesitate due to unfounded concerns about accelerated obsolescence, despite evidence showing modern EVs are engineered for extended service life comparable to conventional vehicles.
Battery Technology Advancements
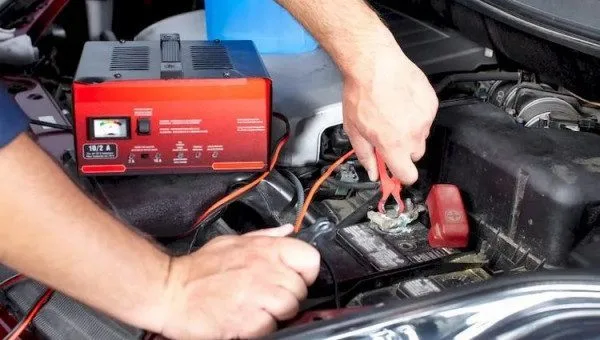
Contemporary lithium-ion batteries feature sophisticated thermal management systems and charging algorithms that significantly prolong their usable life. Most manufacturers now offer 8-10 year warranties on battery packs, with real-world data showing minimal degradation over time. The average EV battery retains approximately 90% of its original capacity after 160,000 kilometers of use.
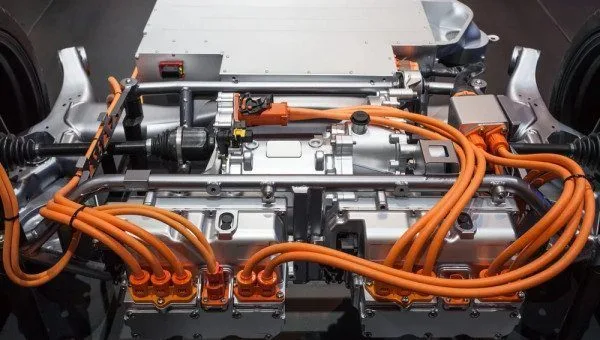
Simplified Mechanical Architecture
Electric vehicles contain substantially fewer moving parts than internal combustion engines, eliminating many components prone to wear and failure. Without complex transmissions, exhaust systems, or fuel delivery mechanisms, EVs demonstrate remarkable reliability over extended periods. This mechanical simplicity translates to reduced maintenance costs and longer functional lifespans.
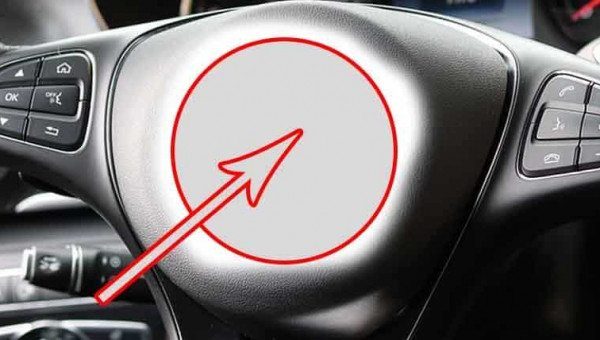
Software Updates and Modernization
Unlike conventional vehicles that typically remain static after purchase, electric vehicles receive regular over-the-air software improvements that enhance performance, add features, and optimize efficiency. This continuous digital evolution helps maintain vehicle relevance and functionality years after initial purchase, effectively countering obsolescence concerns.
Sustainable Value Retention
Second-hand EV markets demonstrate healthy demand as consumers recognize the long-term value proposition. With proper care, electric vehicles maintain operational capability and resale value comparable to their gasoline counterparts. The evolving charging infrastructure and growing environmental awareness further support sustained EV utility throughout their lifecycle.