How to repair a broken seat belt buckle? The safety rating of a vehicle isn’t always the first thing you look at when you go out to buy one.
In a perfect world, checking a vehicle’s safety rating would be your first consideration, but we don’t live in a utopia. In our world, vehicles are chosen based on their speed, appearance, and absolute luxury.
However, it’s not just our choice that is flawed, but vehicles also have imperfections that can appear over time. Take seat belt buckles, for example, they are an integral part of our safety, but they can break quite easily.
Their failure can expose you to accidents. Therefore, it is your duty to repair them as quickly as possible. Fortunately, seat belt buckles can be fixed at home if you are willing to try. Of course, the job requires skills and precision that can be acquired.
Don’t worry, we will help you on this journey with our step-by-step guide.
Acquire the necessary materials
Before starting to repair a seat belt buckle, you will need to acquire a few tools that are absolutely necessary for the job.
i) Get a set of screwdrivers with different screw heads so you don’t get stuck in the middle of your operation.
ii) Find a sharp but flat tool, preferably a butter knife that could reach inside the buckle.
Remember: if you are not sure that your seat belt buckle is repairable, REPLACE IT! You don’t want to be responsible for a serious injury in an accident because your repair was faulty.

1. Carefully examine the belt
Before starting to solve the problem, you need to check that the belt is not damaged. If the belt has a cut or something stuck to it, like gum or dirt particles, you must remove it as these obstacles could break it again.
If your belt is clean and smooth, you should move on to the next part, which is the male part of the seat belt. This part is also called the tongue and, just like you clean your tongue, you should also clean this one. If everything is fine here, you can proceed to the second step of the inspection.
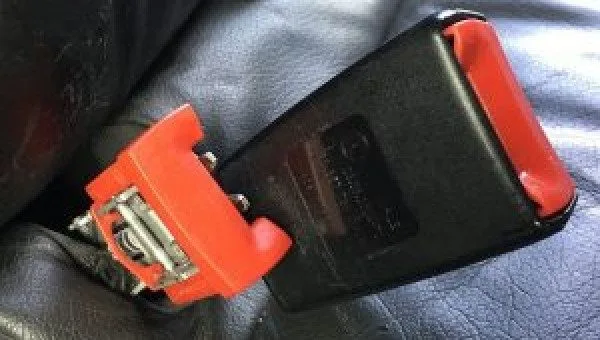
2. Examine the buckle
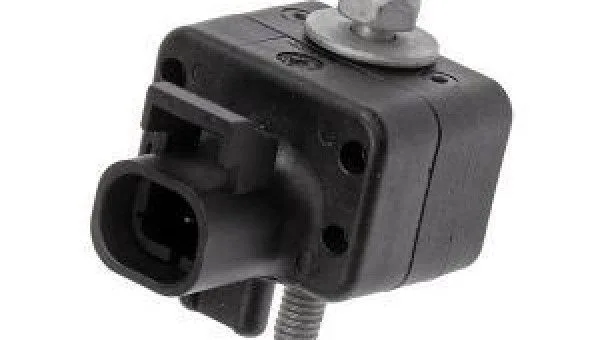
repairing the seat belt buckle Given the nature of a buckle’s construction, it is possible that something is stuck in it. You need to locate such an obstacle and remove it. This is where you will use the knife we suggested earlier.
Place the pointed part of the knife inside and move it along the edges of the buckle. If you feel something inside, remove it. This way, you can clean the inside of the buckle and your seat belt will work properly. However, if the problem persists, you must move on to step three.
3. Remove the buckle
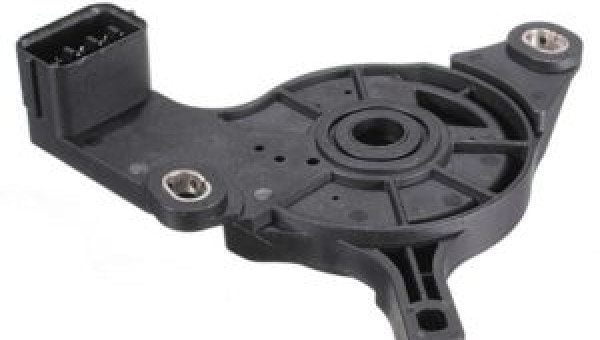
If a simple examination cannot solve your problem, it means there is something wrong inside the buckle that you cannot reach. This means it’s time for you to remove the buckle. A seat belt buckle is either screwed on separately or it comes with the seat.
In both cases, you will need to use your screwdriver to remove the female part. Removing the seat is a bit tricky, but nothing that a few YouTube videos can’t teach you. Do it and move on to the next step.
4. Disassemble the buckle
To get a good idea of the fault, you need to disassemble the buckle and examine its internal contents. A buckle has sockets that need to be unscrewed to take it apart. However, there are other buckles without sockets that can be opened with slight pressure.
This part should not be difficult. However, keep in mind that there are small springs inside the buckle that could come out if you handle it roughly.
5. Check the integrity of the system inside
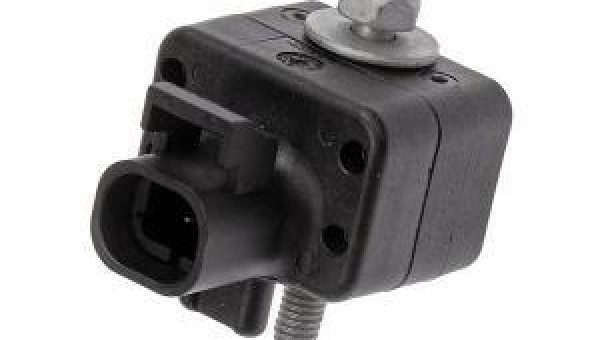
broken seat belt buckle Inside the buckle, there will be a small system in place that catches and releases the tongue on your command. A broken seat belt buckle will obviously not perform this action correctly, so you need to check its operation once opened.
There are three main parts inside: the red push button, a cam, and springs. When you push the tongue in, the cam catches it and holds it firmly. As soon as you press the red button, the cam releases using the springs and the tongue comes loose.
Therefore, check if the cam is out of position, if any of the springs have disintegrated, or if something is stuck inside. Replace any broken parts, clean all the old parts, and check the mechanism again. Everything should work fine now, but if it still doesn’t, you need to proceed to the final step.
6. Reassemble and secure the buckle
Once your work is done, carefully reassemble the buckle and tighten it. While you’re at it, clean the small crevices that your cleaner misses between the seat and the transmission tunnel.
A lot of debris gathers there, which eventually gets into your buckle and causes problems. If you are careful, your buckle will last you a long time. Otherwise, you always have step number seven.

If it’s not repairable: buy a new buckle
When all else fails, your only choice is to replace your old seat belt buckle with a new one. The new buckle will be manufactured by the company and quality tested, so you won’t have any problems with it for at least a few years.
You can keep the old buckle for parts in case you have to perform the buckle repair operation again. Alternatively, you can ask a professional seat belt repairer to take a look at your seat belt buckle, but chances are if you can’t fix the problem, they won’t be able to either.
No disrespect to the repairer, but a buckle only has a few parts and a simple mechanism. There is nothing complex in the system, so you can be as good as a repairer.