To protect your car’s engine and reduce fuel waste, it is essential to change the oil periodically. However, incorrect oil changes can damage your car. Regarding these issues, one of the frequently asked questions by drivers is: can you add oil to a hot engine or should you let it cool down? If you have the same concern, this article is for you:
Can You Add Oil to a Hot Engine? Answer Here
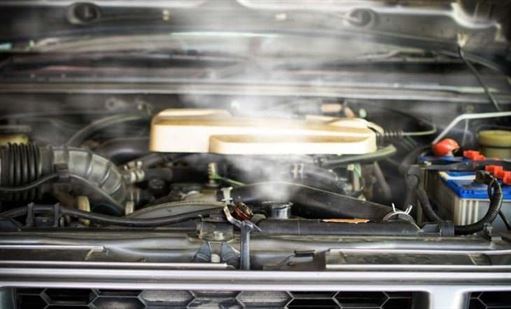
Changing the oil when the engine is hot or cold is one of the recurring questions that many drivers endlessly debate. So who is right, who is wrong? And is it acceptable to add oil to a hot engine? We will explain everything in this section. Our answer is “Yes,” adding oil to a hot engine can be acceptable if you are in a hurry or have urgent cases. Changing the oil when the engine is hot also has advantages. When the engine is still warm, the car’s oil is in a liquid state. When changing the oil, it will drain faster, saving a lot of time.
However, it does reveal some drawbacks. When the engine has just stopped and you drain the oil, there is still a quantity of oil above the parts that have not returned in time, so the old oil will not all drain out immediately, and when you replace it with new oil, it will not be as effective, and the new oil will quickly change color. Draining the oil will also be more difficult because the engine is still hot, and the car parts, including the engine oil, have high temperatures, easily causing burns.
Should You Add Oil to a Hot or Cold Engine?
There is no clear answer to this question. Automotive experts state that there are no specific standards indicating whether you should change the oil when the engine is still hot or cold, as each person will have their own way of applying it. For some models like the Acura TSX or Toyota RAV4, manufacturers recommend in the manual to check the engine oil when the engine is hot. That is why it is important to pay attention to your owner’s manual so that the answer for your car is found in that manual.
By letting the engine cool down and then changing the oil, all the old oil will be drained, but the limitation is that the residue will settle at the bottom of the engine block and cannot drain completely, once dirt and iron film remain. Too much remains in your engine, which will lead to faster engine wear, which is very dangerous.
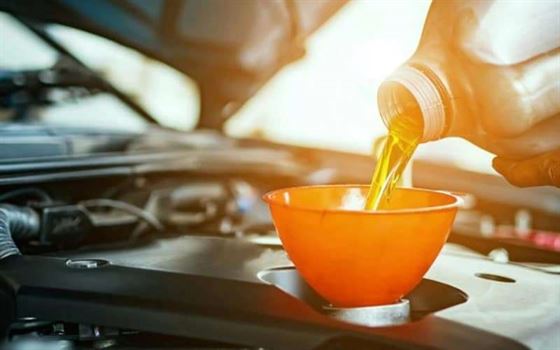
What Is the Best Way to Change Engine Oil?
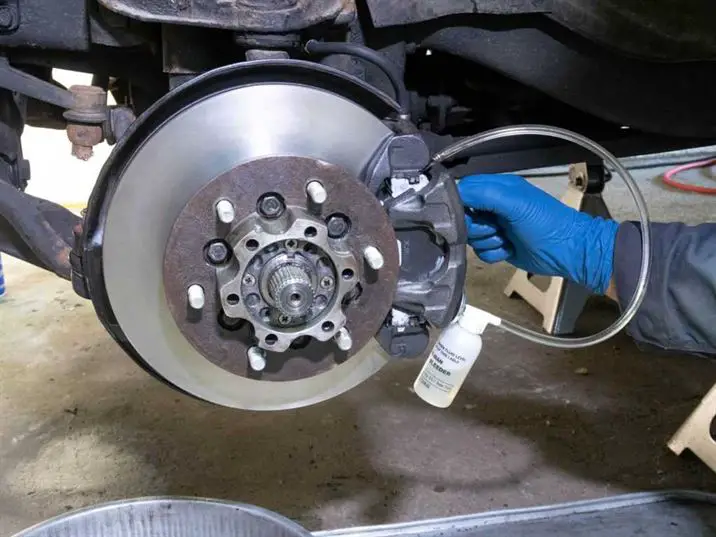
What is the correct way to proceed? You need to stop the engine, let it sit for several minutes, then check the oil level on the dipstick and change or add more oil if necessary. In our opinion, if you let it sit for about 10 to 15 minutes, almost all the used oil from the engine parts can drain out. At that point, when draining the oil, all the buildup will flow out. The oil should be left in place for a while so that the remaining oil on the engine parts has enough time to drain. If your engine is cold, you should first warm it up, then check and change the oil after 5 to 10 minutes. Oil burns are a very dangerous accident, so you should wear protective equipment to ensure safety when changing the oil.
Things You Need to Know When Changing Engine Oil
1. Change the Engine Oil Even If Your Car Hasn’t Been Driven for a Long Time
Many additives in the oil perform different functions such as cleaning, anti-wear, anti-rust, anti-oxidation, and anti-foam; while performing these functions, these additives are gradually consumed, causing the oil to degrade and need replacement.
Therefore, even if your car is not driven frequently, the oil stored in the engine for a long time will degrade over time. The manufacturer also specifies the oil’s service life, which is usually 1 year; if after 1 year the vehicle has not reached the specified mileage, the engine oil should still be changed.
2. Oil Change Intervals Depend on Usage Conditions
There are concepts that oil should be changed after about 3,000 km, 5,000 km, or 10,000 km. All of these may be true, in a way. Oil change intervals often depend on many factors such as the vehicle model and age, road and climate conditions, as well as driver habits.
For older vehicles or those driven daily, the oil should be changed earlier. Cars driven in the city with continuous start/stop mode should also change oil more often than cars driven on the road at constant speed.
3. Replace Engine Oil with the Appropriate Viscosity and Quality Type
To evaluate and choose oil, there are two standards that drivers should pay attention to: API and SAE. API indicates whether this type of oil has all the necessary ingredients to perform functions like cooling, cleaning, lubrication, etc., or not. SAE ensures both engine lubrication and helps the vehicle start in difficult conditions.
4. It Is Not True That Thicker Oil Is Better
Some drivers thought that the thicker the oil, the better its lubricating ability. However, this is single-grade oil, ensuring only sufficient viscosity at high temperatures to lubricate the engine. Current oil is a multi-grade type that not only ensures lubricating viscosity at high temperatures but also helps the car start easily at low temperatures because it is not too thick.
5. Consider Choosing Between Synthetic Oil and Conventional Oil
If they use conventional engine oil, drivers must remember to change the oil on time. Synthetic oil has some notable advantages: it contains special additives that prevent sedimentation; oil viscosity and flow are better in cold weather (mountainous areas, snow and ice); maintains stable viscosity even at high temperatures (areas with hot climates or sandy deserts).
Incorrect oil changes lead to many effects on the engine, the vehicle’s lifespan, and many potential dangers for the driver. Therefore, car owners should be proactive in changing the oil periodically and correctly to ensure optimal efficiency.