
Your engine’s coolant temperature sensor must function at all times because it monitors your engine’s temperature and then sends the temperature information to the car’s central computer.

Your engine’s coolant temperature sensor must function at all times because it monitors your engine’s temperature and then sends the temperature information to the car’s central computer.
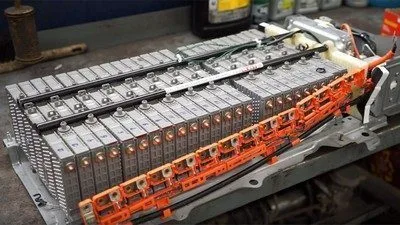

Over the past 15 to 20 years, hybrid cars have received a lot of attention. These are vehicles that run on electricity and gasoline.
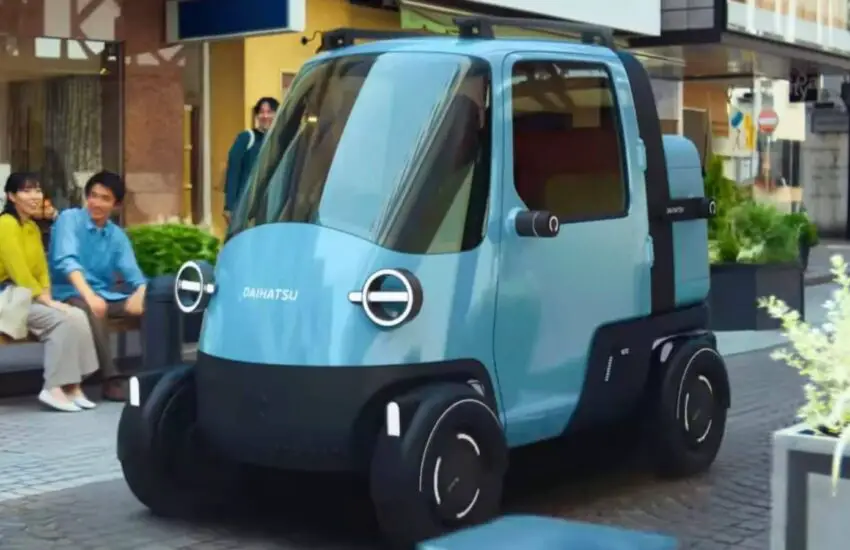
Daihatsu has turned to nostalgia to power its electric future, resurrecting the iconic Midget nameplate for a modern zero-emission vehicle. The original Midget, launched in 1957, was a revolutionary three-wheeled mini-truck that became a symbol of Japan’s postwar economic recovery. This revival represents a strategic bridge between the brand’s heritage and its electric ambitions.
The new electric Midget concept showcases how Daihatsu plans to adapt its popular Kei car segment for the electric era. While maintaining the charming, compact dimensions that made the original so beloved in urban environments, the electric version features contemporary styling and advanced technology. The vehicle’s small footprint makes it ideal for navigating crowded city streets while producing zero emissions.
This electric revival addresses modern urban transportation challenges with its compact design and eco-friendly credentials. The vehicle’s modest size allows for easy parking in tight spaces, while its electric powertrain ensures silent operation and minimal environmental impact. The practical cargo bed maintains the utility that made the original Midget popular with small business owners and urban delivery services.
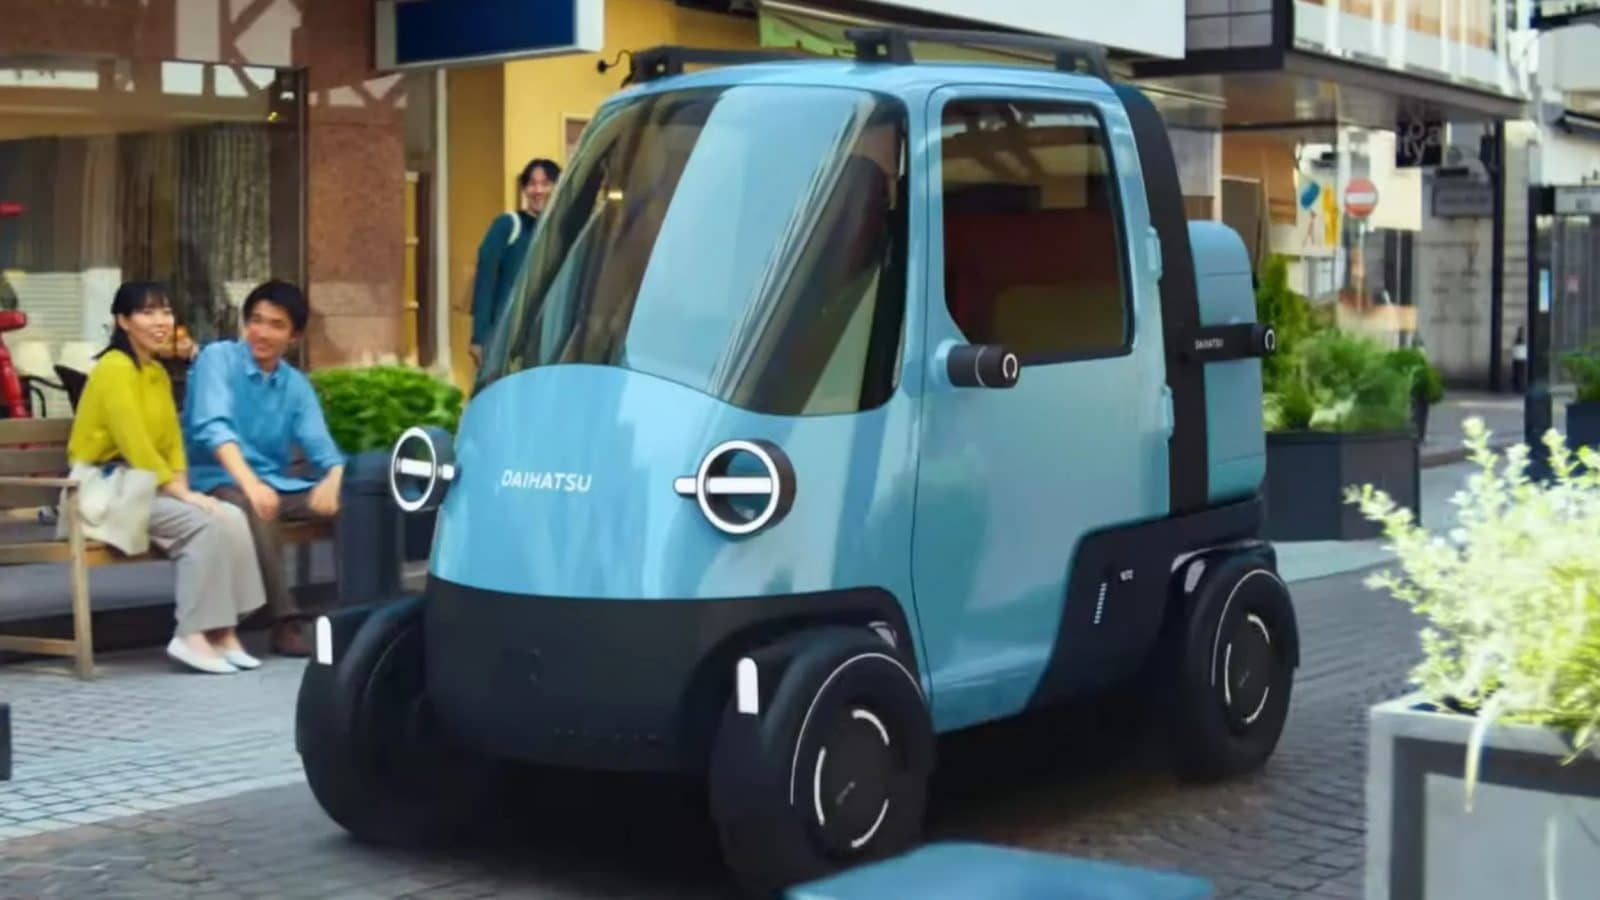
By choosing to electrify the Midget nameplate, Daihatsu leverages emotional connection while demonstrating its commitment to sustainable mobility. The concept vehicle represents how traditional Kei car advantages – small size, maneuverability, and affordability – can be enhanced with electric propulsion. This approach may help ease consumer transition to electric vehicles by combining familiar practicality with new technology.
The electric Midget concept demonstrates how automotive heritage can inspire future innovation. As cities worldwide implement stricter emissions regulations, compact electric vehicles like this revived classic could play a crucial role in sustainable urban transportation networks.

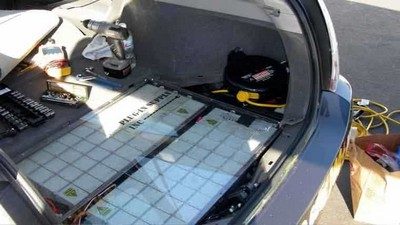
A hybrid car battery serves a much greater purpose than the battery found in a traditional car.
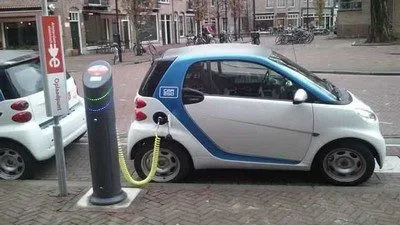
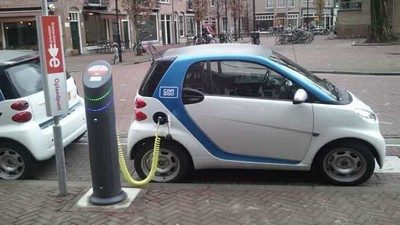
There are currently three main types of cars on the roads. There are regular gasoline cars, hybrid cars, and electric cars.

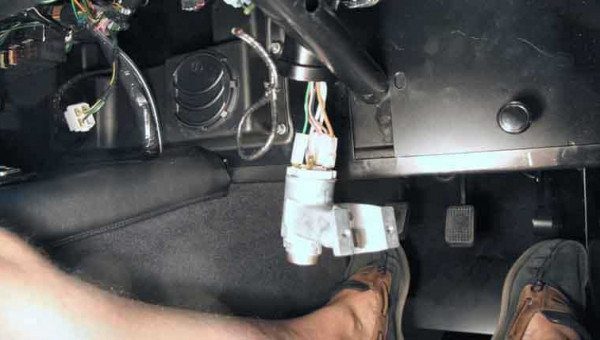
A car immobilizer does exactly what its name suggests. It is a technological security device that will prevent your car from moving. In other words, it is an anti-theft device that will prevent thieves from being able to wire your car and drive it away.
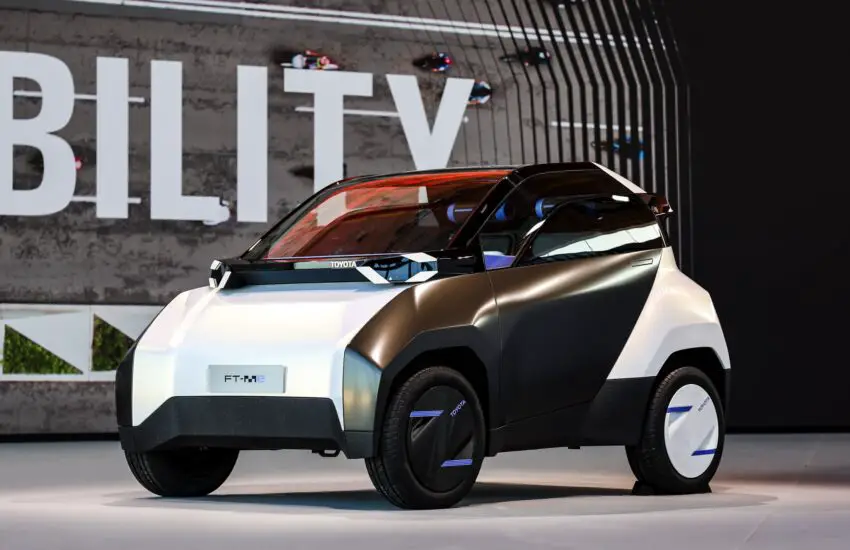
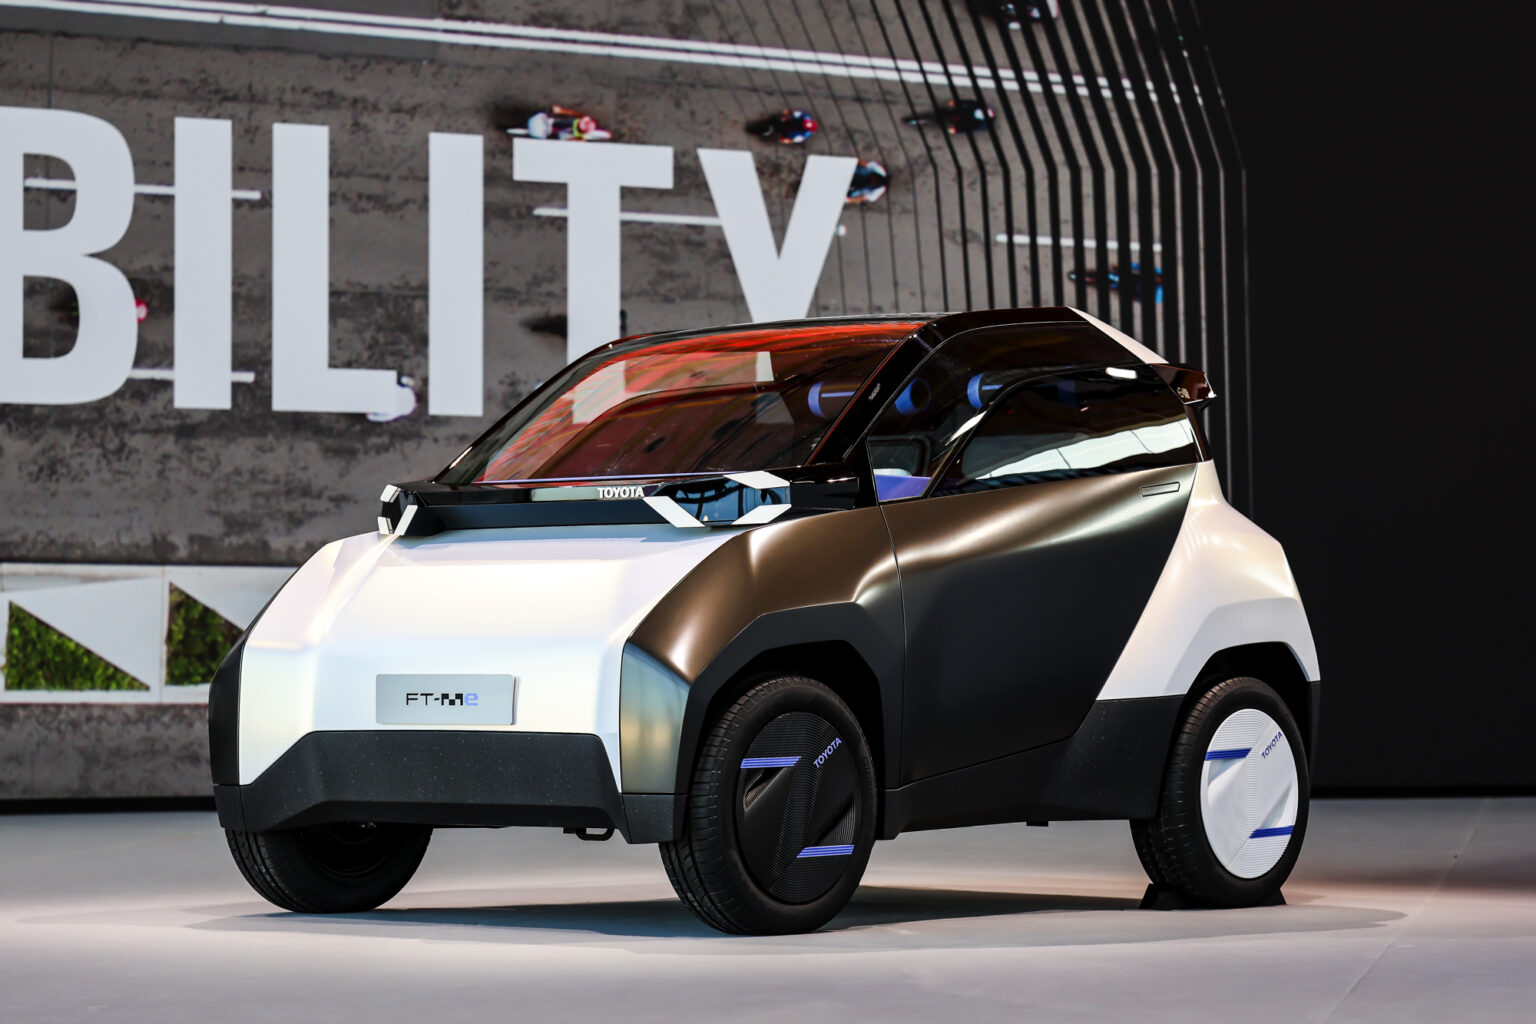
Following its Spring 2025 debut, the Toyota FT-Me concept appears to be transitioning toward a production model. Recent developments indicate significant progress, with the project securing substantial backing that validates automakers’ interest in alternative urban mobility solutions.
The British government’s recent financial support for Toyota’s electric quadricycle initiative marks a crucial milestone. This endorsement demonstrates official recognition of the project’s potential to address urban transportation challenges. The funding will likely accelerate the development timeline, potentially bringing the vehicle to market sooner than initially anticipated.
The production version maintains the FT-Me concept’s distinctive compact dimensions while incorporating practical improvements for daily use. The electric quadricycle’s design focuses on maximizing interior space within a minimal footprint, making it ideal for congested city environments. Its electric powertrain offers silent operation and zero local emissions, aligning with urban sustainability goals.
This vehicle category represents a strategic move for Toyota, positioning the automaker in the growing micro-mobility segment. The electric quadricycle could appeal to urban commuters seeking affordable, efficient transportation alternatives. As cities worldwide implement stricter emissions regulations and congestion charges, vehicles like Toyota’s upcoming model may become increasingly relevant for urban dwellers.
The progression from concept to near-production status underscores Toyota’s commitment to diversifying its electric vehicle portfolio. While specific technical specifications and pricing remain undisclosed, the project’s advancement signals Toyota’s confidence in this emerging vehicle category’s commercial viability.
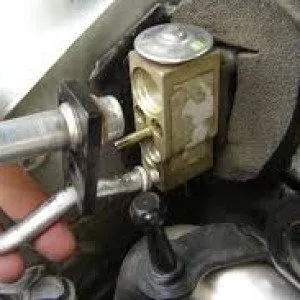

The air conditioning expansion valve is located in a vehicle’s air conditioning system. The purpose of the valve is to manage the amount of refrigerant liquid that can flow through this system.


If you are involved in an accident in a modern car, its seatbelt system will keep you safe in your seat so that you are not thrown forward or fly through the windshield. Of course, this can only happen if you comply with the law and actually wear your seatbelt.
Operation and Importance of the Seatbelt Pretensioner
Seatbelt Pretensioner Replacement Cost
In conclusion, the seatbelt pretensioner is a crucial safety device in modern cars. By locking instantly during an accident, it works in concert with the seatbelt and the airbag to protect the front occupants. It is imperative to wear your seatbelt on every journey so that this system can function effectively. After an accident, replacing the pretensioner is necessary to ensure the future safety of the vehicle.
Symptoms of a Bad Mass Air Flow Sensor (MAF Sensor)
The Mass Air Flow (MAF) sensor is an important component that the engine control unit relies on. When the airflow enters the engine’s fuel injection system,