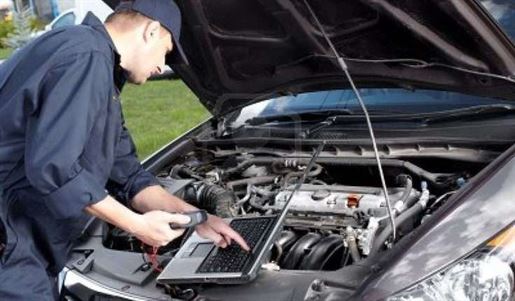
If your car won’t start and makes a clicking sound inside, the cause is a faulty starting system. And replacing a starter is advice some mechanics will give you in this situation. However, can the starter be brought back to life without replacing it? This question will be answered in this topic. Let’s see how to repair a starter without replacing it.
What causes a starter to malfunction?
As we all know, the internal combustion engine cannot operate on its own. That’s why the starter was developed and plays an essential role in helping your car start and run. This system works on the principle of converting the chemical energy stored in the battery into electricity and then into mechanical energy in the engine. The structure of the starter consists of 6 parts: battery/car battery, ignition switch, starter relay, starter safety switch, starter motor, and battery cable. Each of these parts performs a different task and, when combined, they form a complete system.
Having a key function in the vehicle, so when the starter has issues, you will notice the following symptoms of a bad starter:
- The car engine does not start
- Unusual noise (clicks, grinding, or whirring…) when you turn your car key
- Lights to illuminate the car dashboard
- Burning smell or smoke under the hood
- Engine whining without starting
…
There are a few typical signs of a bad starter that you can easily detect, so what are the culprits of this problem:
The cause of mechanical malfunctions in the starter:
- The positive battery terminal is oxidized
- Failure of the flywheel teeth, the freewheel clutch, or other parts of the car’s device.
- Faulty ignition switch
Causes of electrical failure in the starter:
There are several reasons for a broken starter that can come from your car’s electrical system:
- Dead battery
- Malfunctions of the anti-theft system, particularly the immobilizer.
- Blown fuse
- Open circuit or short circuit between windings
- Failure of the keyless start system
Note: If you see the immobilizer and/or check engine lights come on, contact a garage for troubleshooting and repair.
After sorting and diagnosing the reasons, we will find a way to know how to repair a starter in a car without replacing it:
How to repair a starter without replacing it?
You will need to prepare a few tools before starting this process:
- A power cable
- Hammer
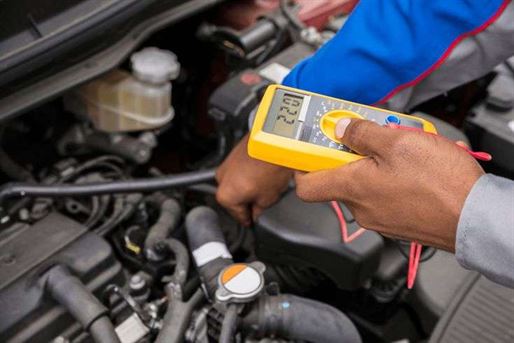
- A multimeter
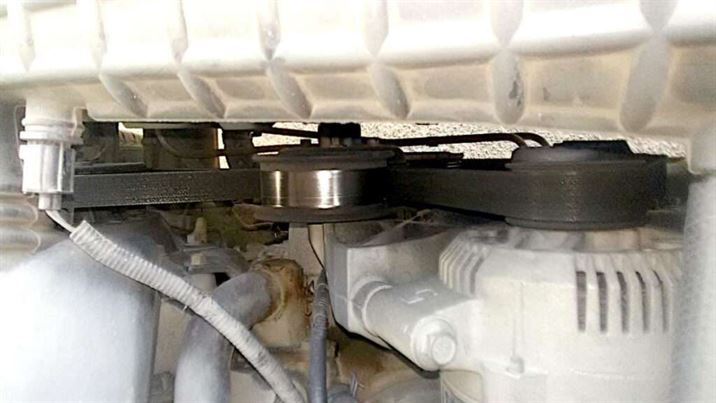
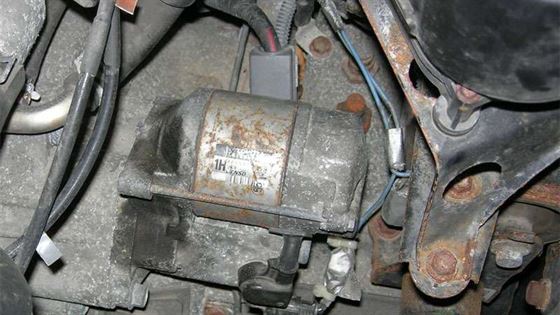
The starter relay
When the car starts, the first thing you need to check is the starter relay. The purpose of this part is to power the electric motor. When the starter relay malfunctions, it shows obvious symptoms, including a slow whining of the engine starter and a clicking noise accompanied by no response from your engine. To fix this issue you can try cleaning the starter relay terminal. If this method does not completely solve the problem, you will need a new relay.
Fixing the fuse and wiring
The starter fuse is always located in the main fuse box, you can find its exact position in the manual guide. If you notice signs of melting, it will indicate that the starter fuse is faulty. In this situation, you need to replace the fuse with a new one.
Another way to test the fuse is to use the multimeter to check the fuse. To do this, set the device to voltmeter mode. Ground the negative probe to the vehicle’s body metal and the positive one first one by one, then the second contact with the fuse. If only one contact shows voltage, it means the part is faulty.
Remove the fuse and test it in resistance mode. If you detect that the resistance is high, it’s a sign that your starter fuse is blown and you need to change it.
Over time, the wiring or contacts can be damaged due to oxidation. So, when you see symptoms of corrosion or mechanical damage on the wiring system, you need to repair it by cleaning it with sandpaper or a soft brush. In some cases, the wire is irreparable, so you will need to cut and strip it to connect the new wire.
Repairing the ignition switch
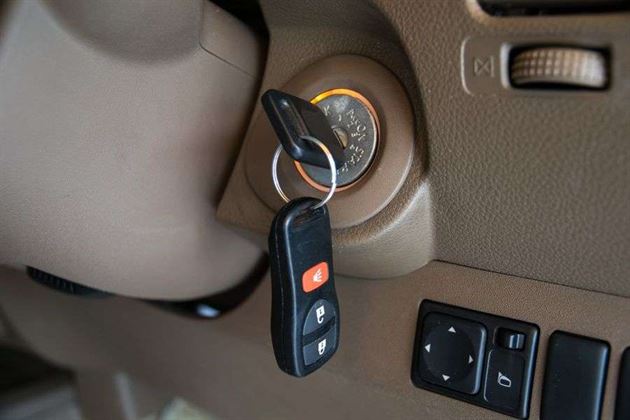
As an integral part of the starting system and considered the “gateway” to all circuits, the ignition switch functions to distribute current to the necessary places in the car’s starting system. If you turn the key but nothing happens, the culprit may be a faulty ignition switch. A faulty switch can cut power to the control modules. The best way to test the ignition switch is to try wiggling the key back and forth while the car is in park. If your engine does not start, the problem will be from the switch. Replacing the switch is the best method you can use in this situation. It will cost about $135 to $250 (including the part cost and labor cost) to replace this part.
Besides these methods we shared in the parts above, if your engine does not start due to the starting system when starting the car, you can gently tap the faulty starter housing several times with a hammer. The vibration produced can help restore the lost contact between the starter solenoid and the electric motor brush.
Wrap-up
The starter is one of the most important and indispensable parts of the car. However, when this part is faulty, for whatever reason, you don’t need to remove or replace it, you can apply the methods we shared. These methods are not too complicated to perform so you can do them yourself if you have basic mechanical knowledge. Otherwise, we recommend taking your car to the garage for a quick diagnosis. I hope you find this topic useful for the driving process. If you have any concerns, feel free to comment in the box below.