The distributor cap is an integral part of the ignition system by regulating the engine’s firing order. Although just a small component, a bad distributor cap can wreak havoc on ignition and thus affect your engine’s efficiency.
When you hear “distributor cap,” the “cap” part might make you think this unassuming element has no major importance for your car’s internal operation. However, the truth is quite the opposite.
Distributor cap problems, including clogged, cracked, corroded, or faulty caps, can lead to performance issues ranging from rough idle to stalling, or worse, your car may simply refuse to start.
Furthermore, being located in a harsh environment, the distributor cap and rotor are subject to wear and tear over time. Therefore, it is crucial to detect the symptoms of a faulty distributor cap before it fails.
Continue reading to discover the important role of a distributor cap, the symptoms of a bad distributor cap, how to troubleshoot and repair each case, as well as the cost of replacing a new one.
What is the purpose of the distributor cap?
Today, with advances in technology, fully computerized electronic ignition systems have become the standard.
However, before the mid-2000s, almost all vehicles on the road were not equipped with such a computerized system and had a distributor to facilitate engine ignition.
In all cars, SUVs, and trucks from that era, the distributor is an essential element of the engine management system.

The distributor consists of a rotor spinning inside a distributor cap. When you turn the ignition key, the engine cranks, sending high voltage through the ignition coils to the distributor rotor, specifically sending electricity into one electrode of the distributor rotor.
The rotor is connected to the ignition coil via a spring brush in the distributor cap. This electric current spins the rotor, allowing it to transfer electrical energy to separate electrodes located inside the distributor cap.
From there, the distributor cap transmits electricity to the spark plugs via a series of spark plug wires in a specific manner, and ultimately to the different cylinders in the correct firing order at precise times to ignite the air-fuel mixture inside each cylinder.
To facilitate the passage of voltage directly to the spark plugs, the second end of the rotor passes through the metal contacts of the distributor cap when there is a high electric current.
This entire process occurs whenever a cylinder needs a spark to ignite the air-fuel mixture to generate combustion.
In summary, the role of the distributor cap, along with the rotor, is to facilitate the distribution of incredibly high voltage to the appropriate spark plugs at the right time while keeping the internal parts of the distributor separate from the engine, thus keeping them clean.
How do symptoms of a bad distributor cap appear?
Natural Wear
Every time you start your vehicle, high voltage passes through the rotor and distributor cap. For this reason, they wear out over time and must be maintained regularly to ensure optimal performance.
Experts recommend that during routine maintenance, when the rotor and distributor cap are replaced, the entire ignition system be inspected to ensure everything else is in good working order, including ignition timing.
There are types of wear that can lead to distributor cap failure, which would then require its replacement, including:
- Cracks in the housing: due to exposure to freezing temperatures in winter, then sudden heat when the engine runs, causing the housing to crack. Can cause a car’s engine to misfire, which can lead to rough idle as well as hesitation during acceleration.
- Burnt distributor cap terminals: Due to constant overexposure to extremely high voltage. Can cause the engine to skip a cylinder in the firing order.
- Corroded terminals: excessive carbon buildup and any oxidation due to moisture condensation on the distributor cap can cause contact to stop or become brittle.
- Dirty or greasy terminals: Over time, terminals can become dirty with an accumulation of dirt and grime, which can cause the engine to skip a cylinder in the firing order and create strange engine noises.
- Exposure to liquids: Another type of one-off event that could cause your distributor cap to fail is if you drive through a deep puddle. Water can enter the distributor cap and short-circuit the electric current, leading to failure.
- Broken spark plug wire tower
Symptoms of a Bad Distributor Cap
As above, a worn, corroded, or wet distributor cap is a bad distributor cap, and these incidents are frequent.
You need to familiarize yourself with the following symptoms of a bad distributor to repair the damage in time, otherwise your engine will suffer:
Starting and Acceleration Problems
A functional distributor cap is essential for generating engine combustion. Therefore, a bad distributor cap, regardless of the type of damage, would most likely lead to hard starting problems.
This is especially true in cold weather, as extremely low temperatures can cause the cap to freeze. And when the engine runs, the cap, which is covered in plastic, will be subjected to a sudden burst of heat, causing it to crack.
This is very common when vehicles are parked outside or in an unheated garage at low temperatures. A cracked ignition cap can cause a car’s engine to misfire, which can lead to a rough idle as well as hesitation during acceleration.
Or worse, if the cap were to fail, well, it won’t be able to facilitate the distribution of electricity to the spark plugs, so there will be no combustion to start the vehicle.
Rough Idle
In addition to a cracked distributor cap housing, another reason for a rough idle is burnt distributor cap terminals. The terminals are the small electrodes located at the bottom of the distributor cap.
Over time, with constant exposure to very high voltage, these terminals will naturally become covered in carbon buildup or, worse, burnt. When this happens, the engine skips a cylinder in the firing order, causing a noticeably rough idle.

Stalling and Backfiring
Another common symptom of a bad distributor cap is stalling or exhaust backfiring when the car is coasting.
This is a sign that you have a broken distributor cap. The distributor rotor must spin correctly to transfer electricity to the spark plugs.
If it doesn’t, optimal combustions will not occur, the engine loses power and stalls. The longer this issue is neglected, the worse it will become.
Another reason is a faulty rotor that doesn’t send enough voltage to the spark plugs.
Shaking
If you have a faulty distributor cap, you will most likely feel some degree of vibration or even a more pronounced shudder that can be felt throughout the vehicle.
This is because the distributor rotor is not spinning correctly and the cap is not properly distributing voltage to the correct cylinder power stroke, thus messing up the timing and ignition process.
If you often notice this kind of shuddering at idle or when the car stops at a red light, it’s highly likely the culprit is an ignition cap.
Unusual Engine Noises
Another symptom is strange noises coming from the engine, especially because the cylinders are trying to start but failing, including a tapping, clicking, or spraying noise.
The most likely reason for this squealing noise is that the distributor cap is covered in dirt, grease, or other pollutants, and when air circulates in the engine, the clogged distributor cap will create a squealing noise.
If you find a dirty and clogged distributor cap during inspection, simply clean it with WD40, which will be detailed later. If the squealing persists, you may need to replace the entire distributor.
Difficulty Turning Over
Sometimes you’ll notice that in addition to the engine stalling, the car doesn’t turn over. This usually happens when the engine is cold and not when it’s hot.
When your engine starts, your battery sends electricity to your spark plugs, and the resulting spark will power the initial ignition. This then drives your crankshaft.
The “turning over,” which refers to this movement of the crankshaft after the first ignition, is what allows your engine to get back into motion.
Your engine starts but fails to turn over, indicating problems with a bad distributor cap. If the cap is intact, the problem would lie with the crankshaft or timing belt.
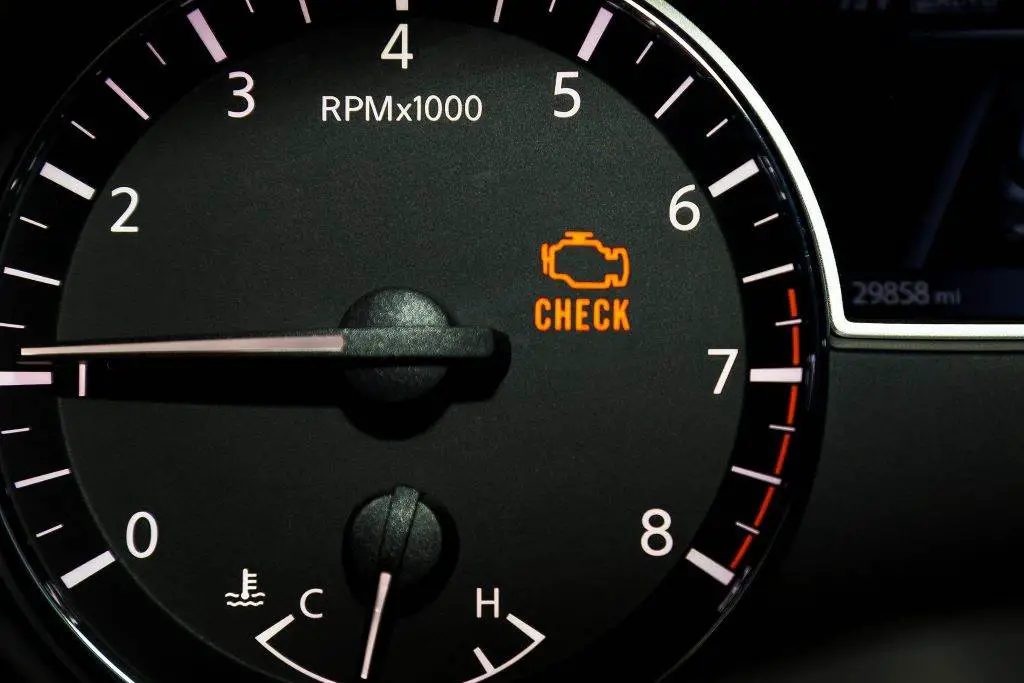
The Check Engine Light Comes On
In case of improper combustion process in the cylinders caused by a faulty distributor cap and rotor, this will be detected by the Engine Control Unit (ECU) and thus the Check Engine light will illuminate on your dashboard.
In most cases, the Check Engine light comes on when the distributor cap is cracked or corroded, or if it distributes voltage incorrectly or inconsistently, thus disrupting the firing order and timing.
Of course, your Check Engine light can mean several different things, but if you see this light on along with other symptoms above, you will need to inspect the distributor.
With a vehicle from model year 1996 onwards, you simply need to read the code from your OBDII onboard self-diagnostic system to find out what’s wrong.
However, the problem is that if your vehicle is equipped with a distributor, it was likely manufactured before the arrival of this electronic diagnostic system. So it’s not simply a matter of scanning codes using your code reader.

Bad Distributor Cap: How to Repair
Cracked Distributor Cap
To prevent cracks, which would lead to rough idle and hesitation during acceleration, the only thing you can do is regularly inspect the distributor cap for telltale signs of cracks.
Whenever possible, try to park your vehicle in a sheltered environment in winter, or at least try to protect it from frost as best as possible.
Dirty or Corroded Distributor Cap
Distributor cap terminals can also corrode due to water vapor present in the crankcase that reaches the distributor shaft (the shaft sitting atop the distributor and driven by the camshaft gear), then concentrated inside the distributor cap.
When the engine cools down, the water vapor condenses and reacts with the metal contacts inside the cap to form corrosion. Another source of excessive moisture occurs when the alternator overcharges the battery, producing battery acid that can accumulate inside the distributor cap.
One reason distributor cap terminals corrode is that the wires can be porous and thus attract moisture into the distributor cap. It is also prone to accumulating dirt and grime, or other pollutants that can enter the system.
Fortunately, during a regular inspection, if you detect a corroded or dirty distributor cap, you simply need to clean it with a multi-use cleaner/lubricant like WD40, which can remove corrosion, dirt, and grime from car metal parts and protect the metal from corrosion.
Here are some steps to clean the distributor points to ensure perfect contact:
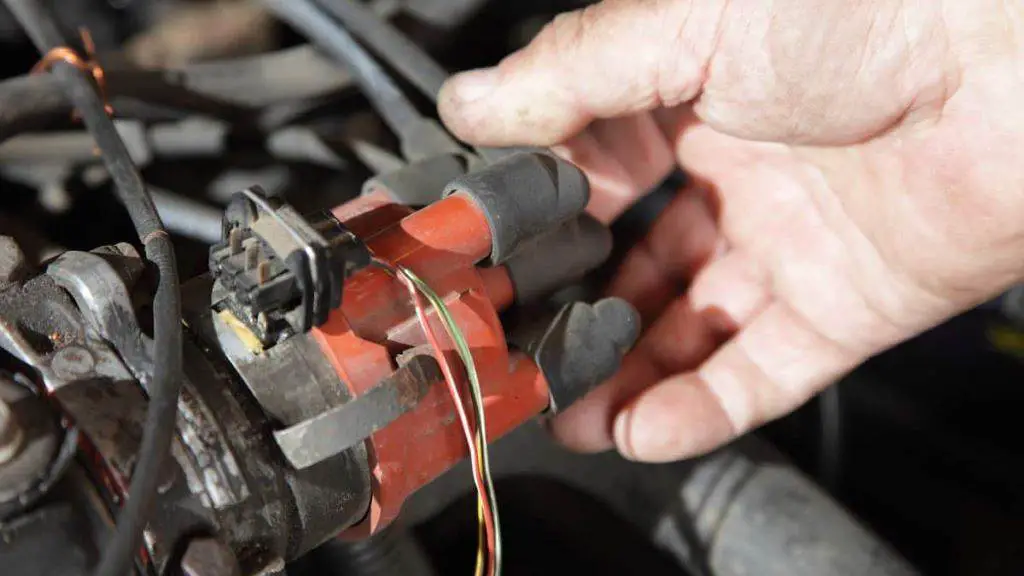
Locate the Distributor
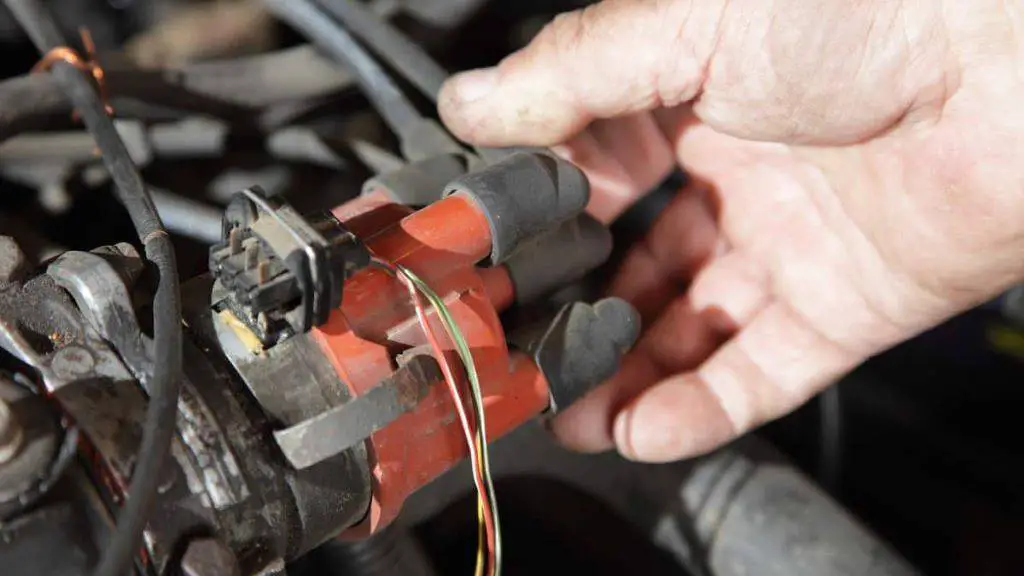
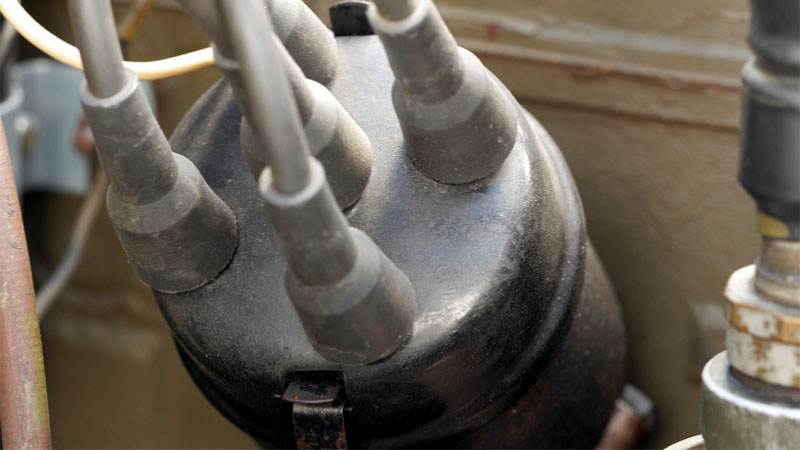
Your distributor is a gray plastic component located near the center of the engine under the hood.
The distributor cap looks like a crown and the spokes on its top are connected to thick black cables. These cables are spark plug wires.
Label and Remove Spark Plug Wires
Label the spark plug wires so you can reassemble them in the correct order once you finish cleaning or replacing the distributor cap.
You can then gently remove the spark plug wires from the distributor cap.
Unscrew the Distributor Cap
Unscrew the two screws on the side of the cap and try to pull it gently upward to remove it.
Clean Terminals with Contact Cleaner
Use a soft-bristled brush that is abrasive enough on the metal contact terminals to remove any carbon buildup and oxidation, which could cause contact to stop or become brittle.
Spray some contact cleaner and lubricant like WD40 on the internal contacts.
- Dry: Use a clean mat to completely dry the cap. If you have an air compressor, use it to speed up the drying process.
- Reassemble: Now simply reassemble everything, a reverse process of everything you did. Put the distributor cap back in place.
It’s best to use a new distributor cap gasket and for extra protection, apply a silicone seal around the base of the cap.
Connect the spark plug wire in the correct order. You can then start the car to see if it runs properly again without any strange noises.
Distributor Cap Replacement
Cost
The cost to replace the distributor cap and rotor can range from $70 to $130, including parts and labor.
In most cases, you can expect to pay between $30 and $60 for parts and an additional $40 to $70 on top for labor.
Since distributors and distributor caps are prone to wear and can therefore malfunction or fail if not replaced regularly, many newer vehicles now use a distributorless system called direct ignition system.

How Often Should I Replace the Distributor Cap?
Most vehicles are recommended for routine maintenance every 25,000 miles, during which the distributor cap and rotor are often inspected for signs of wear and will be replaced if necessary.
Whether damaged or not, the workshop will often replace the distributor cap and rotor at the same time during checks performed every 50,000 miles. If