A clicking noise heard while driving is one of the most common problems that drivers report to our mechanics. Among common noise nuisances are squeaks, groans, knocks, and of course, clicks. With daily wear and tear, your car can develop various noise nuisances. These noises can come from multiple places: the suspension, steering, engine, tires, or even the air conditioning system. For example, a clicking noise may occur when driving on uneven roads, which could indicate a problem with the suspension. A common issue is the car clicking noise, which requires special attention. Early detection of this car clicking noise is crucial to avoid costly repairs. If you hear this car clicking noise, it is imperative to consult a professional to diagnose the problem. This could save you additional expenses in case of aggravated breakdown.
What are the causes of a clicking noise?
It is essential to understand that noises such as clicking are not just nuisances but can also be indicators of serious mechanical problems. Ignoring these noises could lead not only to costly repairs but also compromise your safety on the road. That is why it is necessary to regularly inspect your vehicle and pay attention to any unusual noise.
It is important not to ignore a car clicking noise, as it could indicate more serious underlying problems that require immediate attention. For example, a clicking noise coming from the engine may signal a problem with internal parts, which could lead to major repairs if not addressed in time.
It is important to note that driving conditions can also influence the appearance of these noises. For example, driving on poor roads can worsen the wear of suspension and steering system components, leading to additional clicking noises. Furthermore, temperature variations can affect certain materials, causing unexpected noises.
In addition to the mentioned problems, the air conditioning compressor is another element to watch. If the clicking noise occurs when the air conditioning is activated, it may be a sign that the compressor clutch is failing. In this case, it is important to consult a mechanic for a diagnosis before the problem worsens.
Several worn or defective components can be the cause of a clicking noise. The symptom is often related to these elements:
Regarding the braking system, it should be mentioned that the clicking noise can also be caused by worn brake pads. Pads that are too thin or poorly installed can cause knocking noises when you brake. Be sure to check your brake pads regularly to avoid safety issues.
Additionally, it is advisable to have your vehicle inspected regularly to identify potential problems before they become serious. For example, a semi-annual check can help you detect wear on suspension components and avoid unpleasant clicking noises while driving.
It is also useful to know that clicking noises can be present even when the vehicle is stationary. This can happen when the engine is idling and internal parts begin to wear. Be attentive to any noise that occurs when your vehicle is parked, as it could be a problem requiring immediate attention.
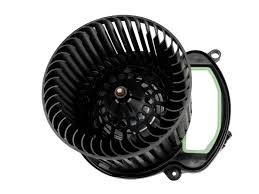
Air conditioning compressor and its clutch
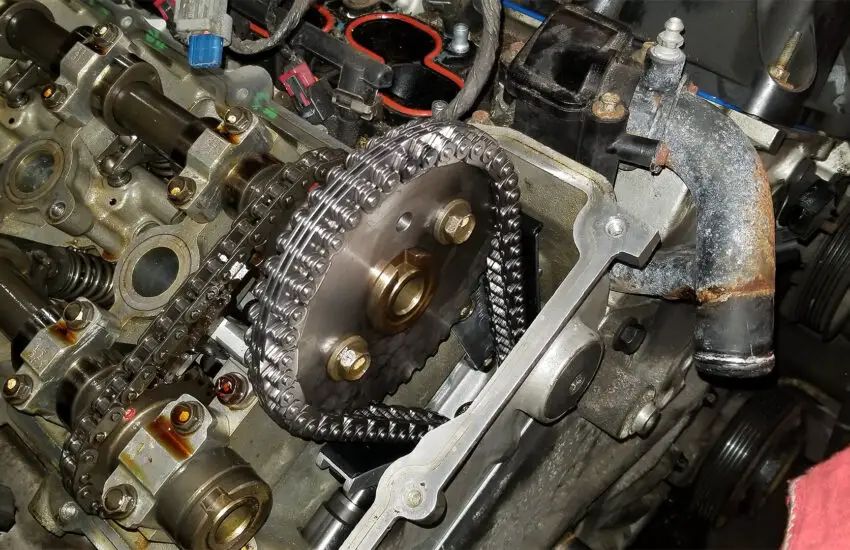
As for the timing chain, it is imperative to know that incorrect tension can not only cause a clicking noise but also cause internal engine damage. Preventive diagnosis can save you from major and costly repairs.
A click can indicate a failing air conditioning compressor or a problem with its clutch.
In conclusion, it is essential to keep in mind that regular maintenance of your car is the best way to prevent clicking noises. By being proactive in your checks, you can not only improve the longevity of your vehicle but also ensure your safety on the road.
Braking system
Loose brake parts, requiring lubrication or tightening, can produce this type of noise. The brake hardware could also be broken.
Stabilizer bar (anti-roll bar)
Worn stabilizer bar links or bushings are very common potential causes of clicking, especially on rough roads.
Timing chain
A loose timing chain can create a characteristic clicking noise when it taps against the guides and tensioners.
Other parts, such as control arms, steering bushings, and tie rod ends, can also wear out over time and require replacement. On some models, like Hyundai and Kia, a technical service bulletin (TSB) exists regarding the steering coupler causing a clicking noise while steering. Sometimes, the source is not mechanical: an object stuck in the cabin vents can also be the cause.
How to diagnose a clicking noise?
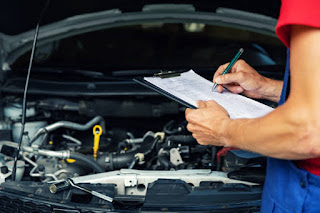
Identifying the source of a clicking noise can take multiple avenues. Our automotive technicians perform an accurate diagnosis to target the system involved and the specific culprit. For example, they may use a diagnostic tool to scan error codes, which can provide clues about the origin of the noise. To refine the search, they first inspect obvious problems (loose, worn, or broken parts), then use information from the customer – such as when the noise occurs (braking, using the A/C, going over bumps, acceleration) – to try to reproduce the problem. It is often helpful to take a road test with the technician to precisely indicate the noise you hear. A quick and accurate diagnosis can make a big difference in resolving the problem without incurring excessive costs.
Identifying the source of a clicking noise can take multiple avenues. Our automotive technicians perform an accurate diagnosis to target the system involved and the specific culprit. To refine the search, they first inspect obvious problems (loose, worn, or broken parts), then use information from the customer – such as when the noise occurs (braking, using the A/C, going over bumps, acceleration) – to try to reproduce the problem. It is often helpful to take a road test with the technician to precisely indicate the noise you hear.
Associated warning signs
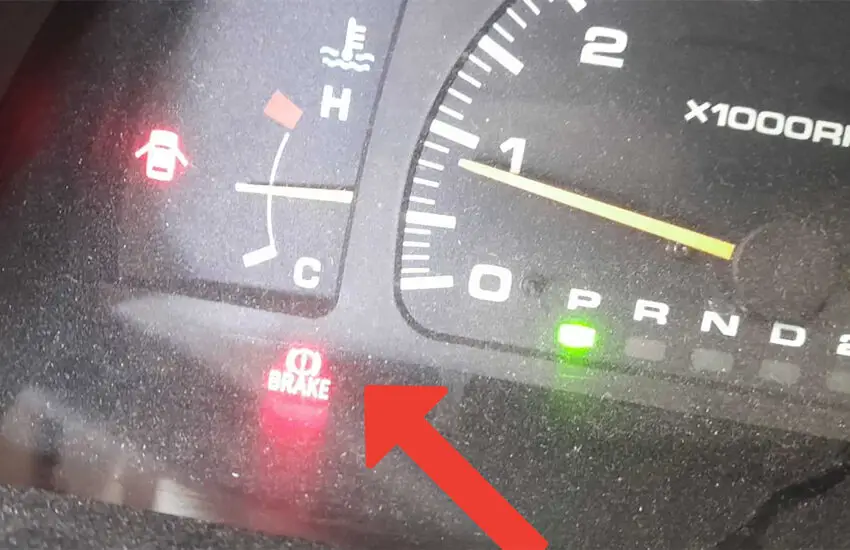
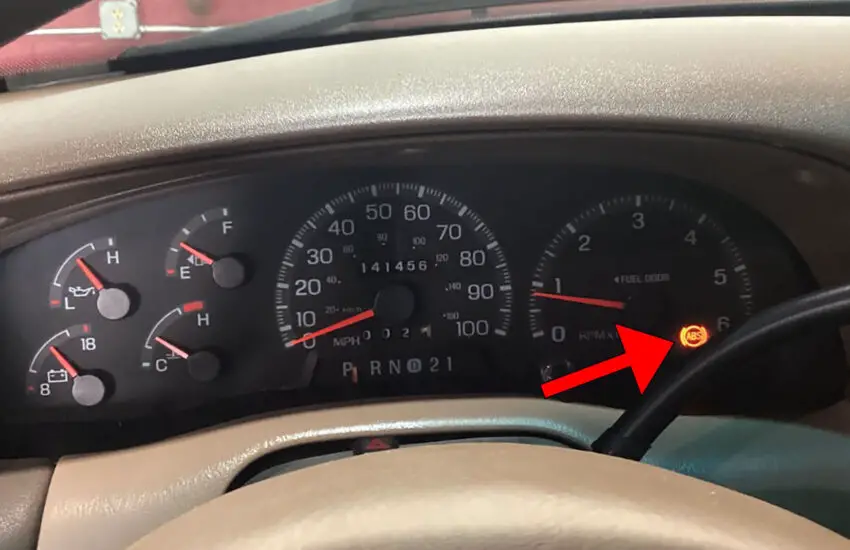
Sometimes, warning lights illuminate on the dashboard concurrently with the noise. A steering or suspension problem can activate the ABS or traction control light. It is crucial to check the dashboard for any additional warning lights that might indicate an underlying issue. A click coming from the engine, on the other hand, can trigger the check engine light. Communicating all these details to the garage, even if they seem trivial to you, is crucial for a quick and effective diagnosis. By noting these warning lights, you can help mechanics resolve the problem more effectively.
Sometimes, warning lights illuminate on the dashboard concurrently with the noise. A steering or suspension problem can activate the ABS or traction control light. A click coming from the engine, on the other hand, can trigger the check engine light. Communicating all these details to the garage, even if they seem trivial to you, is crucial for a quick and effective diagnosis.
HomeTowne Auto Repair & Tire is an auto center located near Lake Ridge, Virginia. We perform all types of repairs on all makes and models, including oil changes, brakes, alignments, inspections, and computerized engine diagnostics. If you are facing a car clicking noise, do not hesitate to contact us for a thorough diagnosis and reliable repairs.