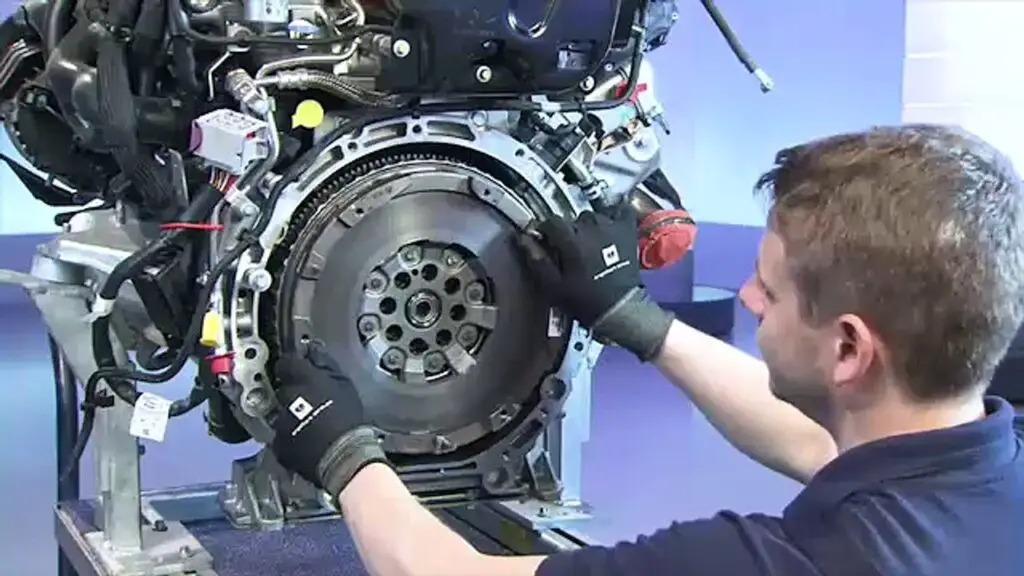
The flywheel is a key component in a vehicle’s transmission system. It serves to regulate kinetic energy and absorb vibrations generated by the engine, ensuring smoother driving and better interaction between the engine and the gearbox. Depending on the type of engine, driving preferences, and performance needs, there are mainly two types of flywheels: the single-mass flywheel and the dual-mass flywheel. Each has its specificities, advantages, and disadvantages. In this article, we will detail the differences between these two types of flywheels.
The Dual-Mass Flywheel: Comfort and Protection
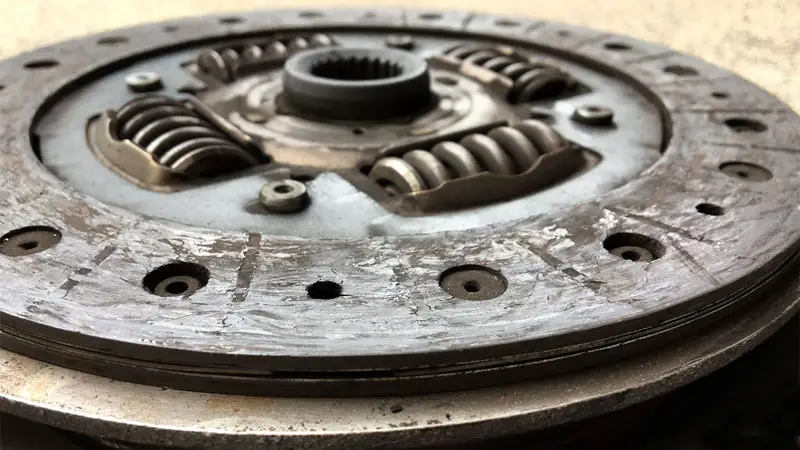
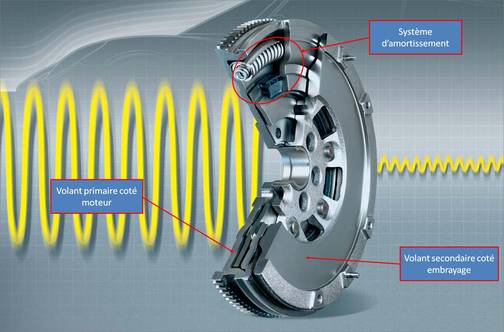
The dual-mass flywheel (or double-mass flywheel) is a sophisticated component made up of two main parts, each acting independently. It typically consists of two masses separated by springs or dampers. This system is designed to dampen engine vibrations and protect transmission components, especially in modern high-torque engines.
Advantages of the Dual-Mass Flywheel:
- Vibration Reduction: The main advantage of the dual-mass flywheel is its ability to reduce vibrations transmitted from the engine to the transmission. This improves driving comfort, especially in high-torque engines (such as diesel engines), where vibrations can be more pronounced.
- Superior Comfort: Due to its damping system, the dual-mass flywheel offers a smoother ride. It better absorbs shocks and jolts generated by engine speed variations, making driving more pleasant, especially on long trips or at low speeds.
- Transmission Protection: The dual-mass flywheel protects the transmission and other engine components by cushioning shocks. This reduces premature wear on clutch discs and gearbox gears, thereby extending the lifespan of these expensive parts.
Disadvantages of the Dual-Mass Flywheel:
- High Cost: The dual-mass flywheel is generally more expensive to purchase due to its complex design. It also requires more costly maintenance, as the springs or dampers can wear out over time, necessitating repairs or replacement.
- Spring Wear: The internal springs of the dual-mass flywheel can deteriorate, especially in older vehicles or after many kilometers. This can lead to rattling noises or unpleasant vibrations.
- Additional Weight: Due to its dual mass and damping mechanism, the dual-mass flywheel is heavier than the single-mass one. This can slightly affect engine responsiveness, particularly during rapid acceleration or engine speed changes.
The Single-Mass Flywheel: Simplicity and Responsiveness
The single-mass flywheel is a simpler component that consists of a single piece. Unlike the dual-mass flywheel, it does not have a damping system, meaning it directly transmits the engine’s kinetic energy to the transmission without filtering or reducing vibrations.

Advantages of the Single-Mass Flywheel:
- Less Expensive: The single-mass flywheel is generally more affordable, both in purchase and maintenance. It is often more economical because it has a simpler design, without springs or dampers.
- Increased Responsiveness: The absence of a secondary mass allows for a faster response to engine speed changes. This can be an advantage for drivers looking to improve their vehicle’s responsiveness, especially in smaller engines or performance vehicles.
- Fewer Moving Parts: Since the single-mass flywheel is made of a single piece, it has fewer components that can wear out. Therefore, there is less risk of mechanical failure related to spring or damping component wear.
Disadvantages of the Single-Mass Flywheel:
- More Vibrations: The main disadvantage of the single-mass flywheel is that it does not reduce vibrations. Consequently, it can lead to jolts and a less comfortable ride, especially in high-torque engines like diesel engines or engines with significant imbalance.
- Less Comfort: The direct transmission of vibrations can make the ride harsher, which may be perceived as uncomfortable, especially during long trips.
- Increased Stress on the Transmission: The lack of damping means there is more stress on the clutch and gearbox. In the long term, this can lead to premature wear of these components, which can be costly to repair.
Detailed Comparison of the Two Types of Flywheels
| Criterion | Dual-mass flywheel | Single-mass flywheel |
|---|---|---|
| Driving comfort | Very good, vibration reduction | Less comfortable, more vibrations |
| Purchase cost | More expensive (due to complexity) | Less expensive (simpler design) |
| Weight | Heavier | Lighter |
| Durability | Less durable (spring wear) | More durable (fewer moving parts) |
| Engine responsiveness | Less responsive (additional weight) | More responsive (lightness) |
| Transmission protection | Better protection (reduces stress) | More stress on the transmission |
Conclusion: Choosing Between a Single-Mass or Dual-Mass Flywheel
The choice between a single-mass flywheel and a dual-mass flywheel depends on several factors, including the type of vehicle, the driver’s priorities, and the available budget.
- If you have a modern vehicle with a high-torque engine (such as a diesel engine), or if driving comfort is a priority, a dual-mass flywheel is generally recommended. It offers better vibration reduction and protects transmission components.
- If you are looking for a less expensive solution, your vehicle has modest power, or you want improved responsiveness, the single-mass flywheel can be an excellent choice. It is simpler, lighter, and will save you money in the long run.