What does it mean?
This generic powertrain diagnostic trouble code (DTC) generally applies to all OBD-II equipped vehicles with a fuel pump control module. This may include, but is not limited to, vehicles from Ford, Chevrolet, Dodge, Chrysler, Audi, VW, Mazda, etc.
In older systems, vehicles required very little fuel pressure. Nowadays, however, with the invention of fuel injection and other systems, our vehicles require higher fuel pressures.
The Engine Control Module (ECM) meets our fuel needs by relying on the fuel pump module to regulate pressures in the fuel system. The fuel pump itself is responsible for delivering fuel to the engine.
A failure here is most likely extremely obvious because your car may not even start. The 3 main elements an internal combustion engine needs to run are: air, fuel, and spark. If any of these is missing, your engine will not run.
The ECM sets P025B and related codes when it monitors one or more conditions outside a specific electrical range in the fuel pump control module or its circuit. This can be due to a mechanical or electrical problem. Working with/around such a volatile substance, it is somewhat dangerous to diagnose or repair anything here, so make sure you are properly trained and familiar with the hazards involved.
The P025B Fuel Pump Control Module Range/Performance code is set when the ECM recognizes an out-of-range condition in the fuel pump module or its circuits. This is one of four related codes, which are P025A, P025B, P025C, and P025D.
How severe is this DTC?
I would say the severity of this code would be determined by your symptoms. If your car won’t start, it would be severe. On the other hand, if your vehicle is running normally and fuel consumption is not affected and this code is active, it’s not a very serious situation. That said, neglecting any fault can lead to delays and additional costs.
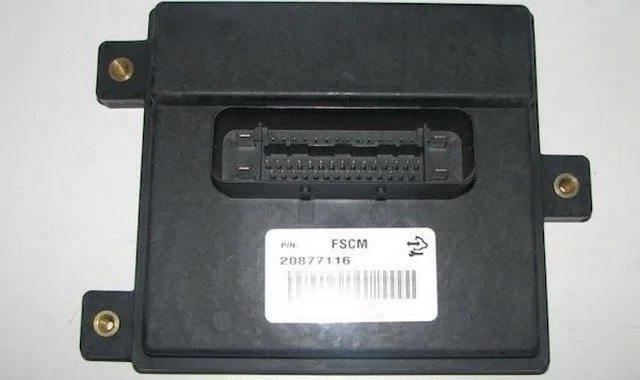
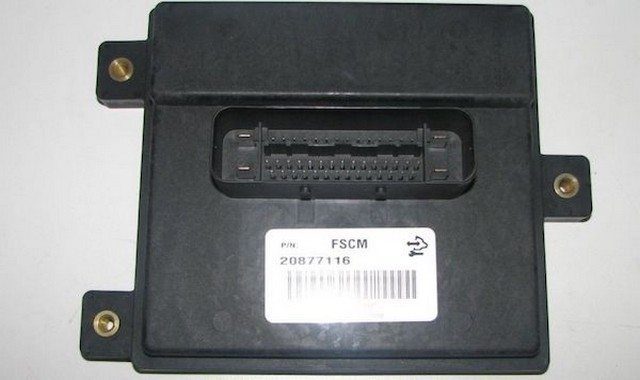
An example of a fuel pump control module:
Symptoms of a P025B fault code may include:
Engine does not start
Hard starting
Engine stalling
Poor fuel consumption
Inaccurate fuel level
Fuel smell
Poor engine performance
What are some of the common causes of the code?
Causes
of this code may include:
Faulty fuel pump module
Faulty fuel pump
Debris screen in the fuel pump
Wiring problem (e.g., frayed, melted, cut/open wire, etc.)
Connector problem (i.e., melted, disconnected, intermittent connections, etc.)
ECM problem
What are the troubleshooting steps for P025B?
Be sure to check the Technical Service Bulletins (TSBs) for your vehicle. Access to a known fix can save you time and money during diagnosis.
Tools
Some things you might need when diagnosing or repairing fuel pump circuits and systems:
OBD code reader
Multimeter
Basic socket set
Ratchet and wrench sets
Basic screwdriver set
Battery terminal cleaner
Service manual
Safety Tips
Let the engine cool down
Chock the wheels
Wear PPE (Personal Protective Equipment)
NOTE: ALWAYS check and record the integrity of your battery and charging system before proceeding with troubleshooting.
Basic Step #1
If your car won’t start, there is a very easy backyard diagnostic approach. If your vehicle is equipped with a fuel pump mounted inside the fuel tank, you can tap the tank with a rubber mallet to potentially dislodge debris from the pump while someone tries to start the vehicle. If your vehicle starts when you do this, your diagnosis is complete; you need to replace the fuel pump itself.
NOTE: Whenever you diagnose/repair anything involving the fuel system, make sure there is no fuel leak. Working with fuel with metal tools is an avoidable hazard. Be aware!
Basic Step #2
Take a look at the connectors and wires. Given the location of most fuel pumps and circuits, they can be difficult to access. You may need to raise the vehicle in some way (ramps, jacks, stands, hoist, etc.) to get better access to the connectors. Typically, the pump harness is sensitive to extreme conditions, with most being routed under the vehicle. Make sure the connectors are properly secured and are not damaged.
NOTE: Sometimes these harnesses are routed along frame rails, rocker panels, and other places where wire pinching is common.
Basic Tip #3
Test your pump. Testing the fuel pump may not be an easy task. If the fuel pump connector is accessible, you can use your multimeter to perform a series of tests to check the operation of the fuel pump itself.
NOTE: Refer to your service manual to find out which specific tests can be performed here. There is no generic test here, so make sure you have the correct information before proceeding.
Basic Step #4
Is there a fuse involved? Perhaps a relay? If so, check them. Specifically, a blown fuse could potentially cause an open circuit condition (P025A).
Basic Step #5
To check the integrity of the wires in the circuit, you might be able to disconnect the circuit at both the fuel pump and the ECM. If this is possible, you can perform a series of tests to determine:
1. if there is a fault in the wires and/or
2. what type of fault is present.

