Alpine’s Electric Rally Masterpiece
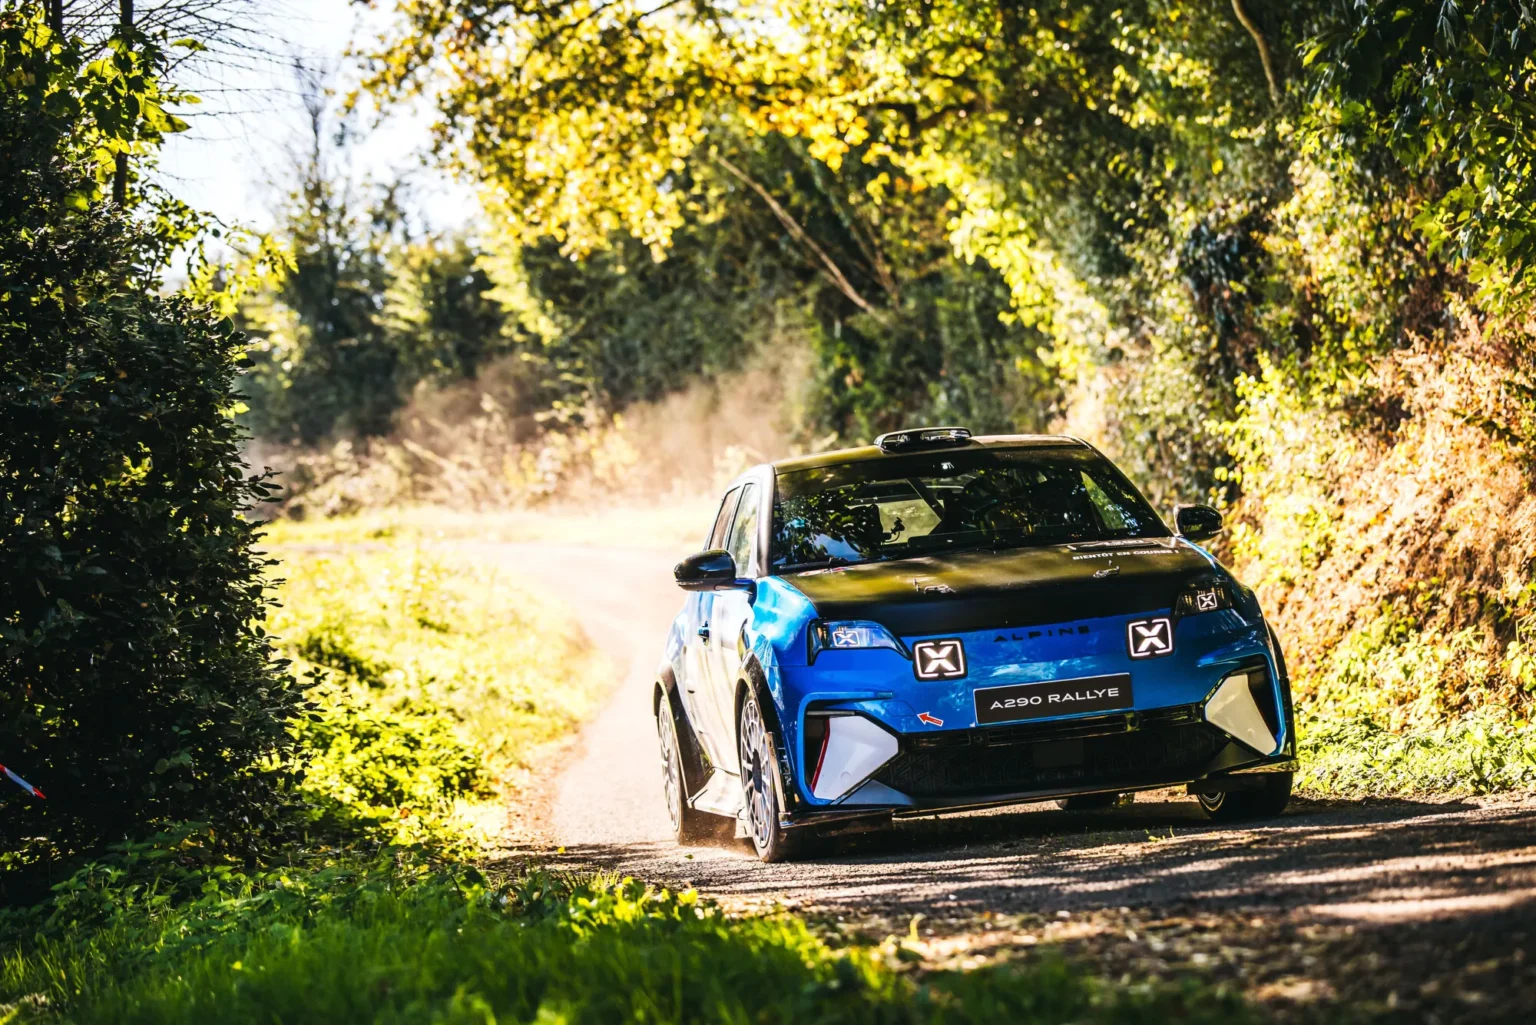
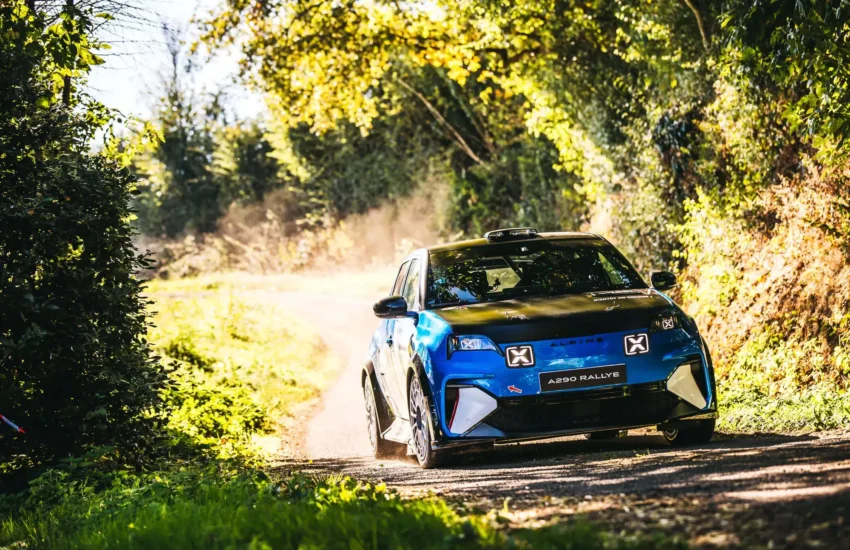
Alpine has unveiled its groundbreaking A290 Rallye, marking a significant milestone in motorsport history. This electric rally car represents a bold step forward in automotive technology while honoring the brand’s rich racing heritage. The vehicle combines cutting-edge electric propulsion with traditional rally performance characteristics.
Revolutionary Electric Performance
The A290 Rallye features an advanced electric powertrain designed specifically for rally competition. Unlike conventional rally cars, this electric variant delivers instant torque and precise power distribution across all terrains. The battery system has been engineered for optimal weight distribution and rapid charging capabilities between stages.
Advanced Rally Technology
This electric rally car incorporates sophisticated energy recovery systems that harness braking energy to extend competition range. The chassis has been specially developed to handle the unique demands of electric powertrain while maintaining the agility and responsiveness required for competitive rally driving. Advanced thermal management ensures consistent performance in varying climate conditions.
Design and Aerodynamics
The A290 Rallye maintains Alpine’s distinctive design language while incorporating aerodynamic enhancements specific to electric vehicle efficiency. The bodywork features optimized airflow management to reduce drag and improve battery cooling. The interior has been stripped to competition specifications with integrated safety systems meeting FIA standards.
This electric rally car represents a new chapter in motorsport, demonstrating that high-performance competition and sustainable technology can coexist. The A290 Rallye sets new standards for what electric vehicles can achieve in demanding rally conditions while paving the way for future innovations in electric motorsport.