What does it mean?
This is a generic diagnostic trouble code (DTC) that generally applies to OBD-II vehicles. This may include, but is not limited to, vehicles from Mazda, VW, Audi, Mercedes Benz, Ford, Dodge, Ram, etc.
Although generic, the exact repair steps may vary depending on the year, make, model, and powertrain configuration.

Before EGR (Exhaust Gas Recirculation) systems were effectively introduced in vehicles in the 1970s, engines were actively wasting unburned fuel and expelling it into the atmosphere. Nowadays, however, a vehicle must meet certain emission standards to proceed with production.
The use of EGR systems has significantly improved emissions by recirculating fresh exhaust gases from the exhaust manifold and/or other parts of the exhaust system and recycling or burning them again to ensure we efficiently burn the fuel we pay for with our hard-earned money!
The function of the EGR temperature sensor is essentially to provide a way for the ECM (Engine Control Module) to monitor the temperature in the EGR system and/or adjust the flow accordingly using the EGR valve. It does this easily by using a common temperature-sensitive resistance-type sensor.
Your OBD (On-Board Diagnostic) scan tool may display P040A and related active codes when the ECM detects a fault in the EGR temperature sensor or its circuits. As I mentioned earlier, the system involves the exhaust, which is hot—not only that, but you’re dealing with one of the hottest areas of the vehicle, so be aware of where your hands/fingers are even with the engine off for a short period of time.
The P040A code for the Exhaust Gas Recirculation Temperature Sensor Circuit A is set by the ECM when a general malfunction is detected in the “A” EGR temperature sensor circuit. Refer to a vehicle-specific repair manual to determine which part is the “A” circuit for your particular application.
How severe is this DTC?
The severity here varies significantly depending on your specific issue, but I wouldn’t classify it as severe since the entire system was introduced in vehicles simply as an emission reduction strategy. That being said, exhaust leaks are not “good” for your vehicle, nor are leaking or faulty EGR temperature sensors, so maintenance is key here, sooner or later!
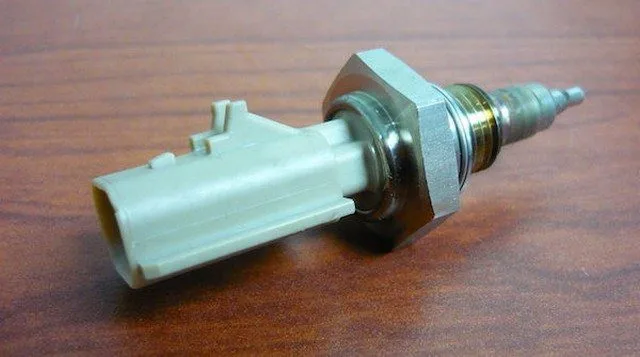
An example of an EGR temperature sensor:
P040A EGR Temperature Sensor
What are some of the symptoms of the code?
Symptoms of a P040A trouble code may include:
Failure of state/provincial smog or emissions test
Engine noise (knocking, ticking, rattling, etc.)
Louder exhaust
Excessive exhaust odors
What are some common causes of the code?
Causes
of this P040A engine code may include:
Faulty or damaged EGR (Exhaust Gas Recirculation) temperature sensor
Leaking EGR temperature sensor gasket
Cracked or leaking exhaust pipe where the sensor is mounted
Burned wiring harness and/or sensor
Damaged wire(s) (open, short to power, short to ground, etc.)
Damaged connector
ECM (Engine Control Module) issue
Poor connections
What are the troubleshooting steps for P040A?
Basic Step #1
The first thing I would do here is check everything we can see by simply inspecting the sensor and the surrounding EGR system, looking for exhaust leaks in particular. Also check the sensor and its harness while you’re at it. Remember what I said about those high temperatures? They can wreak havoc on plastic and rubber insulated wires, so inspect them carefully.
TIP: Black soot can indicate an exhaust leak around the area.
Basic Step #2
Many EGR issues I’ve seen in the past have been caused by soot buildup in the exhaust, potentially due to a number of things (poor maintenance, low-quality fuel, etc.). In this case, it’s no exception, so it may be wise to clean your EGR system or at the very least the temperature sensor. Be aware that sensors mounted in exhaust systems can feel seized when you attempt to remove them.
Remember that these sensors are subjected to significant temperature fluctuations, so a bit of heat using an oxy-acetylene torch (not for the layperson) can help loosen the sensor. Once the sensor is removed, use carburetor cleaner or a similar product to effectively soak the soot. Use a wire brush to dislodge soot in heavily built-up areas. When reinstalling the cleaned sensor, be sure to apply some anti-seize to the threads to help prevent seizing.
NOTE: The last thing you want to do here is break the sensor inside the manifold/exhaust. This could be a costly mistake, so be careful when loosening the sensor.
Basic Step #3
Check the sensor’s integrity by measuring the actual electrical values against the manufacturer-specific desired values. To do this, use your multimeter and follow the manufacturer-specific pin testing procedures.