If you are new to the automotive field, the term coolant temperature sensor might be very unfamiliar to you. This sensor is the mechanism responsible for telling the car’s computer the precise operating temperature of the engine. This dictates the dynamics of the engine’s operation. Before such sensors, the choke was the mechanism that did this. Now, thanks to these temperature sensors, the process is more automated, and the engine runs smoothly without freezing in winter or overheating in summer.
But why would you need to test it? Simply because it can sometimes malfunction. If the coolant temperature sensor malfunctions or fails, you might face problems such as stalling, increased fuel emissions, disrupted ignition timing, rough shifting, etc.
Testing the sensor is not difficult. This blog explains how to do it. Here is another one of our maintenance tips that will help you improve your car.
Symptoms of a Faulty Coolant Temperature Sensor: You Must Not Ignore Them
The coolant temperature sensor has the responsibility of measuring the coolant temperature and then transmitting the data to the ECU. From there, the ECU will calculate and adjust the fuel injection timing, turn the cooling fan on/off, etc., to ensure maintaining an appropriate temperature so the engine always operates at its optimal capacity. The coolant temperature sensor location is typically inside the engine fluid compartment, near the coolant.
Over time, like other sensors in your car, coolant temperature sensors can encounter errors such as sensor damage (short circuit, open circuit, insulation damage, internal sensor damage), broken wire, ground contact, positive contact, damaged electrical connector… And there are common signs of a coolant temperature sensor error:

Check Engine Light On
The “Check Engine” light is a common sign and perhaps the first one when the coolant temperature sensor, as well as other engine sensors, are faulty. Then you need to use a diagnostic tool to determine if the error code is caused by the coolant temperature sensor.
Increased Fuel Consumption
The ECU will use the signal from the coolant temperature sensor to control the amount of fuel injected into the combustion chamber. Therefore, when the sensor is damaged or faulty, the sensor signal sent to the ECU will be incorrect and cause the ECU to misjudge the engine temperature. If the engine temperature is low, the ECU will inject more fuel to warm up the engine, thus increasing fuel consumption.
Furthermore, if the sensor registers a low coolant temperature, the ECU will control the injection to enrich the fuel mixture. This easily causes engine shaking and makes acceleration difficult.
Engine Overheating
In modern vehicles, the coolant is cooled by a cooling fan. The cooling fan is installed behind the radiator and is activated/deactivated via a relay, and the relay is controlled by the ECU through the signal from the coolant temperature sensor. Therefore, when the signal from this sensor is incorrect, the cooling fan will not operate properly. In this case, the engine may overheat.
Steps to Test a Coolant Temperature Sensor
There are 4 simple and easy steps you need to follow.
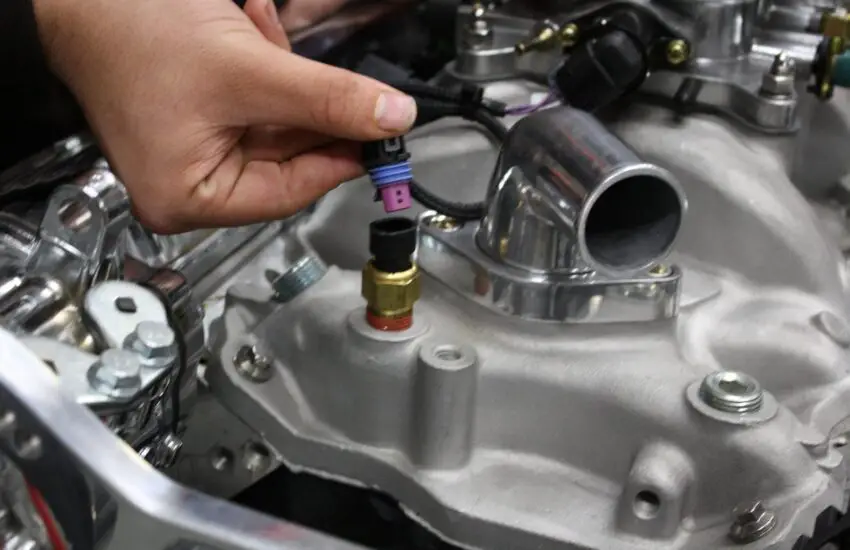
Step 1: Locating the Coolant Temperature Sensor
It is located under the hood in the engine block. Simply open the hood latch and hold it open. Use a drop light if you need better vision in the engine block. Look in the middle of the pulleys at the front of the block. A small terminal coming out of the block itself will become visible. You will see a wire coming out of the terminal. Exactly this terminal and wire are your car’s coolant temperature sensor.

Step 2: Connection with a Volt-Ohm Meter
Simply take a digital volt-ohmmeter. If you don’t have one, chances are one of your neighbors does. Testing it with this meter is the safest way to know if the sensor is working properly or is faulty.
Remember, it’s important to connect it the right way. If you have a good understanding of terminals, you can even jump-start a car with a dead battery.
Here’s how to connect the meter to the sensor. Take the black wire from the meter and touch it to any solid metal. Now, take the red wire and connect it to the terminal end of the coolant temperature sensor. Set the digital meter reading to the 20k range.
Step 3: Checking the Reading
You will now need to start the engine and let it run for at least two minutes to allow it to reach operating temperature. You will need to monitor the meter the entire time while the engine is running.
Pay attention to what you should see on the digital meter. When the engine is running, you should notice variations of more than 200 ohms (variations between cold and hot engines). If you find that the difference does not exceed 200, you are dealing with a faulty coolant temperature sensor.
Step 4: Checking a New Sensor
If you are checking a brand new sensor, you must follow this.
Attach the black wire of the volt-ohmmeter to the body of the cold sensor (this is before starting the engine). The reading should be around 2,000 ohms. Then check the sensor in the hot sensor (once the engine has been run). If the reading is not well below 2,000 ohms, you have a broken coolant temperature sensor.
If you find it is faulty, you need to replace it as soon as possible. Otherwise, it can cause many problems, some of which we mentioned at the beginning of this blog.
Final Thoughts
Most coolant temperature sensor errors are not serious and can probably be repaired. However, in addition to understanding the causes and symptoms of temperature sensor errors, vehicle owners must regularly maintain their car to detect and resolve them quickly, thus maintaining optimal operating conditions for the car.