Of course, I can help you organize the article on cleaning the oxygen sensor (O2 sensor) for better understanding. Here is a structured version of the article:
How to Clean the Oxygen Sensor: 6 Simple Steps to Follow
Vehicles showing signs of shaking during acceleration may indicate that it is necessary to clean the oxygen sensor. It is possible to clean this sensor at home by following very simple steps.
- Essential Information on O2 Sensors
- Function of the Oxygen Sensor
- Location of Oxygen Sensors
- Operation of an O2 Sensor
- Consequences of Oxygen Sensor Failure
- Why is it Necessary to Clean the Oxygen Sensor?
- How to Clean the O2 Sensor: 6 Simple Steps
- Step 1: Preparation of Tools
- Step 2: Locating the Oxygen Sensor
- Step 3: Removal of the Oxygen Sensor
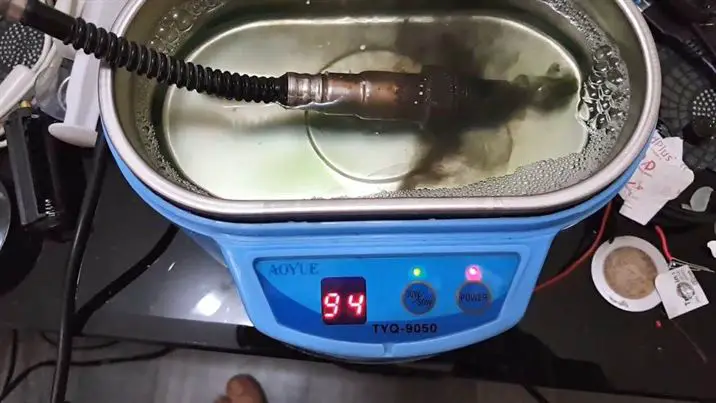
- Step 4: Cleaning the Sensor with Specialized Products
- Step 5: Cleaning the Sensor with a Soft Brush
- Step 6: Drying and Reinstalling the Sensor
1. Essential Information on O2 Sensors
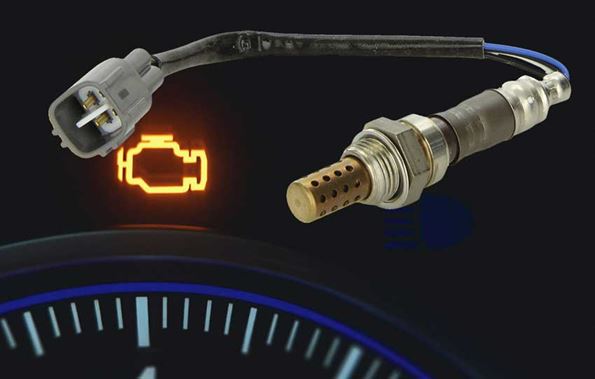
- Function of the Oxygen Sensor: Also called an emissions sensor, the oxygen sensor is one of the most important components of a car’s engine system. It measures the residual oxygen concentration in the exhaust gases and sends this data to the vehicle’s Electronic Control Unit (ECU). This allows the engine to adjust the air-fuel mixture to ensure optimal performance while meeting emission standards.
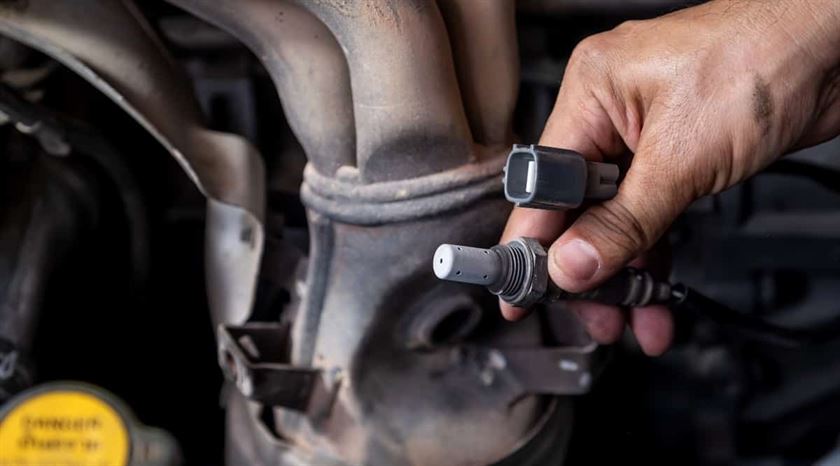
- Location of Oxygen Sensors: Generally, an oxygen sensor is located in a threaded hole just in front of the engine’s catalytic converter. The catalytic converter is usually located near the end of the exhaust manifold, behind the muffler. Vehicles with multiple cylinders may have several sensors installed in the branches of the exhaust system. In some models, an oxygen sensor is also installed at the rear of the exhaust system.
- Operation of an O2 Sensor: When exhaust gases pass through the oxygen sensor, the contact between the gases and the sensor probe generates an electric current whose voltage is inversely proportional to the oxygen content of the exhaust gases. If the oxygen content is high or if the air-fuel mixture is lean, the voltage generated by the sensor will be about 0.1 V.
- Consequences of Oxygen Sensor Failure:
- Increased Fuel Consumption
- Gasoline Odors in the Exhaust Gases
- Illumination of the “Check Engine” Light
2. Why is it Necessary to Clean the Oxygen Sensor?
Cleaning the oxygen sensor can extend its lifespan and ensure its proper functioning. A clean sensor ensures accurate measurement of the oxygen content in the exhaust gases, allowing the engine to correctly adjust the air-fuel mixture, thus improving vehicle performance and reducing pollutant emissions.
3. How to Clean the O2 Sensor: 6 Simple Steps
Step 1: Preparation of Tools
The necessary tools for cleaning the oxygen sensor include:
- Wrench for removing the oxygen sensor.
- Specialized cleaners such as WD-40, gasoline, or carburetor cleaner to facilitate removal and effective cleaning of the sensor.
- Soft brush to remove stubborn dirt.
- Soft cloth to dry the sensor after cleaning.
- Protective gloves and glasses to avoid any contact with the chemicals used.
Step 2: Locating the Oxygen Sensor
First, place the vehicle in a spacious area with adequate lighting. It may be necessary to lift the car to facilitate access to the oxygen sensor. Depending on the vehicle’s model and brand, the number and location of oxygen sensors may vary. Therefore, it is recommended to consult the user manual to know the exact position of the sensor(s). Note that it is essential to disconnect the power before working on the sensor to avoid any unintentional damage. Generally, vehicles have at least two oxygen sensors: one located before the catalytic converter and the other after.
Step 3: Removal of the Oxygen Sensor
After locating the oxygen sensors, spray WD-40 evenly and wait 10 to 15 minutes. This solution acts as a lubricant, facilitating the removal of the sensors. Then,