Modern cars are increasingly advanced, and nowadays, you can’t even replace your brake pads on your own vehicle without a computer.
At least, that’s what we hear from our customers. But is it true? Have we really reached the point where you need a computer to replace your rear brake pads?
In this article, you will learn how to replace the brake pads on your electric parking brake with or without a tool.
How to Replace Brake Pads with an Electric Parking Brake
1. Connect a Car Battery Charger
The first step is to connect a car battery charger while you perform this job. It’s a step that many people forget or don’t bother with, but it can actually damage parts and cause many problems if you don’t take it seriously.
2. Connect a Diagnostic Tool
The next step is to connect your diagnostic tool or your parking brake tool to your car. Make sure it communicates with the car and that the battery voltage is stable.
3. Loosen the Parking Brake Pistons
It’s now time to loosen the parking brake pistons. You can do this either with a diagnostic scanner or with a special tool for your parking brake. You should hear the pistons retracting for 2-3 seconds if everything is done correctly. It is also possible to push back the pistons with a 12v+ power supply and a ground, but nothing I will discuss here involves doing that, as it can damage your parts. Calibration is also required afterward, which is difficult without a tool. If you need a tool for this, you can check out our guide: best diagnostic tools. Make sure it is compatible with your EPB system for your car model.
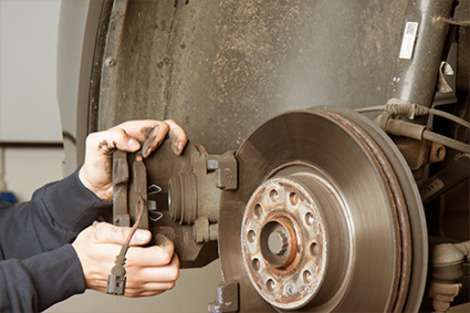
4. Remove the Caliper and Push the Pistons
Once the parking brake pistons are released, it’s time to lift the car and remove your wheel and the brake caliper. You should now be able to push back the pistons with a tool or a large clamp. If it’s not possible, it might be very rusty and require refurbishment, or you may have done something wrong in the previous step. If the parking brake motor is not loosened, you will never be able to push the pistons in. Remember that for some pistons, you need to twist them while pushing them in for them to go in. For that, you can I need
5. Replace the Brake Pads
Once your pistons are pushed in, you can now replace the brake pads. Make sure to lubricate all moving parts and clean everything so that nothing gets stuck, otherwise you’ll have to redo the job soon. Replace the metal plates if you have them provided in the brake pad package.
6. Reinstall the Caliper
Once you have cleaned everything and installed the new brake pads, reinstall the brake caliper. Make sure to tighten everything properly according to the manufacturer’s specifications. You also need to reinstall the wheels and lower the car.
7. Remove the Pistons
Once the car is on the ground and everything is reassembled, get in the car and press the brake pedal several times until it becomes firm. But don’t push it all the way down! That could damage the brake cylinder seals. Instead, pump it several times.
8. Re-engage the Parking Brake Pistons
Once the brake pedal is firm, you now need to retract the brake pistons. The best way to do this is to use the diagnostic tool or the parking brake tool. However, in many cars, it will be possible to engage the parking brake with the button. You will hear the sound of the parking brake motors for 2 to 3 seconds until the parking brake is tight. When it is engaged, you can re-edit it.
9. Calibrate the Parking Brake Pistons
For the parking brake to work properly, you may need to calibrate the pistons. This is done with your diagnostic tool or the parking brake tool. This is necessary so that most car models know how much they need to engage and release. Once done, you will hear the pistons moving back and forth several times until the calibration is complete.
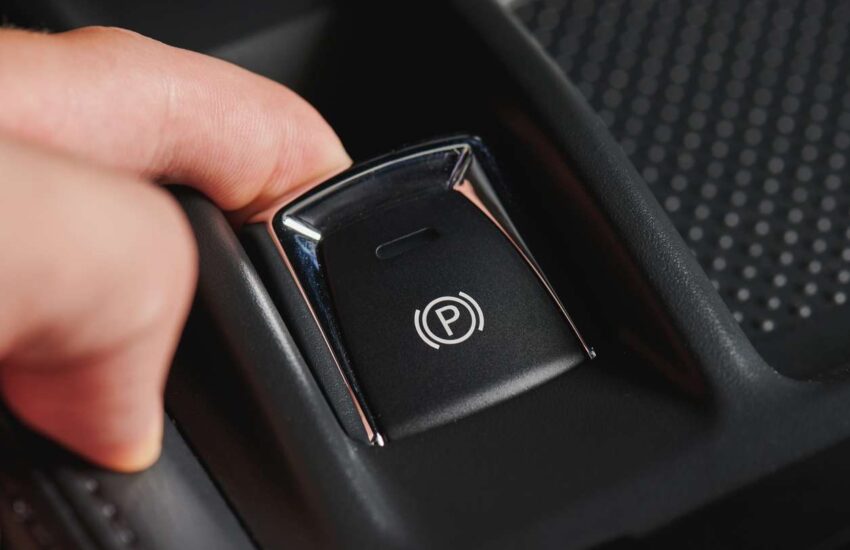
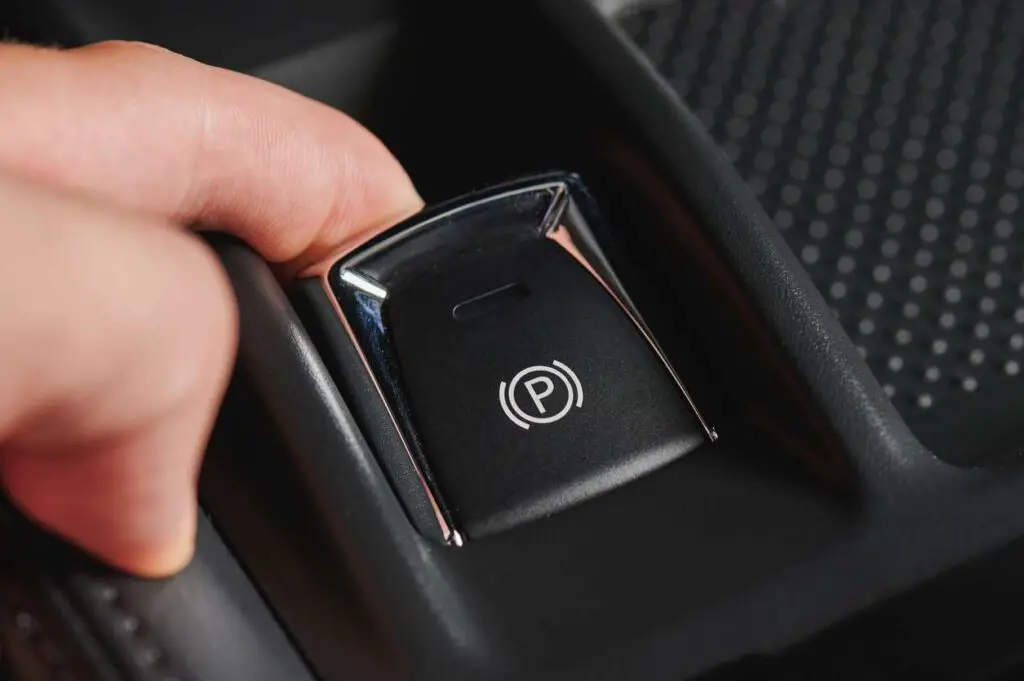
10. Test the Parking Brake Button
Once the calibration is successful, it’s now time to test the parking brake function. Try engaging and disengaging it several times. Take your car for a drive and make sure the brakes are not overheating. If everything seems fine, you have successfully completed an electric parking brake pad change!
What Happens When the Electronic Parking Brake Fails?
Two things can happen if an electronic parking brake malfunctions, depending on the cause of the problem. If it does not engage, the vehicle will not be secure when parked, increasing the risk of it moving. This is especially dangerous when the car is sitting on a slope. On the other hand, the parking brake mechanism may lock up or seize when engaged. If this happens, the electronic parking brake will not disengage when the driver presses the electronic brake button, leaving the car’s rear wheels locked.
How Do I Reset My Electronic Parking Brake?
Many car manufacturers have left the driver the option to reset the electronic parking brake. Although the procedure may differ by brand and model, the basic steps are generally very similar. Start by turning on the ignition, pressing the brake pedal, and putting the transmission in neutral. Then, hold down the electronic brake button for several seconds until you hear a mechanical noise from the rear of the car. When the whining stops and the electronic brake light starts flashing on the dashboard, release the button. After a few seconds, press the button again to engage the electronic parking brake.
How to Compress a Brake Piston with an Electric Parking Brake?
There are two ways to do this, connecting a diagnostic tool being one of them. But in most cases, an ordinary OBD2 scanner won’t do, as it usually cannot access the electronic parking brake control module. Instead, you will need a device compatible with your car’s EPB system. You can also loosen the brake pistons by disassembling the parking brake mechanism. However, this method requires a lot of skill and can go very wrong if not applied correctly.
How Much Does It Cost to Repair or Replace an Electric Parking Brake?
Repairing or replacing an electric parking brake is relatively expensive, especially compared to conventional cable-operated versions. This is due to the complexity of these systems, which have electronic control modules and electric motors that actuate the rear calipers. In most cases, even the simplest repairs will cost you over $100.
Replacing brake pads is one of the simplest maintenance tasks on a car – or at least it was before car manufacturers started installing electronic parking brakes on their models. These button-operated devices are also semi-automated, as they automatically engage the parking brake once the car is turned off.
Additionally, they incorporate a hill-start assist function, which holds the handbrake engaged during a stop-start on a slope. But due to their complexity, electronic brakes are more prone to failure than conventional cable-operated variants. Moreover, a proper diagnostic tool is usually required to replace the rear brake pads on cars equipped with electronic parking brakes.
Required Tools:
- Jack
- Jack stands
- Torque wrench
- Socket
- Screwdriver
- Pliers
- Wire brush
- Brake cleaner
- Piston pusher
- Car diagnostic tool (optional)
Steps:
- Disable the Electric Parking Brake:
- Consult your vehicle’s owner’s manual for the exact procedure.
- Generally, this involves going through the onboard computer menu or using a specific button.
- Lift the Vehicle and Remove the Wheel:
- Place the jack and jack stands under the vehicle following the lift points indicated in the owner’s manual.
- Loosen the wheel nuts, then remove the wheel.
- Remove the Old Brake Pads:
- Loosen the screws that secure the brake caliper.
- Remove the brake caliper and the old brake pads.
- Clean the brake caliper with a wire brush and brake cleaner.
- Install the New Brake Pads:
- Apply a thin layer of copper grease to the back of the new brake pads.
- Insert the new brake pads into the brake caliper.
- Put the brake caliper back in place and secure it with the screws.
- Tighten the screws with the torque wrench to the torque specified in the owner’s manual.
- Reactivate the Electric Parking Brake:
- Refer to the owner’s manual for the exact procedure.
- It may be necessary to go through an initialization process using a car diagnostic tool.
Tips:
- Make sure the new brake pads are the same size and type as the old ones.
- Don’t forget to lubricate the brake caliper slides.
- Check the brake fluid level and top it up if necessary.
- Test the brakes before driving the vehicle.
Warning:
- If you are not comfortable with car mechanics, it is better to entrust the brake pad replacement to a professional.
- Don’t forget to follow the car manufacturer’s safety instructions.
Note:
- The steps above are given for guidance and may vary depending on your vehicle model. Always consult the owner’s manual for instructions specific to your vehicle.