
It is undeniable that car headlights are essential for increasing and maintaining visibility while driving. However, if your car’s lights are not aimed in the right direction, they could actually make visibility more difficult for you and other road users. You must ensure that the angle is correct to avoid blinding other drivers and prevent collisions.
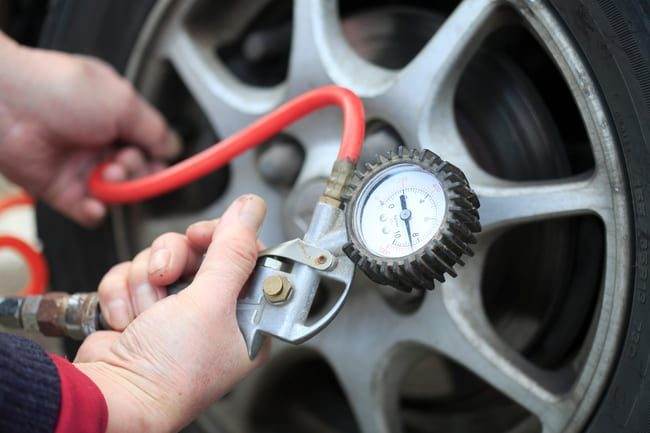
Lights often need to be realigned after being replaced, but they can also be affected by simple things such as heavy loads, tire pressure, minor collisions, and worn or damaged components. Even modern adaptive headlights require adjustment from time to time. Fortunately, most car owners will only need to adjust one set of headlights, as adjusting the low beams often resets the high beams.
Some vehicles are also equipped with bubble levels or diaphragms to make this task easier. This way, all you have to do is align the bubble or angle indicator with the reference marks. For vehicles that do not have these alignment features, there are a few additional steps to follow, which are outlined in the guide below. The adjustment process varies depending on the vehicle’s make and model. Therefore, it is advisable to read the manufacturer’s instructions in the vehicle owner’s manual before starting. Different countries will also have different regulations regarding cutoff lines for beams.
SIGNS OF MISALIGNED HEADLIGHTS
If other drivers frequently flash their lights at you when you are driving in the dark, it is probably because they are blinded by your lights or because there is a problem with the bulbs. If the headlights only illuminate 20 feet or less of the road ahead, they are aimed too low. If they are aimed at the ground, this can also cause glare due to reflection from the road, affecting the driver’s view.
TOOLS AND EQUIPMENT
Essential items list:
HOW TO ADJUST HEADLIGHTS
- Prepare the vehicle. The first step is to ensure that the tire pressure is correct and your fuel tank should be half full. Make sure to leave the items you normally carry inside your car where they are, including heavy tools and the spare tire, as this weight can change the tilt of your vehicle, affecting the beam angle.

- Shake the suspension. To do this, you need to stand at the bumper support or grille support and bounce the vehicle up and down several times to ensure it settles into the correct position.
- Park the vehicle. Park it as close as possible to the target wall/door, facing it head-on. It should also be parked on a flat surface. Measure the distance between the headlights and the target. The distance should be the same on both sides.
- Turn on the low beams. Note: if you are doing this outside, you will need to wait until it is dark enough so that you can clearly see the headlights. Fog lights and high beams must remain off.
- Mark the center lines. Use the tape around the center line of the beams on the wall/door. To mark the horizontal center line, place the first piece of tape directly above the top of the headlight pattern on the driver’s side, then do the same for the other headlight on the other side. Then, you will need to mark the vertical lines. Use the tape to mark the lines going down the center of the lights.
- Reverse the vehicle. You will then need to reverse to about 8 meters (or 25 feet) from the target surface in a straight line. You can measure this distance using the measuring tape.
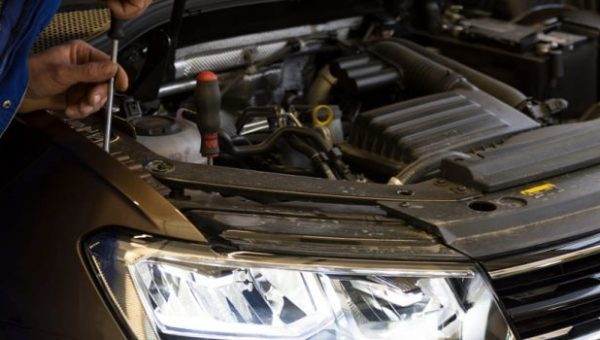
- Locate and access the adjustment screws. The location should be specified in the owner’s manual.
- Compare the beams with the marks and adjust the lights accordingly. For vertical adjustments, the top of the most intense point of the light beam should be below or aligned with the horizontal center line. You should refer to the vertical line when making horizontal adjustments. In countries with right-hand drive cars, such as the UK, the lights point to the left, while left-hand drive lights point to the right. The direction is important because if the lights are aimed in the wrong direction, it could affect oncoming traffic.