You may know that your car’s radiator is responsible for the engine overheating. What is interesting and often overlooked is the importance of a seemingly insignificant small component, the radiator cap. A faulty radiator cap can render the entire cooling system inefficient and cause costly damage to the precious engine. Therefore, knowing the functions and the symptoms of a faulty radiator cap is a practical and simple maintenance tip you should keep in your pocket to maximize your engine’s performance and lifespan.
Cooling System in the Car: What You Need to Know
Before getting into the details of the radiator cap, you need to understand the basics of a car’s cooling system. When it comes to a complex machine like your car, a small failure in a single component would affect the operation of the entire system, and symptoms can manifest through the other components of the same system.
A car’s radiator acts as a heat exchanger, transferring excess heat from the engine coolant to the air. The radiator is composed of tubes that carry this coolant, a protective cap that acts as a pressure valve, and a tank on each side to collect the coolant overflow.
An interesting feature is that the tubes carrying the coolant usually contain a turbulator, which agitates the fluid inside. This way, by creating turbulence inside the tubes, the coolant mixes and is thus cooled evenly, not just the liquid touching the tube walls.
While the engine is running, the liquid from the cooling tubes enters the cylinder heads and engine blocks. After absorbing heat from the engine, this liquid returns to the radiator. There, the air entering through the grille lowers the temperature of the coolant.
Below are some of the main components of a car’s cooling system. The system includes other parts, but to understand the function of the radiator cap, this article will focus on those below:
Coolant
This mixture in the coolant is mainly composed of water and an antifreeze solution in a 1:1 ratio.
Where water extracts all the heat from the engine, the antifreeze solution, on the contrary, increases the boiling point of the solution. Thus, the latter helps fight corrosion and the boiling of the liquid in the system.
A higher boiling point means the coolant can transfer more heat from the engine, as a boiling liquid is itself at its maximum temperature and therefore cannot transfer any heat from the engine.
Coolant Tubes
The main purpose of their design in the cooling system is to build a bridge between the radiator and the engine. Responsible for circulating the coolant, they are also known as bypass tubes.
Overflow Tank
Located on each side of the cooling circuit, these small tanks collect the liquid expelled during high pressure in the tubes. Through this action, they simply allow the recycling of the coolant once a vacuum is generated in the coolant.
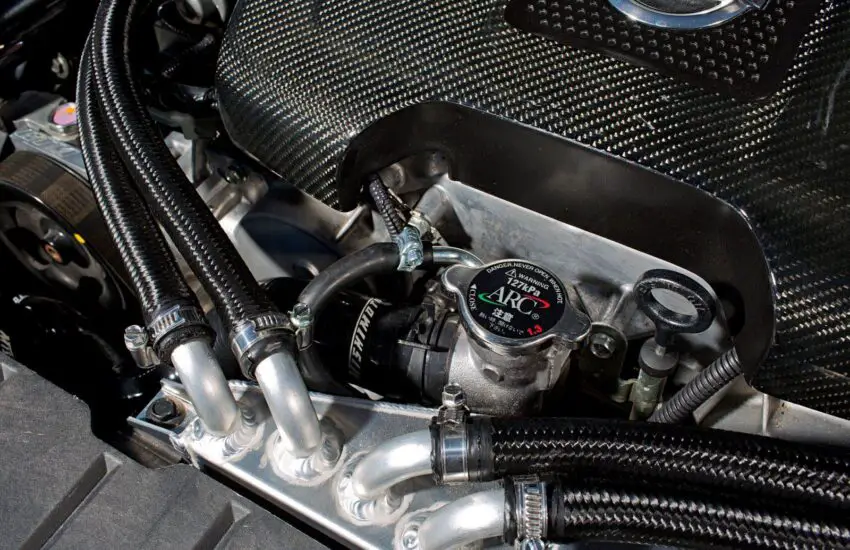
Radiator Cap
This pressure cap operates using spring valves. Its main use is to let liquid out into the overflow tanks when the pressure inside the system increases. Similarly, in case of a pressure drop, it brings the liquid back from the tanks.
For your convenience, if you don’t want to encounter a faulty radiator cap, then always follow its maintenance tips.
How Does a Radiator Cap Work?
When the engine coolant heats up, it expands, thus increasing the pressure inside the closed cooling system. The radiator cap controls this expansion and maintains a constant pressure level inside the cooling system. The radiator cap also allows the engine coolant to contract and return to the radiator without letting air into the cooling system.
Cooling systems withstand different pressures but are typically between 13 and 16 pounds per square inch (psi), or about 1 bar. High-performance radiator caps have a pressure between 19 and 32 psi. This pressure must remain constant.
Too high pressure will exceed the manufacturer’s specifications for the cooling system and could lead to failure of the system components. Too low pressure could cause the coolant to boil. With little or no liquid to cool the vehicle, the engine risks overheating.
Allows Coolant to Expand and Maintains Pressure Level
When the engine heats up, the coolant overheats and expands, putting it under high pressure. When it enters the radiator, the pressure increases even further because it is in an enclosed space.
The radiator cap acts as a relief valve set to open at the maximum pressure point, i.e., the radiator cap’s rated pressure. This is usually set at a density of 15 psi, or otherwise between 13 and 16 psi.
When the pressure inside the cooling system reaches the radiator cap’s rated pressure, the cap’s spring valve is forced to open, allowing heat to escape and excess coolant to overflow into the coolant overflow tanks on each side of the radiator.
This way, the radiator cap allows for the expansion of the coolant inside the cooling system. This is important because, without this function, the pressure would simply continue to increase, causing sudden leaks or even explosions since the accumulated pressure has no outlet to release.
Secondly, the radiator cap’s spring valve helps maintain a specific pressure inside your cooling system. When atmospheric pressure increases, the boiling point of a liquid also increases. A boiling liquid is not effective at transferring heat because the liquid itself is overheated, so increasing the pressure inside the cooling system means the coolant can dissipate more heat before it starts to boil.
Allows Coolant to Contract and Return to the Radiator
The radiator cap also allows the coolant to return to the radiator after completing its mission of cooling the running engine. As the engine cools, the coolant contracts, creating a vacuum inside the engine cooling system.
The radiator cap’s vacuum valve then opens and sucks the coolant from the coolant overflow tank back to the radiator, continuing its journey in the cooling system. In other words, the radiator cap’s vacuum valve allows for the contraction of the coolant inside the cooling system.
Symptoms of a Faulty Radiator Cap

A faulty radiator cap may not seem particularly dangerous, but such a slight deviation can greatly affect your engine’s performance and lifespan. Ignoring a faulty cap can lead to overheating issues and potential engine damage, especially during the hot summer months. If you leave it too long, a faulty radiator cap could mean you risk being stranded on the road with a malfunctioning engine.
Below are the most common symptoms of a faulty radiator cap. Be attentive to the very first sign of abnormality and have everything inspected as soon as you get the chance.
Overheated Engine
A coolant leak or air in the cooling system can lead to engine overheating. If you notice your engine starting to smoke due to overheating, do not look under the hood unless you have turned off the engine. Then, let the engine cool down for a while before opening the hood.
This way, the engine can stay cold while you check it. If there is coolant near the radiator cap, the pressure cap may be damaged. Check this and replace it if necessary.
Coolant Leak
If the radiator cap is stuck, pressure can build up inside the radiator, which could cause a leak or an explosion of the cooling system components.
If you notice coolant near the radiator or the radiator cap, it means the coolant is leaking. Check if the radiator has holes or if the cap appears worn or damaged. If so, replace the cap.
White Marks on the Radiator
When coolant leaks from the radiator filler neck and dries, it often leaves white marks. Even if you don’t notice a coolant leak under the radiator cap, pay attention to these white marks. They can indicate that the cap is leaking under pressure or intermittently.
Overflowing Tank
Coolant enters the tank as it expands. The radiator cap releases the extra pressure by sending coolant into the overflow tank.
If your radiator cap is faulty, the coolant could flow out too quickly and cause the tank to overflow. While you’re at it, check that your coolant overflow tank is functioning properly.
Radiator Hose Collapses
The radiator cap might be faulty if the radiator hose collapses. The radiator cap is not releasing the vacuum properly, and this causes the radiator hose to collapse during the cooling period.
If this happens, inspect the cap to see if it has any damage. If so, replace it immediately.
Radiator Hose Bursts
If the pressure in the cooling system is too high, you will likely see one or more hoses start to spray coolant all over the engine compartment. Most of the time, the pressure is not high enough to tear the hose in two. You will often see a pinpoint leak that only sprays coolant when the car is hot.
A hose with a small hole can seal perfectly when the car is cold. As you drive, the pressure in the cooling system increases. The pressure will eventually be enough to force coolant through the small hole, and your car will slowly lose coolant.
If this is the case, you will probably notice a leak on the ground or in the engine compartment when you reach your destination, but not when you start driving. Check if your overflow tank is slowly emptying over a few miles. This can give you an idea of the problem.
Air Entering the Cooling System
As mentioned above, an important role of the radiator cap is to allow the expansion and contraction of the coolant, or its movement through the cooling system, without letting air into the system.
When the radiator cap is not closed properly, air can enter the cooling system. This will cause air pockets to form inside the heater radiator, thermostat, and radiator hoses. As a result, the engine will start to overheat because it cannot maintain a constant temperature.
How to Check and Replace the Radiator Cap
Now, after knowing the symptoms of a bad radiator cap and its standard operation, it should be easy to inspect the cap area and save your vehicle from any damage or costly repairs.
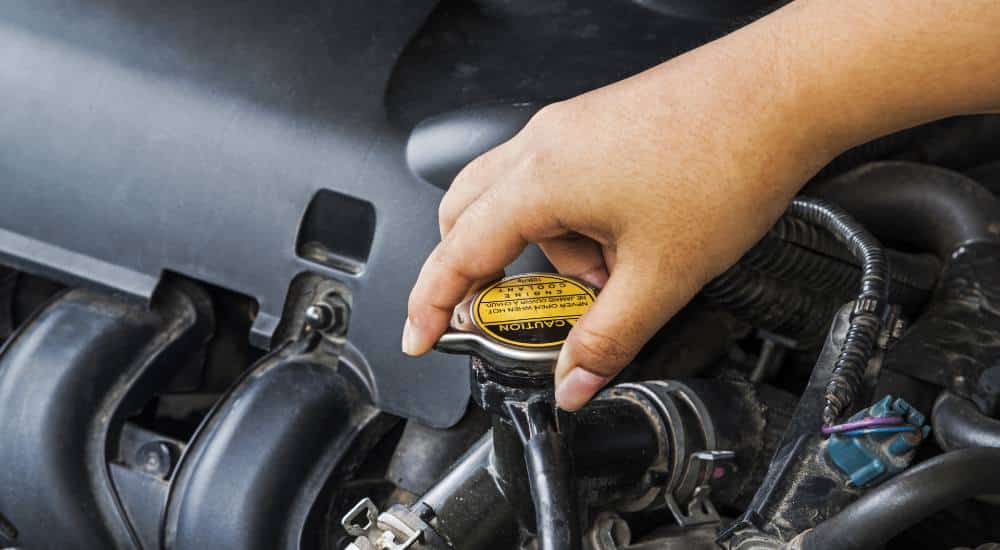
*Warning: Never open the radiator when it is hot! Let the engine cool down completely before opening the radiator. The radiator is under high heat and pressure. If you try to open a hot radiator, scalding steam and coolant will escape, and you are highly likely to burn yourself.
Cap Inspection
Before you start diagnosing, check that the pressure indicated on the radiator cap matches the cooling system pressure specified by the manufacturer. You can find this information in a repair manual, a factory maintenance manual, or online.
Visually inspect this cap to ensure the spring moves freely and there is no debris or corrosion under the cap.
Cap Replacement
Replacing your radiator cap is an easy job to do and only takes a few seconds of your time.
Pay close attention to your cap’s pressure rating and choose one with the same pressure rating. Once you have a replacement and your engine is cold, simply unscrew the old cap and install the new one by screwing it on.
You can easily find a radiator cap for your vehicle for less than $10 generally. Some may be more expensive, but most will cost you less than $20.
Radiator Pressure Test
If you have a radiator pressure tester, you can inspect the cooling system in your garage. This can help you find leaks or determine if the radiator cap is faulty. You can also rent or buy this tester from your local auto parts store or on Amazon.
To begin, open the hood and locate the radiator. It is usually located right in front of the vehicle’s engine. Remove the radiator cap by pushing it down first, then turning it counterclockwise.
Take the cap adapter and screw it onto the end of the pressure tester. Continue screwing until you can’t screw it anymore. If you don’t know what the cap adapter looks like, check the pressure tester packaging label and see if it’s pictured there. You can also look it up online.
After attaching the cap adapter to the pressure tester, screw the other end of the cap adapter onto the radiator filler neck until it is tight. The pressure tester should now be sealed against the radiator. If not, you might not be using the adapter suitable for your specific radiator.
Using the pump handle, start pumping the tester until you reach the pressure indicated on your radiator cap. Check if the gauge can hold the pressure. If the pressure starts to drop and you are sure you have a good seal against the radiator filler neck, you have a leak in the cooling system.
It is best to look for any external coolant leaks while the system is under pressure, as it will be easier to detect them. Any component that is leaking will need to be replaced.
Once the pressure test is complete, slowly unscrew the adapter from the radiator cap so that coolant doesn’t spill everywhere. It might be wise to have a pan or bucket handy to catch any overflow. Refill the coolant that was lost and clean up any coolant that spilled on the floor.