
The oil cooler is a small device placed in the vehicle’s radiator design. As its name suggests, its function is to cool the temperature of the oil entering the engine. In this way, it helps maintain the optimal temperature and viscosity of the fuel before it is used for engine and transmission lubrication.
Moreover, its importance in the automotive vehicle has made its proper installation in the vehicle essential. And, in order to verify its configuration, it is essential to understand how to install engine oil coolers.
Systematic Installation of the Engine Oil Cooler
Before starting the installation of the engine oil cooler, it is essential to understand that if this small radiator is not installed carefully, it can also lead to engine failure.
Tip: the position of the engine oil cooler should not be close to or next to exhaust components, flying gravel, ice, water, or road dirt.
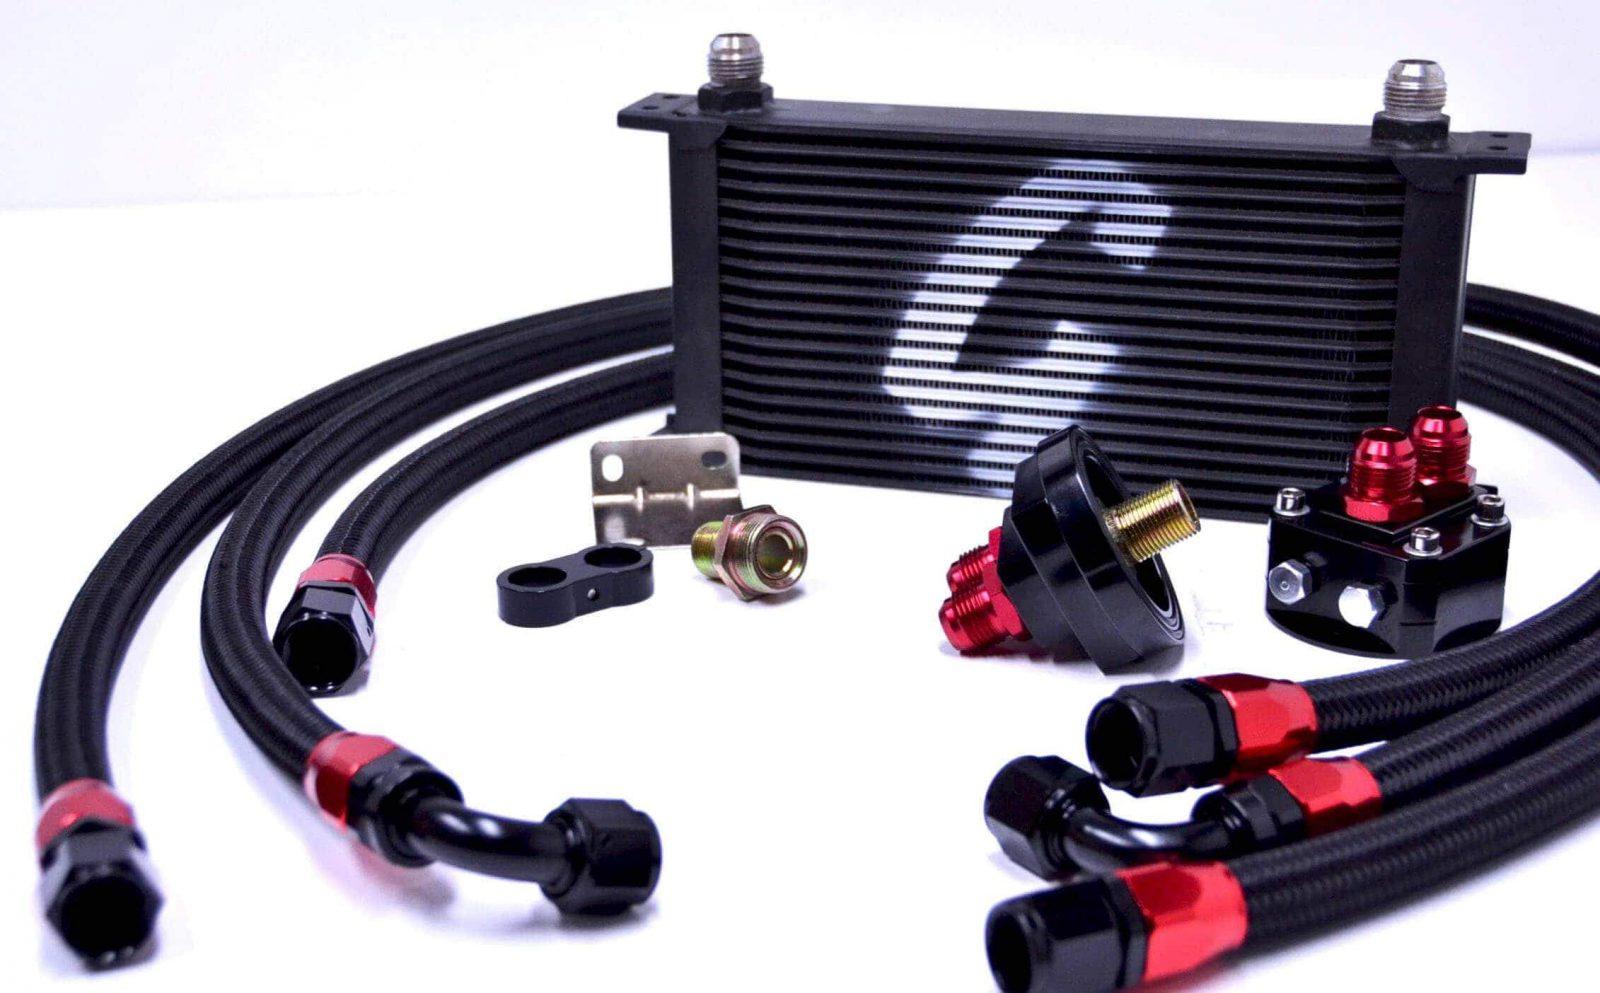
List of Required Parts
To ensure a correct and smooth installation process, make sure you have the tools mentioned below.
Oil cooler with barbed fittings (quantity-1)
O-ring (one each of two different sizes)
Instruction sheet (quantity-1)
Neoprene oil hose (quantity-1)
Adapter plate (quantity 1)
Hose adapter fitting (quantity-2)
Mounting nuts (quantity -5)
Pipe thread
Apart from that, the hardware installation kit (each in quantity of four) includes:
Nylon washer
Jam nut
Mounting bolt
Rubber spacer
Note: The dimensions of each component vary depending on the size of the vehicle in which the engine oil cooler is installed.
How to Install Engine Oil Coolers
To begin, check for sharp edges in the work area and ensure not to expose the oil hose to hot surfaces. Also, keep the hose lengths longer than the measurements taken and always use pipe thread on all fittings. However, it is advised not to overtighten the fittings.
1. Decide on the Mounting Location
To get the best location for the cooler in the system, it is recommended to install it where it will receive the most fresh air from the vehicle’s fan and engine.
2. Filter Inspection
First, insert the sandwich adapter deep into the oil filter to confirm its clearance. In case the clearance in the filter is insufficient, remote mounting is performed or a short filter is used. Here, the short thread of the filter must fit the adapter.
3. Mount the Engine Oil Cooler
Step 1: Install the threaded fitting into the sandwich adapter and the cooler. Then, simply place the engine oil cooler (not yet installed) in the location where you want to install it.
Step 2: Apply engine oil to the O-ring of the sandwich adapter.
Step 3: Then, with the ring of the correct color, insert the adapter and tighten it onto the cylinder block on the adapter.
Step 4: Next, for the routed hose, make sure to position all fittings on the sandwich adapter and tighten the nuts on them.
Step 5: Then, cut the hoses longer than the approximate length and insert them into the cooler with 90° turns or with a larger radius. This way, it would allow easy flow of oil through the cooler.
Step 6: Use two wrenches. With one, support the cooler and with the other, secure the bolts on it. In addition to this, use an electric drill for inserting the bolts.
Step 7: Place and secure all fittings on the engine oil cooler.
4. Test the Engine Oil Cooler Installation
To test the oil cooler, start the engine and check for oil pressure and the cooling radiator in the system. If both ends of the cooler are hot after some time, it confirms its proper installation. Otherwise, troubleshoot the issue and consult the instruction guide again.

Thus, after learning how to install engine oil coolers, if this system is checked regularly, it is also easy to follow its maintenance over a longer period.