OBD2 (On-Board Diagnostics 2) scanners are essential tools for diagnosing problems in modern vehicles. Whether you’re a car owner looking to save on diagnostic fees or an amateur mechanic seeking to deepen your skills, this guide will help you understand how to use an OBD2 scanner effectively.
What is an OBD2 Scanner?
An OBD2 scanner is a device that connects to a car’s computer system to read diagnostic trouble codes generated by the onboard computer. These codes help identify technical or mechanical issues, such as engine problems, fuel system anomalies, or emission concerns.
History of OBD
OBD was first introduced in the 1980s to standardize vehicle diagnostics. OBD2, an improved version, was adopted starting in 1996 in many countries to ensure universal compatibility.
Why Use an OBD2 Scanner?
- Quickly Identify Problems: The codes generated directly indicate potential issues.
- Save Money: By identifying the cause of a problem, you can reduce repair costs.
- Preventive Maintenance: Some scanners can track vehicle performance and prevent problems before they become serious.
- Universal Compatibility: Works on most vehicles produced after 1996.
Choosing an OBD2 Scanner
There are different types of OBD2 scanners. Here are the factors to consider when making your choice:
Types of Scanners
- Basic Scanners:
- Provide diagnostic trouble codes (DTCs).
- May be inexpensive but offer limited features.
- Advanced Scanners:
- Include detailed information like real-time data.
- Often have code-clearing functions.
- Bluetooth/Wi-Fi Adapters:
- Connect to a smartphone or tablet via an app.
- Ideal for users who prefer modern, comprehensive interfaces.
Selection Criteria
- Compatibility: Ensure the scanner is compatible with your vehicle.
- Price: Choose according to your budget and needs.
- Ease of Use: Some scanners are more intuitive than others.
- Additional Features: Data analysis, specific tests (e.g., ABS, airbags).
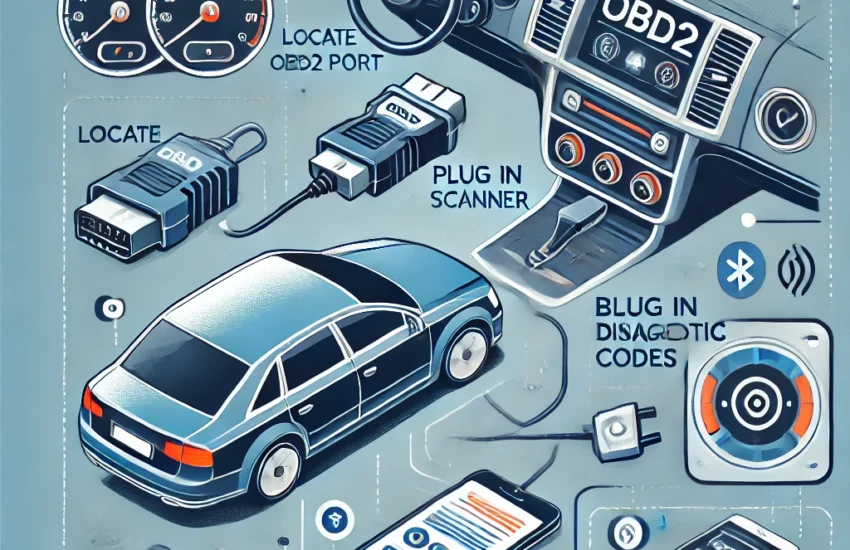
How to Use an OBD2 Scanner?
- Locate the OBD2 Port: It is usually found under the dashboard on the driver’s side.
- Plug in the Scanner: Insert the connector into the OBD2 port.
- Start the Vehicle: Turn the key to the ON position (without starting the engine, unless otherwise indicated).
- Turn on the Scanner: Some turn on automatically, while others require manual activation.
- Read the Codes:
- Access the “Read Codes” option on the scanner.
- Note the displayed codes.
- Interpret the Codes: Refer to the scanner’s manual or search online to understand their meaning.
- Clear the Codes (Optional): If the issue is resolved, use the “Clear Codes” option.
Tips for Beginners
- Take Time to Read the Manual: Each scanner has its specificities.
- Do Not Delete Codes Randomly: Clearing a code without fixing the problem can worsen the situation.
- Use Complementary Apps: Bluetooth/Wi-Fi adapters often offer more advanced features with apps like Torque or Car Scanner.
Common Mistakes to Avoid
- Using an Incompatible Scanner: It may not work or could damage the OBD2 port.
- Ignoring Data: Codes are clues; do not consider them as final diagnoses.
- Clearing Codes Before Checking: Keep a record of the codes before resetting them.
Conclusion
An OBD2 scanner is a wise investment for any vehicle owner. By understanding how it works and following the steps mentioned, you can quickly diagnose and resolve common problems while saving time and money. With practice, this tool will become an essential part of your automotive toolkit.