P00BF MAF “B” Circuit Range / Performance Flow Too High

What is the P00BF Code?

The diagnostic code P00BF is a generic powertrain-related code. It indicates a performance issue in the “B” circuit of the Mass Air Flow (MAF) sensor, signaling an airflow rate that is too high compared to the values expected by the Powertrain Control Module (PCM). This code applies to vehicles equipped with an OBD-II system, including certain brands such as BMW, Ford, Mazda, Jaguar, Mini, and Land Rover.

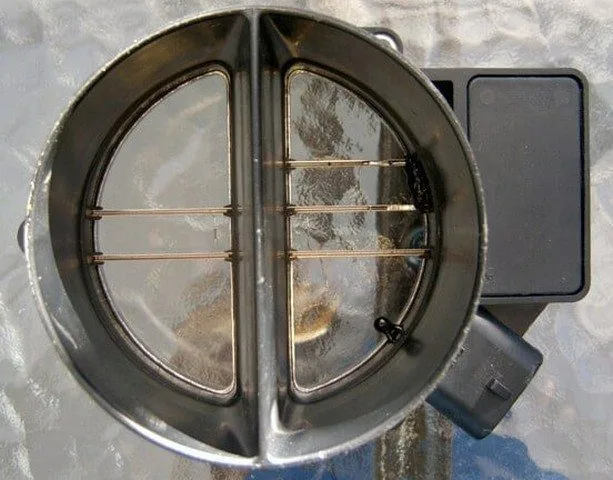
Role of the MAF Sensor

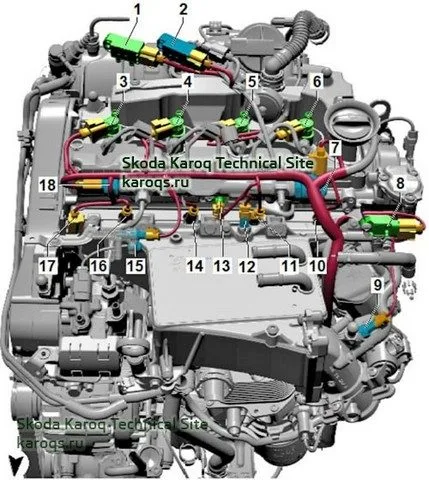
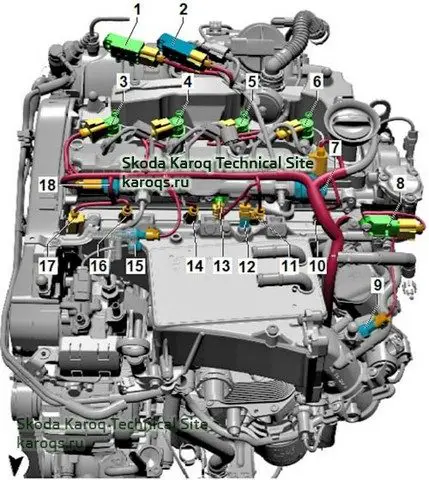
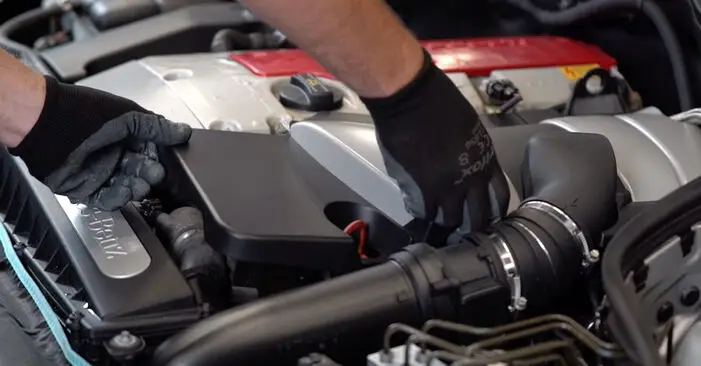
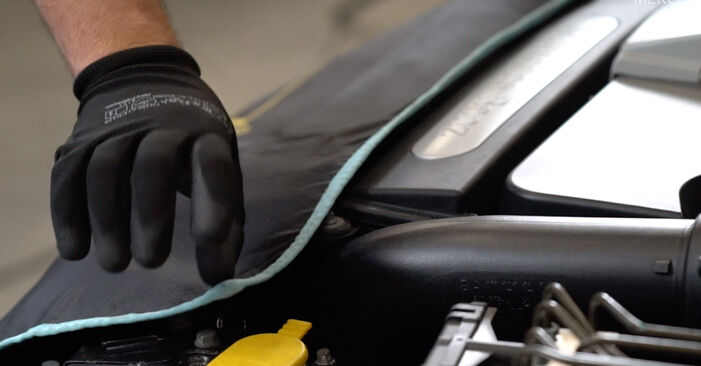
The Mass Air Flow (MAF) sensor is located in the intake duct, downstream of the air filter. It measures the volume and density of air entering the engine. The PCM uses this data, along with other parameters, to adjust the air-fuel mixture to ensure optimal performance, efficient combustion, and low emissions.

The P00BF code occurs when the PCM detects that the signal from the “B” circuit of the MAF sensor exceeds the normal operating range. The “B” designation may refer to a subset of the sensor or indicate the presence of multiple MAF sensors in the vehicle.

ℹ️ Note: Some MAF sensors also include an Intake Air Temperature (IAT) sensor.

Symptoms of the P00BF Code

  • 📈 Malfunction Indicator Lamp (MIL) illuminated
  • ⚙️ Poor engine performance (rough idle)
  • ⬛️ Black smoke from the exhaust
  • 🔁 Stalling or difficulty starting
  • 🚗 Reduced driving comfort

Possible Causes

  • 🧼 Dirty or contaminated MAF sensor (dust, oil)
  • 🔧 Faulty MAF sensor
  • 🌬️ Air leaks in the intake system
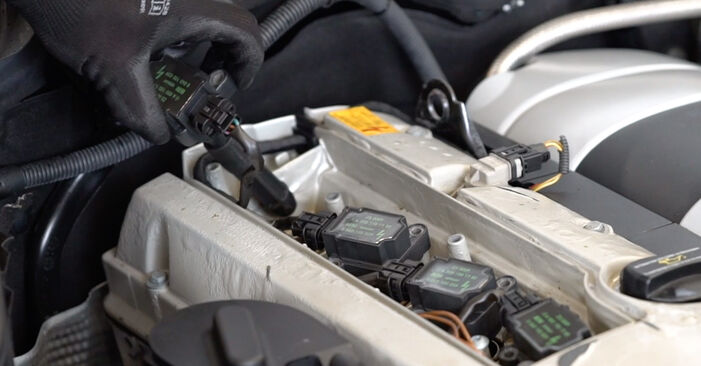
  • 🔌 Wiring issues (open circuit, short circuit, corroded or loose connector)
  • 🧩 Other related codes (O₂ sensor, misfires, etc.)

Diagnostic Procedure and Solutions

Before any intervention, consult the Technical Service Bulletins (TSBs) specific to your vehicle (make, model, year, engine).

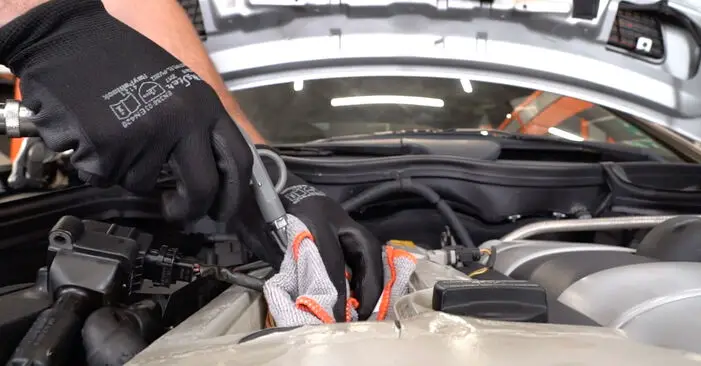
  1. Visual Inspection: Check the condition of the wiring, connectors, and look for any air leaks.
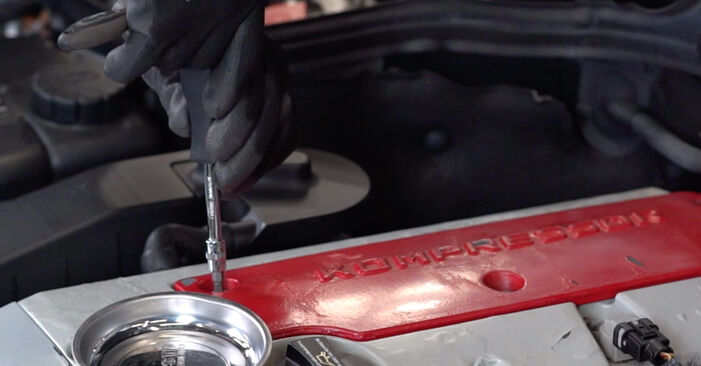
  2. Cleaning the MAF Sensor: Use a specific MAF sensor cleaner.
  3. Replacing the Air Filter: A clogged air filter can distort measurements.
  4. Using a Diagnostic Tool: Analyze live data (airflow, voltages, O₂ sensor signals) to identify any inconsistencies.
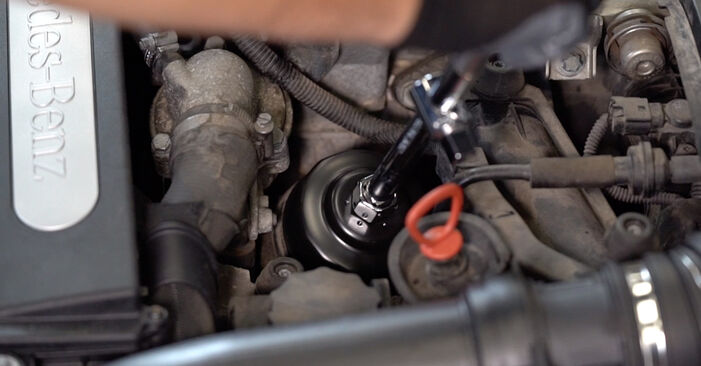
  5. Leak Test: Check for air leaks downstream of the MAF sensor.
  6. Checking the MAP Sensor: A faulty Manifold Absolute Pressure sensor or a vacuum issue may influence the code.
  7. Backpressure Test: Rule out a clogged catalytic converter.

Tip: Prefer an Original Equipment Manufacturer (OEM) replacement sensor to ensure optimal compatibility and lifespan.

👨🔧 Need Help? If symptoms persist after these checks, consult an automotive professional for an in-depth diagnosis.

P00C0 – P00FF ISO/SAE Reserved

What Does a Reserved ISO/SAE Code Mean?

A reserved ISO/SAE diagnostic code (such as P00C0 to P00FF) often indicates that an electronic system in your vehicle is not meeting the communication standards established by the International Organization for Standardization (ISO) and the Society of Automotive Engineers (SAE), rather than pointing to a specific faulty part.

Understanding the ISO and SAE Regulatory Bodies

ISO (International Organization for Standardization) and SAE (SAE International) are two organizations that define technical standards for the automotive and aerospace industries. Their collaboration has established a set of mandatory guidelines for On-Board Diagnostic (OBD-II) systems since late 1995.

These standards ensure reliable and fast communication between the various vehicle control modules, while minimizing conflicting messages and electromagnetic interference.

The Crucial Role of the CAN Bus

The CAN (Controller Area Network) bus is the main network that allows the Powertrain Control Module (PCM) and the numerous onboard controllers (up to 70 in a modern vehicle) to communicate with each other. When the PCM detects a communication error or non-compliance with ISO/SAE standards on this network, it stores a diagnostic trouble code and may illuminate the Malfunction Indicator Lamp.

Severity and Symptoms of a Reserved ISO/SAE Code

The severity of this code can vary significantly. Therefore, a thorough diagnosis is essential.

Possible Symptoms

  • A multitude of unpredictable driving symptoms
  • No apparent symptoms (intermittent fault)
  • Presence of other associated diagnostic trouble codes

Potential Causes

  • Damaged wiring or loose/corroded connector
  • Faulty electronic control module
  • Programming or software issue in a control module
  • Electrical power supply problem (weak battery, alternator)

Diagnostic Procedure

Diagnosing a reserved ISO/SAE code can be complex. Here is a recommended procedure:

  1. Check and repair any other stored diagnostic trouble codes as a priority.
  2. Consult the applicable Technical Service Bulletins (TSBs) for your vehicle.
  3. Visually inspect all CAN bus wiring and connectors for damage, corrosion, or signs of rodent activity.
  4. Check the battery state of charge and the terminal connections. Low voltage can trigger this code.
  5. Use a professional OBD-II scanner to read freeze frame data and clear the codes. Test drive the vehicle to see if the fault reappears.
  6. Perform a wiggle test on wiring harnesses and connectors while the engine is running to identify an intermittent problem.

Examples of Reserved ISO/SAE Codes

P00C0, P00C1, P00C2, P00C3, P00C4, P00C5, P00C6, P00C7, P00C8, P00C9, P00CA, P00CB, P00CC, P00CD, P00CE, P00CF, P00D0, P00D1, P00D2, P00D3, P00D4, P00D5, P00D6, P00D7, P00D8, P00D9, P00DA, P00DB, P00DC, P00DD, P00DE, P00DF, P00E0, P00E1, P00E2, P00E3, P00E4, P00E5, P00E6, P00E7, P00E8, P00E9, P00EA, P00EB, P00EC, P00ED, P00EE, P00EF, P00F0, P00F1, P00F2, P00F3, P00F4, P00F5, P00F6, P00F7, P00F8, P00F9, P00FA, P00FB, P00FC, P00FD, P00FE, P00FF.

Need help diagnosing a trouble code on your vehicle? Consult a qualified mechanic with the appropriate diagnostic tools to avoid any risk of damaging the control modules.

Replace ABS module 5N0614109BN

I have personally tested this method and it is functional.


Happy coding, first check this list for your car…


 Options:

32768 – Start-stop (7L6)
16384 – Start-stop or coasting?
4096 – Indirect tire pressure monitoring
2048 – Right-hand drive
512 – Off-road
256 – Gray rear ABS sensors for PLA2

Engine and transmission combination:

1029 – 1.4tsi 75 – Front-wheel drive manual transmission 100 kW
1032 – 1.4tsi 75 – Front-wheel drive manual transmission 100 kW (China)
1035 – 1.4tsi 101 – Front-wheel drive manual transmission 130 kW
1038 – 1.4tsi 101 – 130kW manual transmission 4Motion
1041 – 1.8tsi 105 – Front-wheel drive manual transmission 130 kW (China)
1044 – 1.8tsi 105 – 130kW front-wheel drive automatic (China)
1047 – 1.8tsi 105 – 130kW automatic transmission 4Motion (China)
1050 – 2.0tsi 125 – 160kW automatic transmission 4Motion (China)
1053 – 1.4tsi 101 – 130kW DSG front-wheel drive (NAR)
1056 – 2.0tsi 125 – 160kW DSG 4Motion (CCZD engine 132kW)
1059 – 2.0tsi 125 – Front-wheel drive manual transmission 160 kW (NAR)
1062 – 2.0tsi 125 – 160kW front-wheel drive automatic (NAR)
1065 – 2.0tsi 125 – 160kW automatic transmission 4Motion (NAR)
1068 – 2.0tsi 125 – 160kW manual transmission 4Motion
1071 – 2.0tsi 125 – 160kW DSG 4Motion
1074 – 2.0tsi 125 – 160kW automatic transmission 4Motion
1077 – 2.0tsi 125 – Front-wheel drive manual transmission 160 kW (NAR)
1080 – 2.0tdi 70 – Front-wheel drive manual transmission 90 kW
1083 – 2.0tdi 91 – Front-wheel drive manual transmission 110 kW
1086 – 2.0tdi 91 – 110kW manual transmission 4Motion
1089 – 2.0tdi 91 – 110kW DSG 4Motion
1092 – 2.0tdi 91 – 110kW automatic transmission 4Motion
1095 – 2.0tdi 111 – 130kW DSG 4Motion
1098 – 2.0tdi 111 – 130kW manual transmission 4Motion
1101 – 1.4tsi 101 – 130kW DSG front-wheel drive

For example, I have a 2.0 diesel with automatic transmission, 4×4 off-road, indirect tire pressure monitoring, and PLA2:
4096 + 512 + 256 + 1092 = 5956, the coding is 0005956.
 

After that, you need to perform the adaptation


ELSAWIN FREE ONLINE WORKSHOP MANUAL

Click on the logos to directly access the free online Elsawin repair manual

(more…)

Vaginal sensor transmitter system

1 – Differential Pressure Transmitter G505

(more…)

Operation of the Dual-Clutch Transmission

The dual-clutch transmission, also known as Direct Shift Gearbox (DSG) or double-clutch transmission, is an automated transmission that can shift gears faster than any other geared transmission.

(more…)

How to Repair a Volkswagen TDI Intake Flap CEL P2015


If you own a VW TDi, an error code will appear at some point in your car’s life. This code is the infamous P2015. I recently had the opportunity to help a friend and fix his car with nothing more than a simple bracket installation.

(more…)

How to Change the Oil Filter and Engine Oil on a MERCEDES-BENZ C W203

Replacement: Engine Oil and Filter – Mercedes W203. Use the following procedure:
  1. How to change the oil filter on a Mercedes W203 2000 - Free PDF manuals and video
    Step 1
    Open the hood.
  2. How to replace Oil Filter MERCEDES-BENZ C-Class Sedan (W203) C 220 CDI 2.2 (203.006) 2001 - Step-by-step manuals and video guides
    Step 2
    Use a fender protection cover to avoid damaging the car’s paint and plastic parts.
  3. Mercedes W203 C 180 1.8 Kompressor (203.046) 2002 Oil Filter Replacement: free workshop manuals
    Step 3
    Remove the engine cover.
    recommends:
    Lift the engine cover by holding it on both sides simultaneously.
  4. Oil filter change on MERCEDES-BENZ C-Class Sedan (W203) C 200 CDI 2.2 (203.004) 2003 by yourself
    Step 4
    Clean the oil filter housing cap.
    Step 5
    Unscrew the filter housing cover with the old filter element. Use socket 76-14F. Use a ratchet wrench.
  5. How to remove the oil filter MERCEDES-BENZ C-CLASS C 200 CDI 2.2 (203.007) 2004 - Easy-to-follow online instructions
    Step 6
    Prepare a container for the old oil filter.
  6. How to replace the oil filter on a MERCEDES-BENZ C-Class Sedan (W203) 2005: download PDF manuals and video instructions
    Step 7
    Remove the filter element from the filter housing and place the old filter cartridge in the container.
  7. How difficult is it to do it yourself: Oil Filter Replacement on Mercedes W203 C 200 2.0 Kompressor (203.045) 2006 - Download the illustrated guide
    Step 8
    Cover the oil filter housing with a microfiber towel to prevent dirt and foreign objects from entering the system.
  8. Need to know how to renew the Oil Filter on a MERCEDES-BENZ C-CLASS? This free workshop manual will help you do it yourself
    Step 9
    Lift the car using a jack or place it on an inspection pit.
    Replacement: Engine Oil and Filter – Mercedes W203. Tip:
    The vehicle should be on a flat surface, and if it is inclined, the drain plug must be at the lowest point.
  9. Changing the oil filter on Mercedes W203 2000 won't be a problem if you follow this illustrated step-by-step guide
    Step 10
    Unscrew the oil filler cap.
  10. MERCEDES-BENZ C-CLASS C 200 1.8 Kompressor (203.042) Oil Filter Replacement: online guides and video tutorials
    Step 11
    Loosen the fasteners of the lower oil pan cover. Use a #8 drive socket. Use a ratchet wrench.
  11. How to change the front suspension arm on a MERCEDES-BENZ W203 C-Class

    Replacement: front lower arm – Mercedes W203. recommends:
    • The replacement procedure is identical for the left and right lower suspension arms.
    • Caution: all work on the car – Mercedes W203 – must be performed with the engine off.
    Perform the replacement in the following order:
    1. How to change the control arm on Mercedes W203 2000 - Free PDF manuals and video
      Step 1
      Secure the wheels with chocks.
    2. How to replace the suspension arm on MERCEDES-BENZ C-Class Sedan (W203) C 220 CDI 2.2 (203.006) 2001 - Step-by-step manuals and video guides
      Step 2
      Loosen the wheel mounting bolts. Use the No. 17 wheel impact socket.
    3. Mercedes W203 C 180 1.8 Kompressor (203.046) 2002 Suspension arm replacement: free workshop manuals
      Step 3
      Lift the front of the car and secure it on stands.
    4. Suspension Arm Replacement on MERCEDES-BENZ C-Class Sedan (W203) C 200 CDI 2.2 (203.004) 2003 by yourself
      Step 4
      Unscrew the wheel bolts.
      recommends:
      Warning! To avoid injury, hold the wheel while unscrewing the mounting bolts. Mercedes W203
    5. How to remove the control arm MERCEDES-BENZ C-CLASS C 200 CDI 2.2 (203.007) 2004 - Easy-to-follow online instructions
      Step 5
      Remove the wheel.
    6. How to replace the suspension arm on a MERCEDES-BENZ C-Class Sedan (W203) 2005: download PDF manuals and video instructions
      Step 6
      Loosen the fasteners of the lower oil pan cover. Use a No. 8 drive socket. Use a ratchet wrench.
    7. How difficult is it to do it yourself: Suspension Arm Replacement on Mercedes W203 C 200 2.0 Kompressor (203.045) 2006 - Download the illustrated guide
      Step 7
      Remove the oil pan cover.
    8. Need to know how to renew the suspension arm on MERCEDES-BENZ C-CLASS? This free workshop manual will help you do it yourself
      Step 8
      Clean all the arm joints. Use a wire brush. Use WD-40 spray.
      recommends:
      Replacement: front lower arm – Mercedes W203. After applying the spray, wait a few minutes.
    9. Changing the control arm on Mercedes W203 2000 won't be a problem if you follow this step-by-step illustrated guide
      Step 9
      Unscrew the attachment connecting the control arm to the subframe. Use a No. 21 combination wrench. Use a No. 21 drive socket. Use a ratchet wrench.
    10. Suspension Arm Replacement on the MERCEDES-BENZ C-CLASS C 200 1.8 Kompressor (203.042): online guides and video tutorials
      Step 10
      Clean all the arm joints. Use a wire brush. Use WD-40 spray.
      recommends:
      Replacement: front lower arm – Mercedes W203. After applying the spray, wait a few minutes.
    11. How to Change the Spark Plug on a MERCEDES-BENZ C W203

      Replacement: Spark Plugs – Mercedes W203. Professionals Recommend:
      • The replacement procedure is the same for all spark plugs.
      • Warning! Stop the engine before starting any work – Mercedes W203.
      Perform the replacement in the following order:
      1. How to change the spark plug on a Mercedes W203 2000 - Free PDF manuals and video
        Step 1
        Open the hood.
      2. How to replace Spark Plug for MERCEDES-BENZ C-Class Sedan (W203) C 220 CDI 2.2 (203.006) 2001 - Step-by-step manuals and video guides
        Step 2
        Use a fender protection cover to avoid damaging the car’s paint and plastic parts.
      3. Mercedes W203 C 180 1.8 Kompressor (203.046) 2002 Spark Plug Replacement: free workshop manuals
        Step 3
        Unscrew the engine cover screws (3 pieces). Use HEX No. HW5.
      4. Change the Spark Plug on MERCEDES-BENZ C-Class Sedan (W203) C 200 CDI 2.2 (203.004) 2003 by yourself
        Step 4
        Remove the engine cover.
      5. How to remove Spark Plug MERCEDES-BENZ C-CLASS C 200 CDI 2.2 (203.007) 2004 - Easy-to-follow online instructions
        Step 5
        Unscrew the ignition coil fasteners. Use a #E8 drive socket.
      6. How to replace the spark plug on a MERCEDES-BENZ C-Class Sedan (W203) 2005: download PDF manuals and video instructions
        Step 6
        Remove the ignition coils from the spark plug wells.
        Replacement: Spark Plugs – Mercedes W203. AUTODOC Tip:
        Remember the sequence of steps for disassembling the ignition coil.
      7. How difficult is it to do it yourself: Spark Plug Replacement on Mercedes W203 C 200 2.0 Kompressor (203.045) 2006 - Download the illustrated guide
        Step 7
        Clean dirt, dust, and debris from inside the spark plug wells.
      8. Need to know how to renew the Spark Plug on a MERCEDES-BENZ C-CLASS? This free workshop manual will help you do it yourself
        Step 8
        Unscrew the spark plugs. Use spark plug socket No. 16. Use a ratchet wrench.
      9. Changing the spark plug on Mercedes W203 2000 won't be a problem if you follow this step-by-step illustrated guide
        Step 9
        Remove the spark plugs.
      10. Spark Plug Replacement for MERCEDES-BENZ C-CLASS C 200 1.8 Kompressor (203.042): online guides and video tutorials
        Step 10
        Apply a thin layer of a special high-temperature anti-seize lubricant to the threads of the new spark plugs. Treat the surface of the terminals of the new spark plugs. Use an electronic spray.
      11. Spark Plug Replacement on Mercedes W203 2002 C 220 CDI
</p></img>

		
	</div><!-- .entry-content -->

</article>

	<nav class=

        Posts pagination