What Does It Mean?
This is a generic diagnostic trouble code (DTC) that applies to many OBD-II vehicles (1996-newer). This may include, but is not limited to, vehicles from Jeep, Chrysler, Dodge, Ram, Cummins, Land Rover, Mazda, etc. Although generic, the exact repair steps may vary depending on the year, make, model, and powertrain configuration.
The OBDII fault code P063D is associated with the generator voltage sensing circuit. When the Powertrain Control Module (PCM) detects incorrect signals in the generator voltage sensing circuit, code P063D is set. Depending on the vehicle and the specific malfunction, the battery warning light, the check engine light, or both will be illuminated. Related fault codes associated with this circuit are P063A, P063B, P063C, and P063D.
The purpose of the generator voltage sensing circuit is to monitor the alternator and battery voltage during vehicle operation. The alternator’s output voltage must be at a level capable of compensating for the electrical load from components including the starter, lighting, and various other accessories. Additionally, the voltage regulator must adjust the output to provide sufficient voltage to charge the battery.
Code P063D is set by the PCM when it detects a high electrical condition in the generator (alternator) sensing circuit.
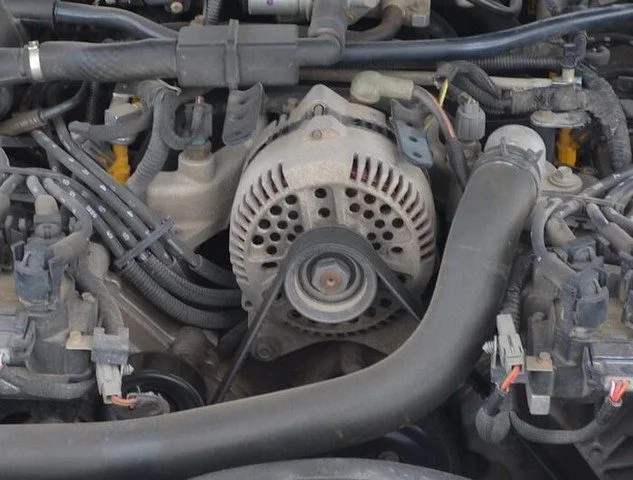
Example of an Alternator (Generator):
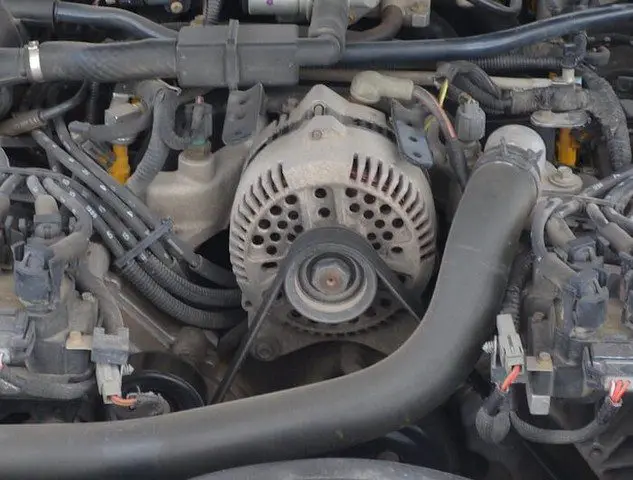
P063D Alternator
How Severe Is This DTC?
The severity of this code can vary greatly from a simple check engine light or battery warning light on a vehicle that starts and runs, to an automobile that does not start at all.
What Are Some of the Symptoms of the Code?
Symptoms of a P063D fault code may include:
Battery warning light illuminated
Engine does not start
Engine cranks slower than normal
Check engine light illuminated
What Are Some of the Common Causes of the Code?
Causes
of this P063D code may include:
Faulty alternator
Faulty voltage regulator
Loose or damaged serpentine belt
Faulty serpentine belt tensioner
Blown fuse or fusible link (if applicable)
Corroded or damaged connector
Corroded or damaged battery cable
Faulty or damaged wiring
Faulty PCM
Faulty battery
What Are the P063D Troubleshooting Steps?
The first step in the troubleshooting process for any malfunction is to search for Technical Service Bulletins (TSBs) for the specific vehicle by year, model, and powertrain. In some circumstances, this can save a lot of time in the long run by pointing you in the right direction.
The second step involves a thorough visual inspection to check that the associated wiring does not have obvious defects such as scraping, rubbing, exposed wires, or burn marks. Next, check the connectors and connections for security, corrosion, and damaged pins. This process should include all wiring connectors and connections to the battery, alternator, PCM, and voltage regulator. Some charging system configurations can be more complex, including relays, fusible links, and fuses in some circumstances. The visual inspection should also include the condition of the serpentine belt and the belt tensioner. The belt should be tight with some deflection visible, and the tensioner should move freely and apply the appropriate amount of pressure to the serpentine belt. Depending on the vehicle and the charging system configuration, a faulty or damaged voltage regulator will require alternator replacement in most circumstances.
Advanced Steps
Advanced steps become very vehicle-specific and require appropriate advanced equipment to perform accurately. These procedures require a digital multimeter and vehicle-specific technical references. The ideal tool to use in this situation is a charging system diagnostic device, if available. Voltage requirements will be highly based on the specific year and model of the vehicle.
Voltage Checks
The battery voltage should be properly at 12 volts, and the alternator output should be higher to compensate for electrical loads and charge the battery as well. A lack of voltage indicates a faulty alternator, voltage regulator, or a wiring problem. If the alternator’s voltage output is within the appropriate range, it indicates that the battery needs to be replaced or a wiring problem exists.
If this process identifies a lack of power supply or ground, continuity tests may be required to check the integrity of the wiring, alternator, voltage regulator, and other components. Continuity tests should always be performed with the power disconnected from the circuit, and normal readings for wiring and connections should be 0 ohms of resistance, unless otherwise indicated by technical data. Resistance or lack of continuity is an indication of faulty wiring that is open or shorted and must be repaired or replaced.
What Are the Common Repairs for This Code?
Alternator replacement
Replacement of blown fuse or fusible link (if applicable)
Cleaning corrosion from connectors
Repairing or replacing wiring
Repairing or replacing battery cables or terminals
Serpentine belt tensioner replacement
Serpentine belt replacement
Battery replacement
Flashing or replacing PCM
Common mistakes may include:
Replacing the alternator, battery, or PCM when damaged wiring or another component is the problem
I hope the information contained in this article has helped point you in the right direction to fix the issue with your generator voltage sensing circuit fault code. This article is strictly informational, and the technical data and service bulletins specific to your vehicle should always take priority.