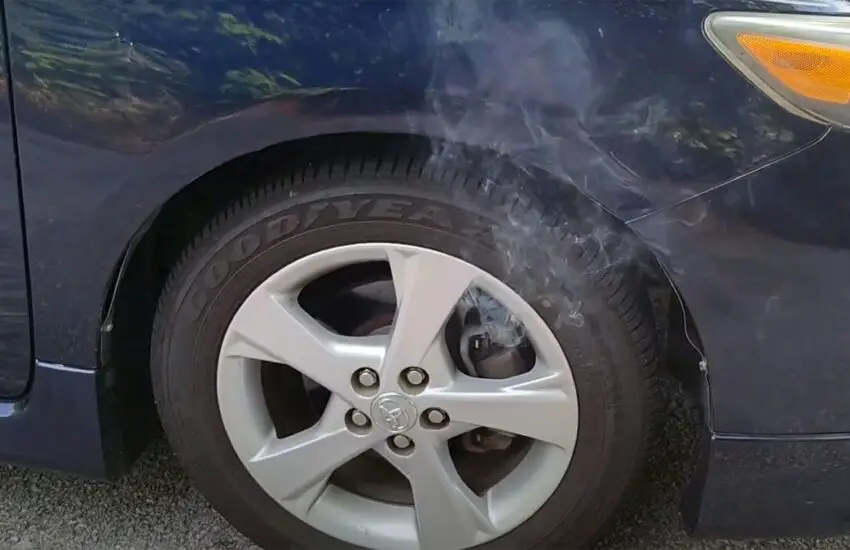
The sight of smoke coming from your wheel along with a burning smell are things that make most drivers nervous. But is it really serious?
Smoking brakes can mean anything, from a minor issue that often resolves itself to a major safety problem requiring immediate attention. Let’s look at what causes your brakes to smoke and how much it will cost to fix.
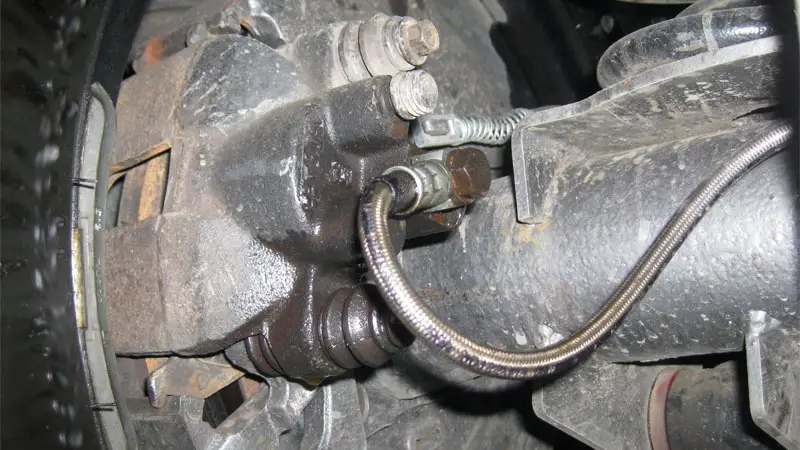
1) Stuck Brake Caliper
A stuck brake caliper occurs when the caliper piston does not release properly after you remove your foot from the brake pedal. Instead of allowing the brake pad to move away from the rotor, the caliper maintains the applied pressure, creating constant friction and heat (causing smoke).
Several issues can lead to a caliper sticking. Corrosion inside the caliper piston housing often prevents smooth movement. Road debris and rust can block the caliper slide pins. A stretched or damaged brake hose can trap pressure in the caliper, preventing it from releasing.

Possible symptoms:
- The car pulls to one side while driving
- One wheel is obviously hotter than the others when standing next to it
- Reduced fuel consumption due to constant brake drag
A stuck caliper creates a dangerous situation. The constant friction generates excessive heat that can damage the rotor, brake pad, wheel bearing, and even ignite the brake fluid, literally causing a fire in your car. Furthermore, a stuck caliper will lead to unpredictable handling when one side of your car is constantly braking.
2) Overheated Brakes
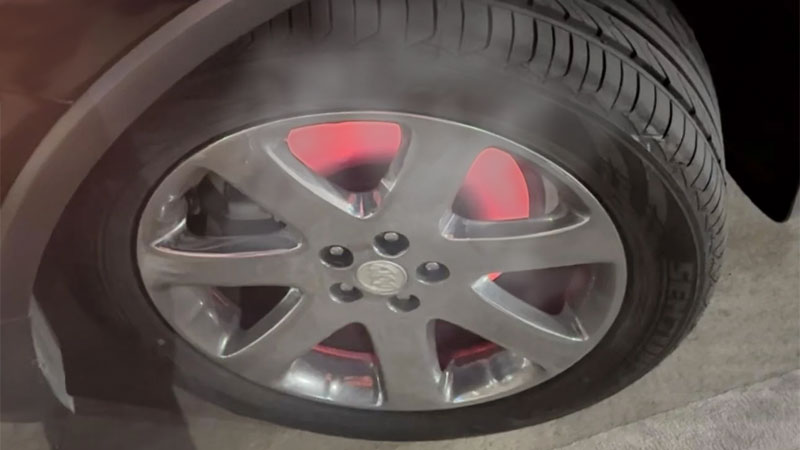
Prolonged and intense braking creates excessive friction between the pads and brake discs, causing them to overheat and smoke. This typically happens during mountain driving, when towing heavy loads, or if you practice autocross, HPDE, or other racing hobbies.
The intense heat can actually boil your brake fluid, leading to a spongy brake pedal and reduced braking power.
Possible symptoms:
- The brake pedal is soft or sinks to the floor
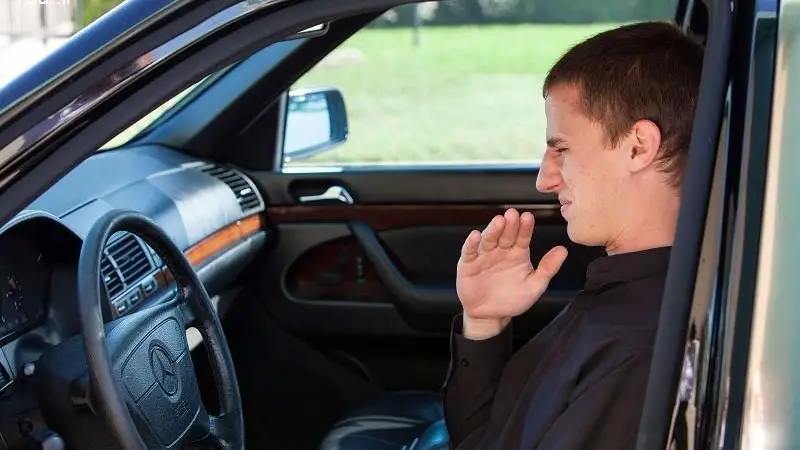
- Strong burning smell coming from the wheels
- Loss of braking efficiency (poor brake performance)
Overheated brakes significantly increase stopping distance and can permanently damage brake components. Extreme temperatures can warp rotors, crack brake pads, or damage wheel bearings. In the most severe cases, the brake fluid can boil and cause complete brake failure.
3) New Brake Components

It is normal for new brake pads and rotors to smoke a little during their initial break-in period, as protective coatings burn off and the parts wear into each other.
This slight smoke usually persists for the first 20 to 50 miles of driving, accompanied by a distinct smell, different from the acrid smell of overheated brakes.
Possible symptoms:
- Slight smoke after the first few brake uses
- Slight burning smell during the first few drives
- Slight squeaking until the parts are properly seated
If smoke persists beyond 50 miles or you notice decreased braking power, the break-in procedure may have been performed incorrectly. Improper break-in can glaze the pads, requiring their replacement to restore adequate braking performance.
4) Contaminated Brake Components
Oil, grease, brake fluid, or improperly applied brake compounds can create smoke during braking. This contamination can come from leaking wheel bearings, torn CV joint boots, brake line failures, or incorrect installation.
Common installation mistakes include applying anti-squeal compound to the friction surface instead of the backing plate, or applying grease to brake components during assembly.
Possible symptoms:
- Smoke after light braking
- Visibly wet or shiny brake components
- Decreased braking power, especially in wet weather
Contaminated brakes are more dangerous than one might think, as any lubricant reduces the friction between the pad and the rotor. This contamination can spread across the rotor surface during braking, further reducing braking efficiency. The risk is even greater in wet conditions when water mixes with the contamination.
Is It Safe to Drive?
The safety of driving with smoking brakes depends entirely on the cause. If you just had your brakes serviced and you are within 50 miles (80 km), slight smoke during the first few stops is normal. In all other situations, continuing to drive risks complete brake failure or costly damage.
Most common indications to stop immediately:
- Continuous smoke after a brief cooling period
- The car pulls to one side while driving
- Soft or spongy brake pedal
Find a safe place to park and let the brakes cool for at least 30 minutes. If the smoke returns shortly after resuming driving, have the vehicle towed to a repair shop to avoid endangering your safety and potentially much more expensive repairs.
Diagnostic Steps
Step 1: Visual Inspection
Park on level ground once the brakes have completely cooled (usually 30 to 60 minutes). Examine each wheel area methodically, starting from the brake lines going to each caliper. Look for wet spots, drips, or accumulated dirt that could indicate leaks.
Carefully inspect the rotor surfaces through the wheel spokes (if possible) or by removing the wheels (if necessary). Deep grooves, ridge formation on the edges, or blue/purple discoloration indicate overheating. Check for uneven pad wear (inner and outer pads should have similar thickness).
Carefully inspect the brake calipers for torn boots, rust buildup, or signs of sticking. The caliper should be clean and dry, without caked brake dust on one side. Check that mounting brackets and hardware are not loose or excessively corroded.
Step 2: Physical Tests
Lift your vehicle following proper jack and stand placement. Once the wheels are removed, grab each rotor and try to move it (excessive movement suggests worn wheel bearings). Spin each brake rotor by hand. It should spin freely with just a slight drag from the pads.
After a short drive, use an infrared thermometer to check the temperature at the same spot on each wheel. Compare measurements between the left and right sides (not front to rear). Temperature differences greater than 20 degrees Fahrenheit indicate a problem. A significantly hotter wheel usually means the caliper is stuck.
Inspect the brake fluid in the master cylinder reservoir. The fluid should be light amber or light brown in color, not dark or cloudy. Low fluid level can mean the pads are worn or there is a leak. Look for bubbles in the fluid which could indicate air in the system.
Step 3: Road Test
Begin testing in a large empty parking lot or quiet street only if initial inspections reveal no major safety issues. Start with light braking at low speeds. The pedal should be firm and maintain a constant height.
Gradually increase speed and braking force while listening for grinding, squealing, or rattling noises. Pay attention to steering wheel feedback. If there are pulls or vibrations, uneven braking is occurring. Be alert if the brake pedal slowly sinks while maintaining pressure at a stop.
In a safe location, test emergency braking (press the brake pedal hard). The vehicle should stop in a straight line without pulling to one side. If you notice unusual noises or smells during this test, immediate investigation will be necessary.