Crankshaft and camshaft sensors play an essential role in starting and operating an engine. When they fail, it can lead to starting difficulties, engine stalling, or even a complete breakdown. Here is a guide to identifying and resolving these issues effectively.
Common Symptoms of a Sensor Problem
- Difficulty Starting: The engine cranks but does not start, especially when hot.
- Unexpected Stalling: The engine shuts off suddenly while driving.
- Irregular Idling: The engine struggles to maintain a stable RPM.
- Check Engine Light On: An error code related to the sensor may be detected via an OBD-II scanner.
- Loss of Power: The engine lacks responsiveness or operates abnormally.
Possible Causes of Problems
- Faulty Sensor: The sensor is damaged or worn out.
- Wiring Issues: Cut, poorly connected, or corroded wires.
- Weak or Dirty Magnet: Metal particles can disrupt the signal.
- Incorrect Position: The sensor is not properly aligned with the crankshaft or camshaft.
- ECM Problems: The Engine Control Module (ECM) may misinterpret the signals.
Steps to Diagnose and Resolve the Issue
1. Scan Error Codes
- Use an OBD-II scanner to read error codes. Codes like P0335 (crankshaft sensor) or P0340 (camshaft sensor) are common indicators.
- Note the codes and look up specific information for your vehicle model.
2. Visually Inspect the Sensors
- Locate the crankshaft and camshaft sensors in your engine. They are often found near the crankshaft pulley or on the cylinder head.
- Check the wires for damage, loose connections, or corrosion.
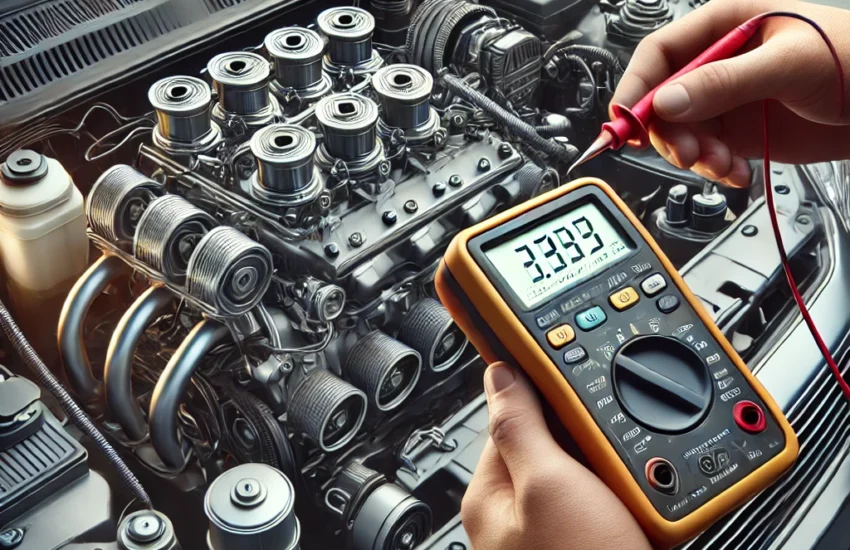
3. Test the Sensors
- Use a multimeter to measure the resistance or signal of the sensors. Refer to your vehicle’s manual for specific values.
- If the sensor does not produce a signal or the values are outside the recommended ranges, it should be replaced.
4. Clean the Sensors
- If the sensor is covered in dirt or metal particles, gently clean it with a lint-free cloth and an appropriate cleaner.
5. Replace the Faulty Sensor
- Purchase a sensor compatible with your vehicle model.
- Disconnect the battery before replacement to avoid short circuits.
- Install the new sensor following the manufacturer’s instructions and tighten the bolts to the recommended torque.
6. Check Wiring and Connectors
- Repair or replace any damaged wires or connectors.
- Ensure all connections are tight and protected from moisture.
7. Reset the ECM Module
- After completing the repair, clear the error codes with the OBD-II scanner.
- Restart the engine and perform a test to verify if the issue is resolved.
Tips to Avoid Future Problems
- Regular Maintenance: Periodically clean the sensors to prevent dirt buildup.
- Use Quality Parts: Invest in sensors from reputable manufacturers.
- Check Error Codes Promptly: Do not ignore a check engine light without investigation.
Conclusion
Problems with crankshaft and camshaft sensors can be frustrating, but with the right tools and knowledge, they are relatively simple to resolve. By following these steps, you can effectively diagnose and repair these critical components. If the issue persists after these checks, it is advisable to consult a professional.