Learning the basics of plastic spraying or painting plastic car parts is an excellent way to enhance your car’s fresh appearance and create its unique marks. The step-by-step guide below will walk you through the necessary steps to achieve a professional-looking and durable finish using easy-to-follow methods and affordable rattle cans.
People may have based these tips on painting protective strips. But the same technique can be applied to all plastic elements, such as interior trims and mirror shells. The most important things needed to achieve a good result when painting plastic car parts are time and patience. If you have properly prepared these two things by following this guide, you will most likely achieve a stunning finish as desired in the end.
Below are the tools and equipment you will need for a smooth process.
- A designated spraying area, free from any dust and moisture
- Sandpaper grit from 150 to 2500. You can use 2500 grit sandpapers (wet and dry sandpaper) with water for lubrication.
- Paint color
- Plastic primer
- Clear lacquer paint
- A cutting compound or any commercially available anti-scratch product is acceptable.
- Paint polishing liquid/reducer
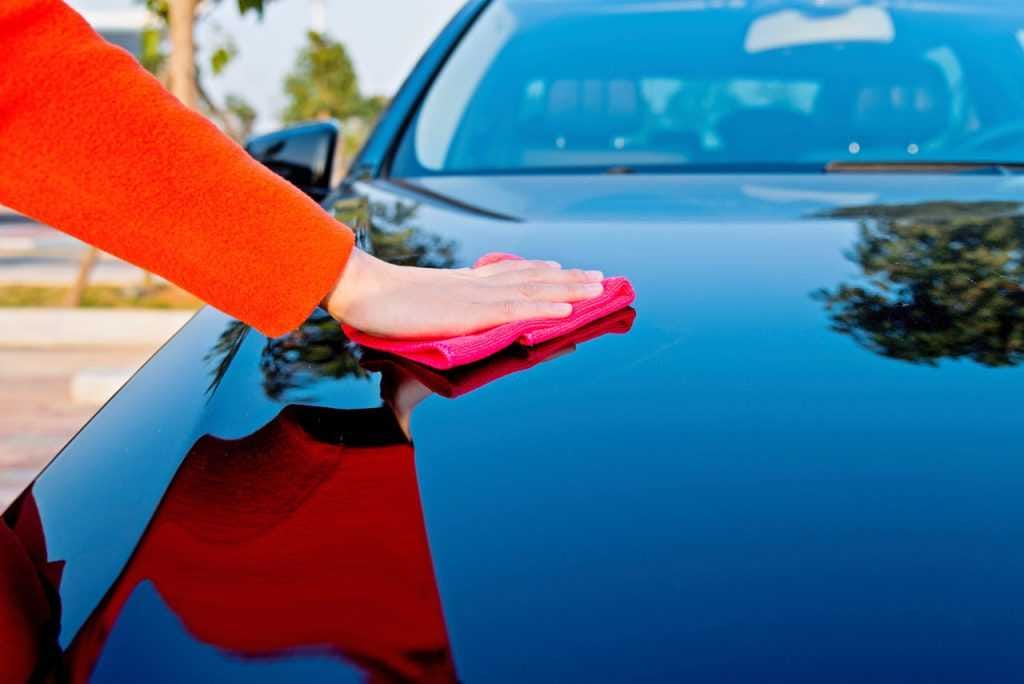
- Microfiber car polishing pads/sponges or waxing sponge for polishing car details
Step-by-Step Guide on How to Paint Plastic Car Parts
Here are the detailed steps of a plastic part painting process for your quick reference:
- Preparation
- Priming
- Matting the primer
- Color coat
- Backing the color coat
- Clear lacquer
- Finishing – Cutting and polishing
Step 1. Preparation
The first thing to do is remove the parts you wish to paint. Before starting with the primer, it is essential to key the surface of the car part and eliminate the bubbles that are common on many exterior plastic parts.
The color coding of the protective strip had bumps, and from car polishers’ experiences, it is necessary to smooth them out using sandpaper. You can start sanding with 150 grit, then 800 grit, and finish with 1200 grit sandpaper to achieve a smooth finish before priming. However, note that sometimes, sandpaper doesn’t seem to work very well on plastics and tends to clog up quite quickly, meaning you go through quite a few sheets. Although it might be a bit stressful to take your time through this step and achieve a nice smooth surface, you know its role in the appearance of your final paint.
Apart from parts that have a more special treatment, with plastic parts that don’t have fuzz, you should always clean the surface and remove the shine. If you ignore this act, the car primer will not be handled and will not adhere properly. And then after 2 or 3 months, the new paint layer will likely trigger and start to flake or crumble into pieces.
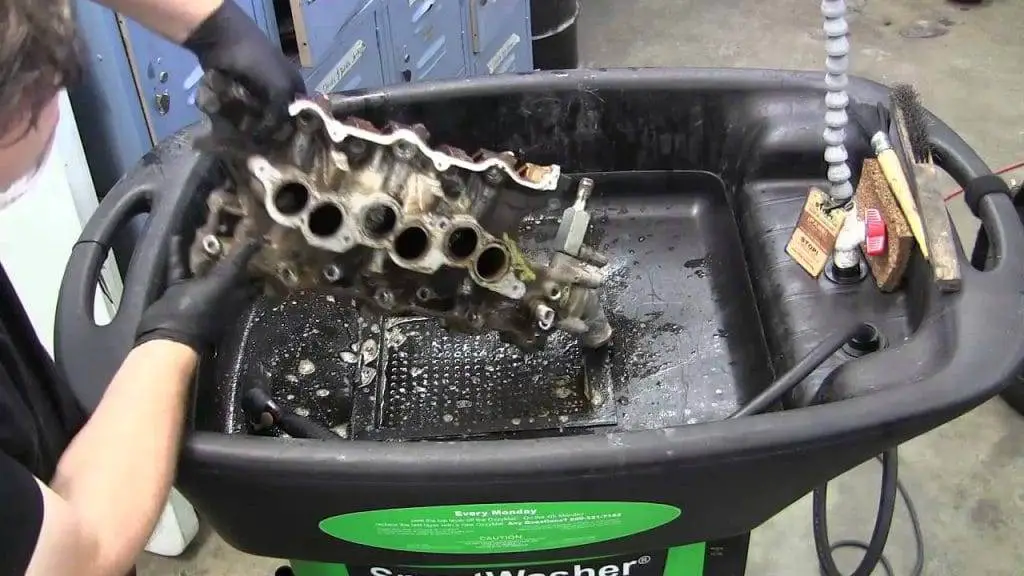
Remember to clean the surface well and get rid of dust, dirt, and debris that may have accumulated over the years. This act will help the part look its best. Soaps may contain harsh chemicals that damage the paint if left on car parts. It would be best to be safe and clean everything. Let them dry in a clean place to avoid dust and have a cup of tea knowing your first effort is done.
Step 2: Priming
Overall, priming is a vital step in every car painting process. Finding a good place to do the priming before painting can be tricky, but sheds or outdoor garages are all ideal.
Here are some things to consider when priming:
- The importance of cleanliness is always apparent. It is a key element in preserving the environment and the smoothness of the process. It can be frustrating to accidentally get dirt or dust on the car paint in the middle of painting.
- A warm, dry, low-humidity environment is also perfect for the process to ensure quick and proper drying of the paint layer.
- As outdoor weather is hard to manage, the ideal place to get things done is indoors. You can achieve the same result by painting outdoors, but it will take twice as much paint. And there will be more chances of something spoiling your car paint.
If you are spraying on a plastic surface, make sure you have a specialized plastic primer, not a typical primer. Please read the instructions on the primer can. Shake it vigorously for a minute and ensure the can is also at room temperature. If the can is cold, it will reduce the pressure, meaning the paint won’t spray as a fine mist.
Additionally, if you want to delve into the priming prayer technique for applying car paint in a smooth layer, check out these tips below:
- Keep the spray nozzle or flow tip about 5 inches from the plastic car parts about to be painted.
- Gently move the spray over the entire surface of the parts and always keep it in a straight direction.
- When spraying, before moving to other unpainted parts, you should spray until you have finished the previous ones.
It may take some time to discover the optimal spraying speed, giving the best paint result. It strikes a balance between a paint layer that is too thin, which may waste paint or take time, and one that is too thick, which risks causing the paint to run. Make sure to pay attention to the fine edges of the paint layer, as they can easily become too thin and peel off easily. Spraying three to four coats of primer will suffice, and waiting 20 minutes between coats will help ensure each layer dries properly.
When the final primer coat is applied, let them dry in a warm place for a few days. You can wait for the solvents to completely evaporate before proceeding with cleaning. To check if it is a certified dry piece, you can put your nose to it and take a deep sniff. As ancient wisdom advised, if the paint still smells fresh, your painting project will require more waiting and delays. And once everything is dry and set, get ready to sand the surface.
Step 3. Smoothing the Primer Coat
Even if you do everything correctly, spraying the primer evenly and taking care to prepare the surface, it will still be textured and not smooth. There must be a reason why paint molecules settle and dry as they do. So, to achieve a smooth, polished surface, you need to practice wet sanding.
After wet sanding the area, it should be smooth to the touch. Now, try handling some of the sounds you haven’t worked with yet and see how they are different. As it is not easy to distinguish the areas of the part that have been smoothed and those that haven’t, you should only check the smoothness by touch. The water running off the car part will be a color matching the primer used. If there are still rough spots on the primer, it will be time to take extra precautions to sand them. If you want to ensure your woodwork is perfectly sanded, using a flat surface like a sanding block is a good idea.
Once everything is in order, quickly rinse the car part with cold water to remove any primer residue. If you ignore this single beat in one step, the paint may dry as dust, and you will then need to wipe it off before applying the color coat.
Step 4. Color Coating
You now have a smooth and attractive primer base, perfect for applying the next color coat layer. To achieve a flawless result, perform the exact color-spraying technique described above. Make sure to cover all tricky edges for the best results. You might be a bit annoyed if you are going to smooth the coat, and some of the gray primers show their ugly side because the car’s coating paint was too thin and delicate. A few coats (4 to 5 coats) of color should be enough, and drying may take about 20 minutes.
If you wish to speed up the part’s effective drying process, placing it on a low-temperature radiator can help. In this case, the smell test can help determine when the paint is dry enough for wet sanding.
Step 5. Smoothing the Painted Coat
Many people probably get impatient with the waiting and desire to find a faster solution for the smooth painted coating. Don’t give in to the temptation to cut your stay here short. You have already invested too much time, and it would be a mistake to ruin everything for a few hours. If all goes as planned, you should now have a beautiful finish, and all reflections on this surface will likely be blurry. However, if not, there is still a little time to fix and make your color coating perfect. The following part is about solid colors, not pearlescent or metallic-type surfaces.
To achieve a smooth finish, follow the same steps you used when smoothing the primer coat. A bit of pressure is needed to achieve the desired result. Rinse thoroughly with running water to avoid any potential reaction with the lacquer. After wet sanding the color coating, there may be a dull matte appearance once it is completely dry. Be patient as this is supposed to happen.
Step 6. Clear Lacquer
At this stage, you can use the same spraying technique once more, but keep in mind that the varnish or lacquer tends to be heavier than primer and paint, so be particularly careful to avoid streaks. Applying the lacquer will make the dull finish more vibrant, with a beautiful glossy impression.
So, how much lacquer should be applied to achieve the desired finish? One or two coats should be enough. Wait 20 to 30 minutes between coats to allow the paint to dry. Make sure to get good coverage on the edges of your artwork. This will make it elegant and persuasive.
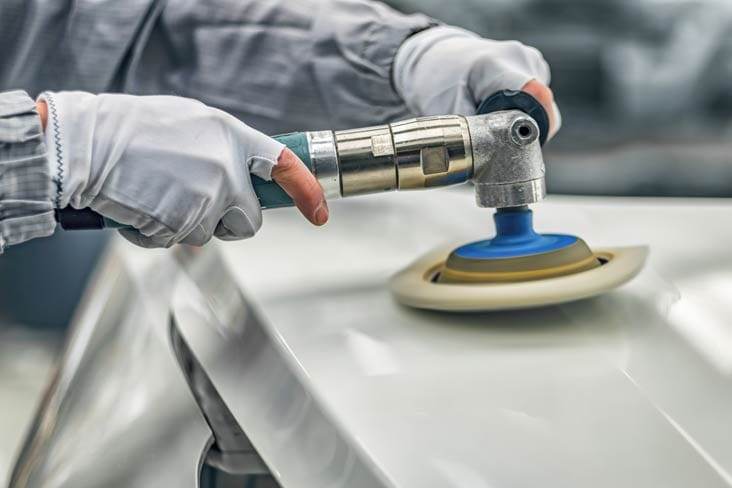
Step 7. Cutting and Polishing the Paint Layers
Polishing the lacquer before it is fully hardened can cause disasters. Chances are you will need to wait about a week for your protective strips to dry. Depending on the size and temperature of the part, the process may be extended for an unlimited duration. To affirm that the lacquer is ready, smell it to see if the solvents are still evaporating. In case you still don’t smell anything, it is better to redo it after one or two days to be safe. Make sure to wait until the lacquer is completely dry before polishing it. This will help keep it looking its best.
This is the final step in the lacquer finishing process, where we smooth out any unwanted orange peel and correct any imperfections. If everything goes according to your painting plan, you will already have a beautiful paint coating. With a little effort to cut and polish the paint, the overall look of your project can be enhanced.
For the cutting process, there is a variety of compounds available on the market, so you can choose the one that gives the best paint results for you. Some people prefer to use harder compounds such as G3, while others prefer to use Meguiars Scratch X. Both are well recommended and have fairly high quality.
Start polishing with a small amount of cutting compound. Apply moderate to heavy pressure to focus on small areas at a time. Work and break down the compound. The optical quality of the reflections will be significantly improved by the cutting method, and a final polish will give it that perfect mirror finish.
Tips for an Effective Plastic Car Part Painting Process
Once you have grasped almost all the advice related to the method of painting plastic car parts, follow the helpful tips on how to paint plastic car parts effectively to the maximum. We have mentioned some of these tips above, but here are the tips in more detail for your reference. Stay tuned!
Isolate the plastic car parts you will handle later before doing anything related to painting.
It is necessary to take care of other areas when painting plastic parts to ensure they are not damaged. There are two ways to ensure your car painting lessons don’t lead to many problems later. The best option is to remove the parts from the vehicle and paint them separately. This will minimize the amount of work needed and ensure a high-quality finish. Unfortunately, it may not be possible to completely cover the painted area with some types of cars. In this case, it is best to use masking tape to cover the area around the paint. This act will create a barrier between the color paint and the rest of the vehicle, ensuring a clean and successful project.
Prepare the car’s plastic surfaces before painting
Before painting your plastic car parts, take the necessary precautions to ensure a perfect finish. There are many variations in the different types of plastic car parts, so the preparation process will vary depending on which ones you are about to paint. Some of the previous paint on these parts will need to be removed for the new paint to adhere properly. And if it is heavily scratched or dented, you need to use a specified filler to smooth out the imperfections.
Regardless of the part’s condition, you should always sand any plastic surface before painting. Sanding can help smooth car surfaces and eliminate many small defects invisible to the bear’s eye, making your project smoother and more polished. Not only does sanding make the plastic surface smoother, but it also creates small crevices that make the plastic more absorbent. The more surface area, the more likely the paint will adhere to the plastic, resulting in a more durable finish. And after carefully smoothing the car’s plastic parts, make sure to clean and rinse them to get rid of any paint residue.

Use a plastic adhesion promoter when painting
Most professional car painters may agree that using plastic adhesion promoters is essential for effectively painting plastic car parts. Promoters contain powerful chemicals that can open the pores of plastic car parts. Using adhesion promoters will make it easier for new paint layers to stick to the surface. However, be aware that they should only be used on clean, bare plastic and only if necessary. It is ineffective and may even damage the vehicle when applied over primer or combined with any other treatment.
Paint plastic car parts in a clean, well-ventilated workspace
To achieve the best possible results when painting plastic car parts, set up