
In a car with an internal combustion engine, the engine typically runs hot. This is a natural consequence of using rapid fuel explosions mixed with air to create the locomotion that drives the wheels. This in turn creates the need to cool the engine, and that’s where the engine cooling system comes into play. The most critical part of this system is the coolant. In the past, it was water, sometimes mixed with antifreeze in winter to prevent the engine block from becoming an ice engine block. With advances in technology, not only has plain water been abandoned as the main coolant, but sensors to determine the coolant temperature have also been developed.
WHAT IS A COOLANT TEMPERATURE SENSOR?
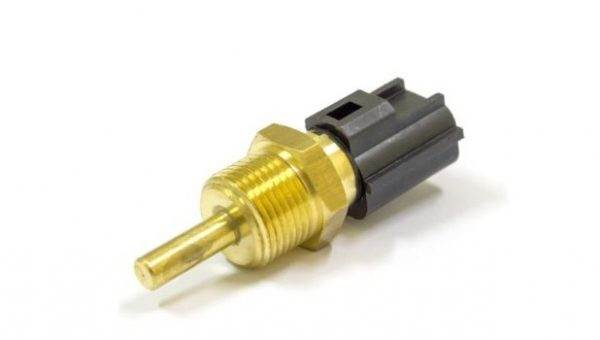
Coolant temperature sensors were developed to determine the engine’s operating temperature. In short, the sensor delivers a small charge that the engine control unit can read. This charge is the result of voltage passing through the sensor’s internal resistance, the latter decreasing as the temperature increases and vice versa. Measuring the effect of the lowered or increased resistance allows the ECU to determine the measured temperature. It essentially serves the same function as an old thermometer but uses resistance instead of mercury to determine the temperature.
SYMPTOMS OF A FAULTY ENGINE COOLANT TEMPERATURE SENSOR

Several issues indicate that the coolant temperature sensor is damaged. Among the most common are increased fuel consumption, difficult engine starts, and higher idle speeds. Other indicators may include black smoke coming from the exhaust pipe and cooling fans that do not activate. Often, the “Check Engine” light comes on. These problems are caused by incorrect readings, which lead the fuel system to inject inappropriate amounts of fuel and the engine running too hot because the cooling system is not prompted to engage by the control unit. In these cases, a faulty coolant temperature sensor can prevent a car from starting at all.
TROUBLESHOOTING A DEFECTIVE SENSOR
There are several ways to test a faulty coolant temperature sensor. Generally, the OBD II error codes from the ECU will be the first conclusive evidence indicating a faulty coolant temperature sensor. The codes associated with this range are from P0115 to P0119. If you see any of these codes or suspect that the coolant sensor is the source of your problems, proceed as follows:
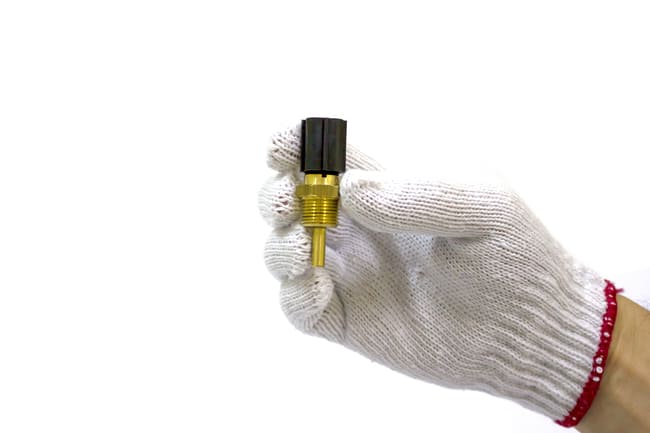
In case you cannot start your engine, you can simulate hot and cold readings by immersing the sensor in hot and cold water. Ensure the sensor is sufficiently waterproof and avoid immersing the terminals. Use cold and barely boiling water to take your readings. Make sure your vehicle is off and the key is not in the ignition when you remove the sensor. This will prevent you from getting an electric shock.
More precise figures on the voltages and resistances to expect from your coolant temperature sensor can be found in the technical documentation or online. Refer to these numbers if you are unsure about the values received.
REPLACING A DEFECTIVE SENSOR
Unfortunately, a faulty coolant temperature sensor cannot really be repaired, and you need to buy a new one. Fortunately, they are not particularly expensive. The replacement process is quite straightforward and can be done at home: