
While it seems obvious that brake pads, brake discs, and brake calipers need maintenance, brake fluid maintenance seems to be completely forgotten – many owner’s manuals stop at checking and adjusting the brake fluid level. Below, we cover if and how often brake fluid should be changed, and for DIYers, we will also cover the procedures.
01 to 04 How does brake fluid work?
The brake caliper pistons reconvert this hydraulic pressure back into mechanical force. Because the brake caliper pistons are larger than the brake master cylinder piston, it multiplies your force several times to compress the brake pads.
02 to 04 Why and how often should you change the brake fluid?
Why do vehicles fail this test? It all has to do with a special property of brake fluid, which prevents even bigger problems.
Brake fluid is hygroscopic, absorbing water that could easily boil at the high temperatures of the braking system. This is important because the entire function of the braking system is to convert your vehicle’s kinetic energy into thermal energy.
While water is incompressible, it boils at only 212°F (100°C) becoming an easily compressible water vapor. Under normal driving conditions, brakes can reach 100°F to 200°F (38°C to 93°C), and it is perfectly normal for brakes to exceed 400°F (204°C) during downhill braking.
Dry DOT 3 brake fluid boils at 401°F (205°C), which is fine in normal traffic but can cause problems in the hills, so some prefer DOT 4 brake fluid, boiling at 446°F (230°C).
Wet DOT 3 brake fluid, containing 3.7% water, boils at only 284°F (140°C), while wet DOT 4 brake fluid boils at 311°F (155°C).
The longer you wait to change the brake fluid, the more water it absorbs, increasing the risk of brake fade at the worst possible moment.
You should change the brake fluid every 20,000 miles or two years.
03 to 04 What you will need to change the brake fluid
- To change the brake fluid, you will need the following items. Note that if you have already “bled” your brakes to fix a spongy brake pedal (an indication that compressible air has entered), you already know how to change the brake fluid.
You will need:
Jack and jack stands – To lift and support your vehicle.
- Wheel removal tools – To remove your wheels to access your brakes.
- Torque wrench – To reinstall your wheels.
- Brake bleeder tool – Buy one or make one from a bottle and plastic tubing.
- Brake bleeder wrench – Usually an 8mm or 10mm hex key, to loosen the bleeder screw.
- 32 oz Brake fluid – You will use a lot to flush out the old fluid.
- New bleeder screws – Bleeder screws degrade or get lost.
- Brake fluid siphon – To remove the old brake fluid from the brake master cylinder reservoir.
- Brake cleaner and rags – To clean everything up.
- PPE – Nitrile gloves and safety glasses, as brake fluid is an irritant.
- Penetrating oil – WD-40 or PB Blaster can help loosen an old bleeder screw.
04 to 04 Step-by-step brake fluid change
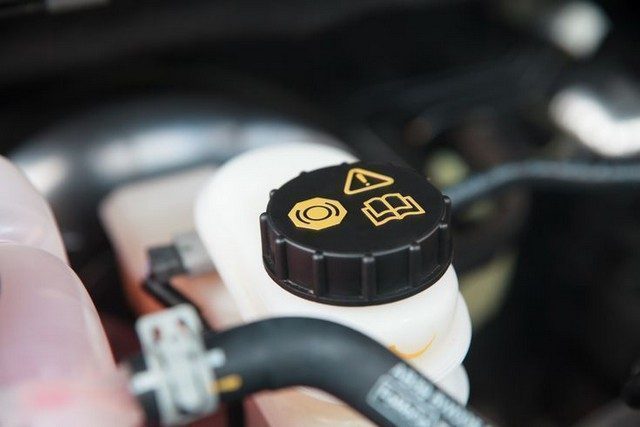
Remove the bleeder screw caps and spray the bleeder screws with penetrating oil. While that works, open the hood and remove the master cylinder reservoir cap.
Use the siphon or extractor to remove as much of the old brake fluid as possible. You may need to remove a screen to get deeper into the reservoir. Fill the reservoir, then move on to bleeding each wheel in order: rear right (RR), rear left (LR), front right (RF), front left (LF). Important: do not let the reservoir run dry, otherwise you must start over to bleed air from the master cylinder.
Place the bleeder wrench on the bleeder screw, then attach the plastic tubing. Open the bleeder 1/4 turn and operate the brake pedal 5 or 6 times. Check and refill the brake fluid level in the master cylinder reservoir.
Pump the brake pedal another 5 or 6 times. Check that there is fresh fluid and no bubbles in the bleeder tube. If the fluid is still dark, 5 or 6 additional pumps may be needed to finish the job. Aim to pump about 8 ounces of new brake fluid into the system for each brake, then close the bleeder screw.
Repeat A and B for the LR, RF, and LF brakes.
After checking that all brake bleeders are closed, fill the master cylinder reservoir to “FULL,” install the cap, and start the car. Press the brake pedal and check that it is firm. Clean up any spilled brake fluid, install the bleeder screw caps, install the wheels, tighten the wheel nuts, and take a test drive. Used brake fluid can be recycled with your used oil.
Now, changing the brake fluid may seem like a big step, but it is a simple job that can significantly improve braking efficiency and vehicle safety.