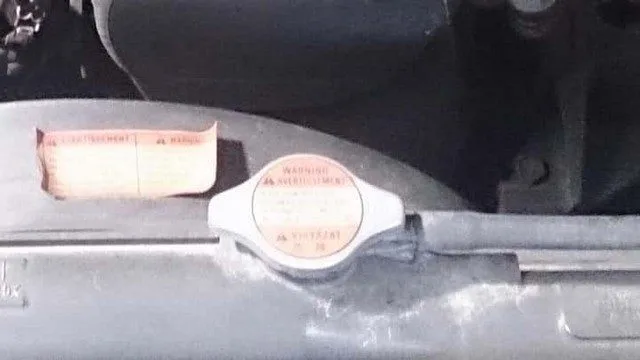
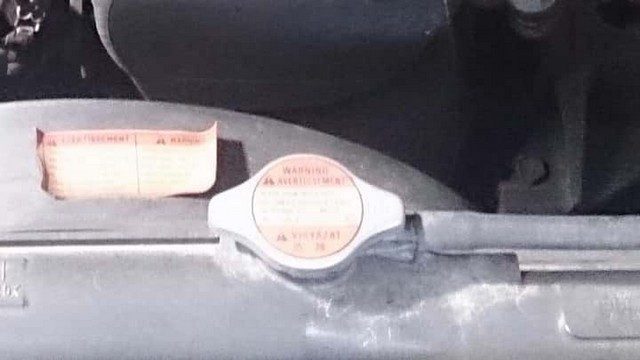
The part of a vehicle known as the “radiator pressure cap” contains 2 valves and its purpose is to store coolant and ensure that the radiator system remains under pressure. The inside of the radiator contains 16 pounds of pressure per square inch.
This pressure is controlled by the radiator cap and must remain constant. Otherwise, your car could overheat and its radiator could suffer serious damage. Additional information about the radiator cap can be found below.
Signs of a Faulty Radiator Cap
There are a few signs that will let you know if you have a faulty radiator cap. Here are the top 5 signs.
1) Coolant Leak
If the radiator cap is stuck, the fluid cannot be released. This will cause pressure inside the radiator, leading to a leak or a burst hose.
If you notice coolant near the radiator or the radiator cap, then you clearly have a coolant leak. Check if the radiator has holes or if the cap appears worn or damaged. If so, replace the cap.
2) Overflowing Reservoir
Coolant enters the reservoir as it expands. The radiator cap is released by pressure and the coolant is sent to the overflow reservoir. If you have a bad radiator cap, the coolant will be released too quickly and cause the reservoir to overflow.
3) Radiator Hose Collapses
You may have a bad radiator cap if the radiator hose collapses. The vacuum will not be released by the radiator cap properly and it will cause the radiator hose to collapse during the cooling period.
If this happens, inspect the cap to see if there is any damage. If there is, replace it immediately.
4) Air Inside the Cooling System
When your radiator cap does not close properly, air enters the cooling system. This will result in air pockets inside the radiator, thermostat, and radiator hoses.
As a result, the engine will start to overheat because it cannot maintain a constant temperature.
5) Overheated Engine
Coolant leaking or air in the cooling system can cause the engine to overheat. If you notice your engine getting too hot, do not look under the hood unless you have turned off the engine.
This way, the engine can remain cool while you check it. If there is coolant near the radiator cap, the pressure cap might be damaged. Check this and replace it if necessary.
How to Check the Radiator Cap
If you have a radiator pressure tester, you can inspect the radiator cap yourself.
To begin, open the hood and find the radiator. It should be located right in front of the vehicle’s engine. Now remove the radiator cap by first pushing it down and then turning it counterclockwise.
Take the cap adapter and screw it onto the end of the pressure gauge. Continue screwing until you can no longer screw it. If you don’t know what the cap adapter looks like, check the pressure tester packaging label and see if it is indicated there. You can also look it up on the Internet.
After attaching the cap adapter to the pressure tester, take the radiator cap and screw it onto the other end of the tester until it is tight.
Using the pump handle, start pumping the tester and see if the gauge can hold the pressure. You should see the gauge read a minimum of 15 pounds.
If this amount starts to drop, then the pressure cap must be faulty. If so, remove the pressure cap and clean any debris that might be on it.
Now screw the cap back on and test it again. If it is still faulty, you will need to replace it.