Le restomod Jeep Scrambler V8 Stellar par Vigilante 4×4 : un ancien CJ transformé en pickup de rêve à 260 000 $. Performances et exclusivité.
Read more....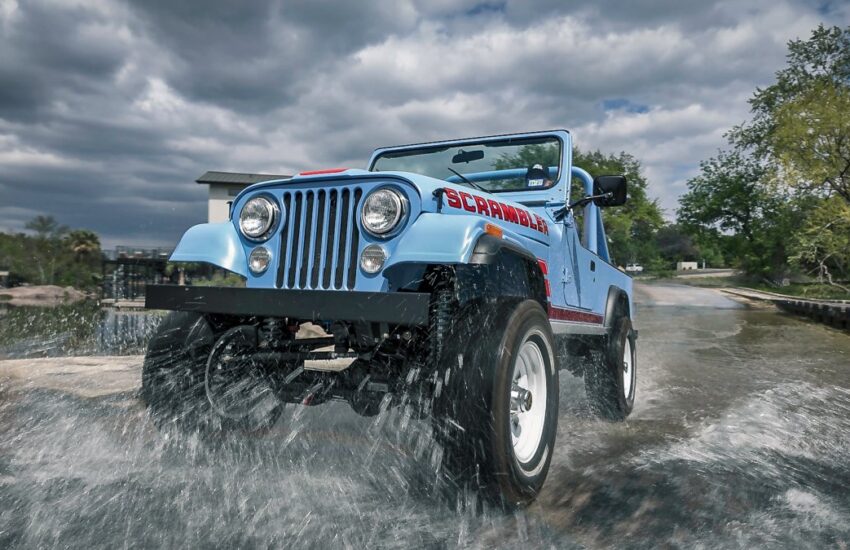
Le restomod Jeep Scrambler V8 Stellar par Vigilante 4×4 : un ancien CJ transformé en pickup de rêve à 260 000 $. Performances et exclusivité.
Read more....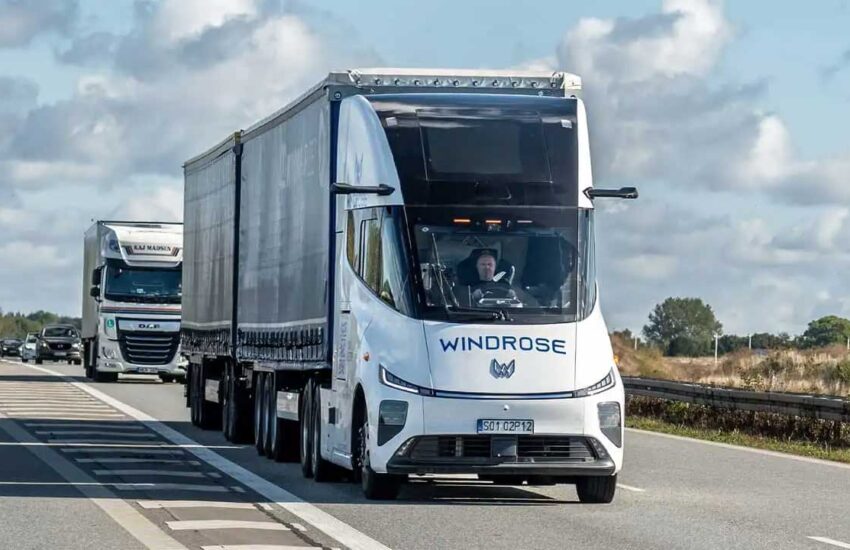
Découvrez le camion électrique Windrose avec 705 kWh et double recharge, un concurrent sérieux de Tesla sur le marché américain.
Read more....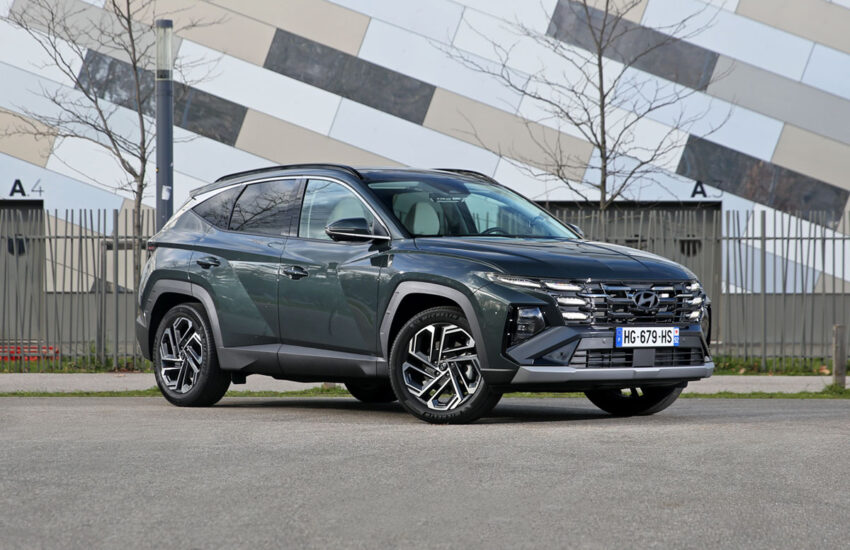
Découvrez notre analyse détaillée des performances et consommations du Hyundai Tucson HEV, un SUV hybride performant et économique.
Read more....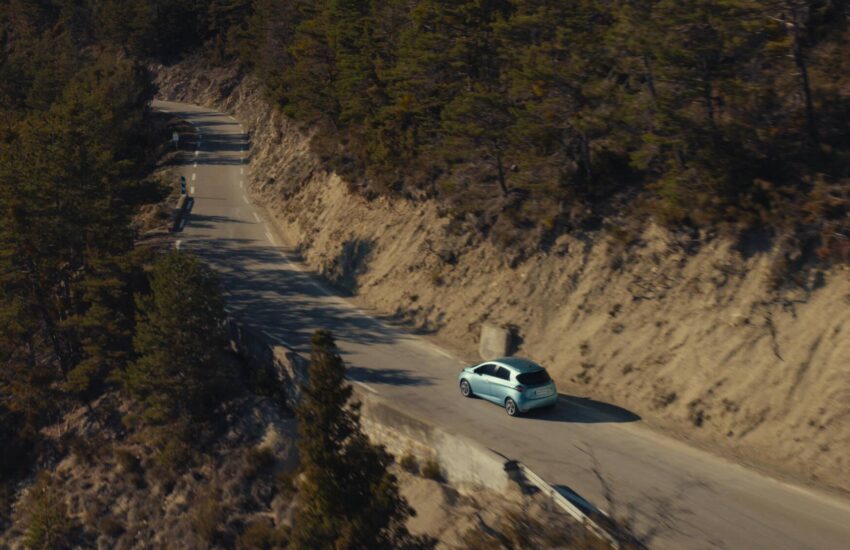
Renault lance Care Fleet pour aider les soignants avec 50 voitures électriques reconditionnées dans les déserts médicaux de France.
Read more....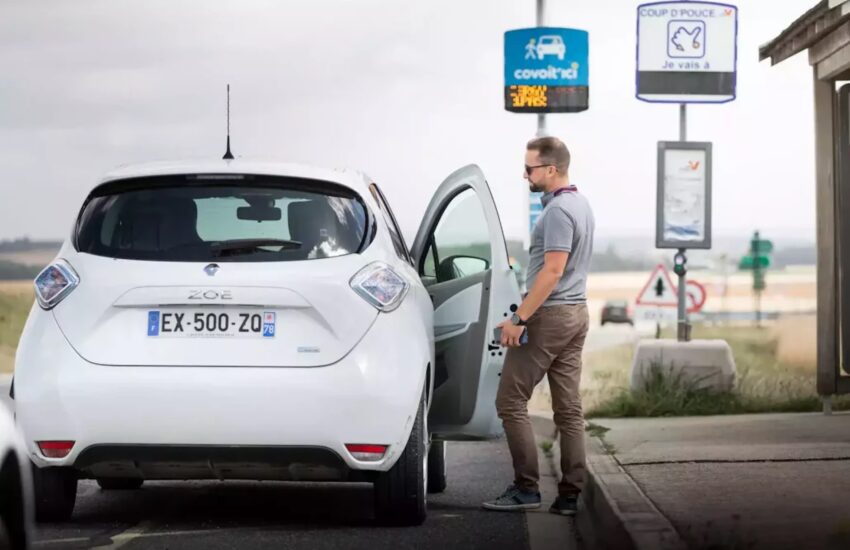
Le covoiturage explose en France avec la hausse des prix des carburants, établissant un record sur BlablaCar et favorisant des économies significatives.
Read more....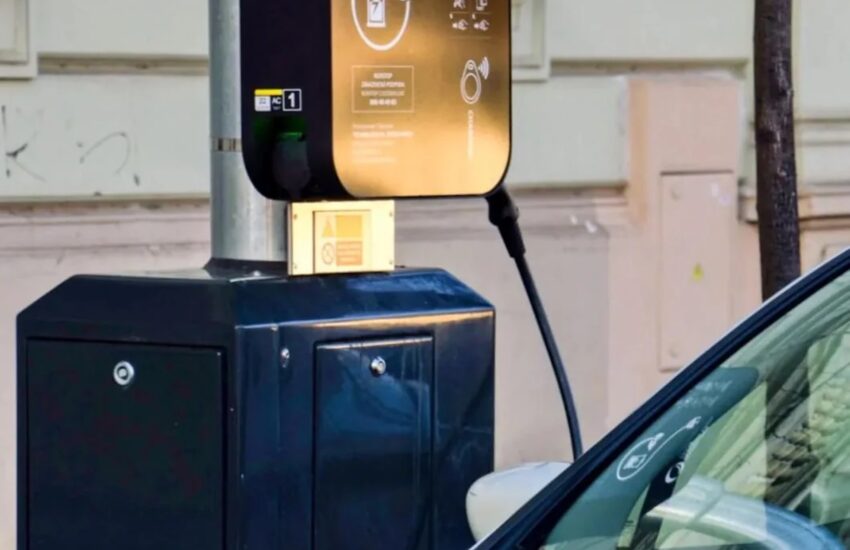
Prague installe 150 lampadaires pour recharger les voitures électriques, une initiative innovante pour une mobilité durable en milieu urbain.
Read more....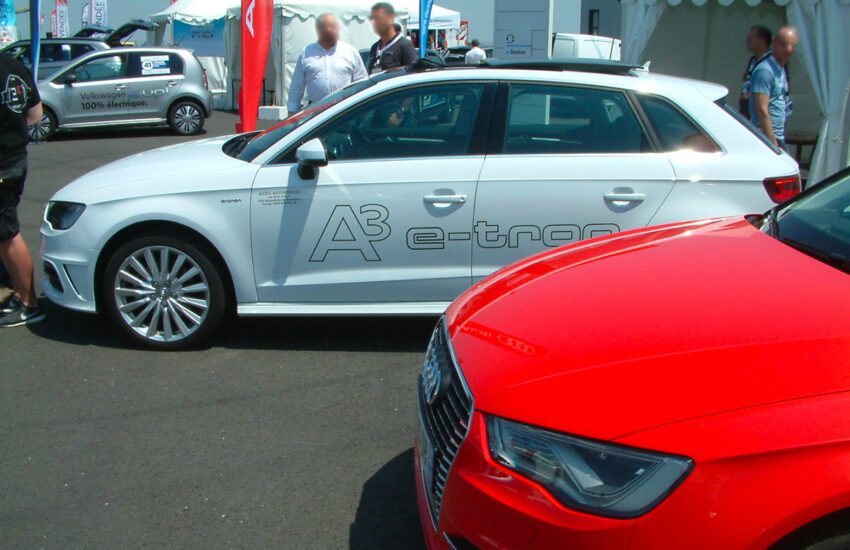
Découvrez le parcours de Bertrand après 8 ans en hybride rechargeable. Il n’est pas prêt à faire le pas vers l’électrique, malgré les évolutions technologiques.
Read more....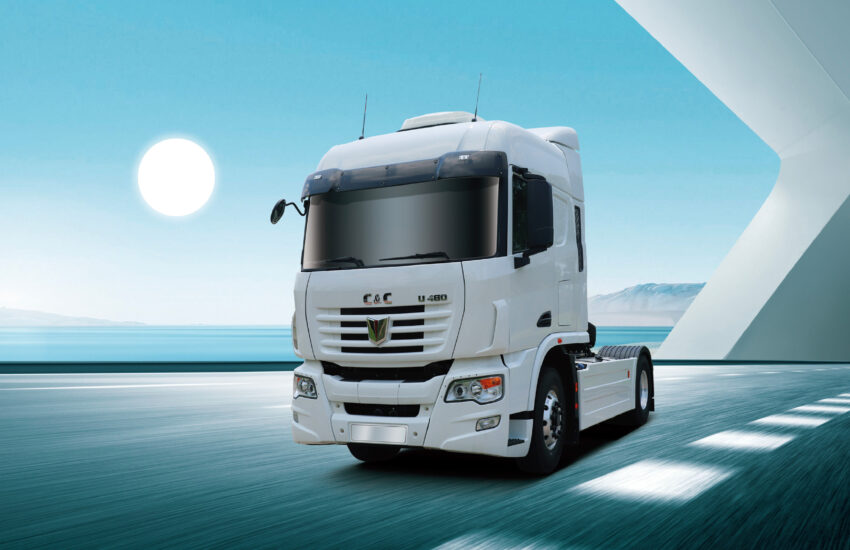
Découvrez le projet d’un corridor logistique électrifié de 2000 km reliant le Maroc à la France grâce aux camions électriques.
Read more....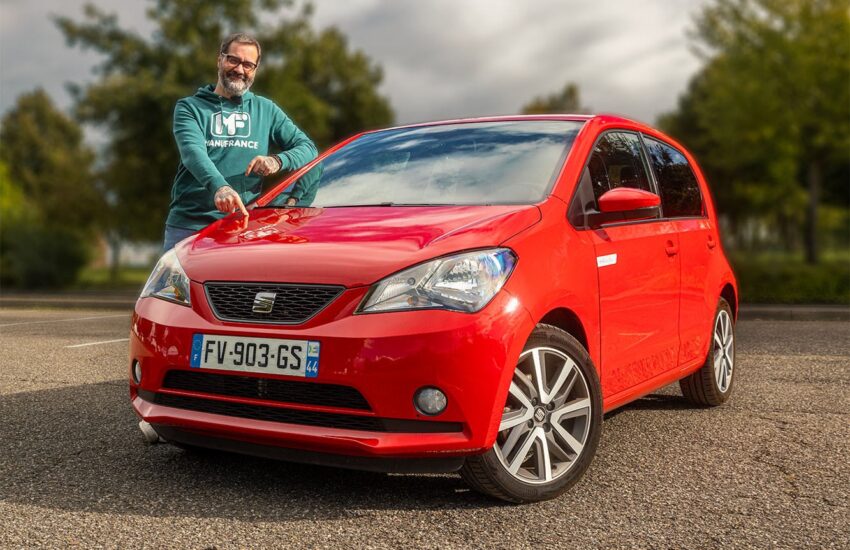
Découvrez qui pourrait remplacer la Seat Mii Electric dans le monde des véhicules électriques et les critères d’un nouveau modèle à succès.
Read more....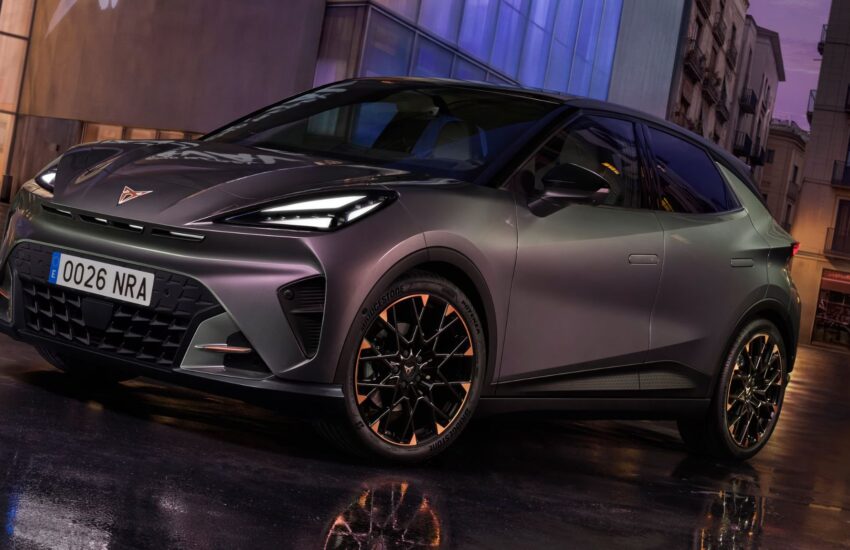
Découvrez le retour de la petite Tesla et les dernières innovations électriques avec Cupra, Xpeng, Toyota, et bien plus dans Regen n°59.
Read more....